Would you like to save this recipe?
By submitting you agree to receive this recipe and occasional emails. Unsubscribe anytime.
Materials
- Small clean seashells (easy to find at craft stores or from walks)
- Clear casting resin and hardener (one-part resin may work; follow label directions)
- Disposable mixing cups (single use keeps things simple)
- Stir sticks (wooden, smooth)
- Fine glitter in pearlescent or iridescent tones (optional)
- Tiny crystal chips or crushed glass (look for small, smooth pieces)
- Alcohol for cleaning (rubbing alcohol, easy to find)
- Nitrile gloves (safety and clean hands)
- Small funnel or pipette (for careful drops)
- Toothpicks and a small soft brush (for moving resin and clearing edges)
- Sanding paper in fine grits (optional, for smoothing edges after cure)
- Parchment or silicone mat to protect your work surface (reusable)
- Small sealant spray (optional, for added protection after curing)
Instructions
- Prepare your space and shells. Lay a parchment mat on the table and arrange shells on a soft towel. Wipe each shell with alcohol until it feels cool and clean.
- Set safety and pace. Put on nitrile gloves and open a window or work near a small fan. Read the resin directions and plan the time you need to mix and pour.
- Measure resin and hardener. Follow the manufacturer ratio exactly. Pour each part into a disposable cup slowly so you feel the weight of the mixture.
- Stir with calm, steady motion. Use a stir stick and rotate gently for the time indicated. Watch air bubbles rise; scrape the sides and stir again to fold everything together.
- Add color and sparkle. Drop a quarter of a teaspoon of fine glitter or mica into the mix and stir slowly. Add a tiny pinch of crystal chips and fold them in with the stick.
- Test a drop in a practice shell. Let a drop level for a minute to see how the mixture behaves. This tiny trial helps you feel the cure time and shine before committing to all shells.
- Use a pipette or small funnel to pour. Aim for the center of each shell and let the resin flow. If it pools high, tilt the shell gently so the resin settles along the ribs and fills small pockets.
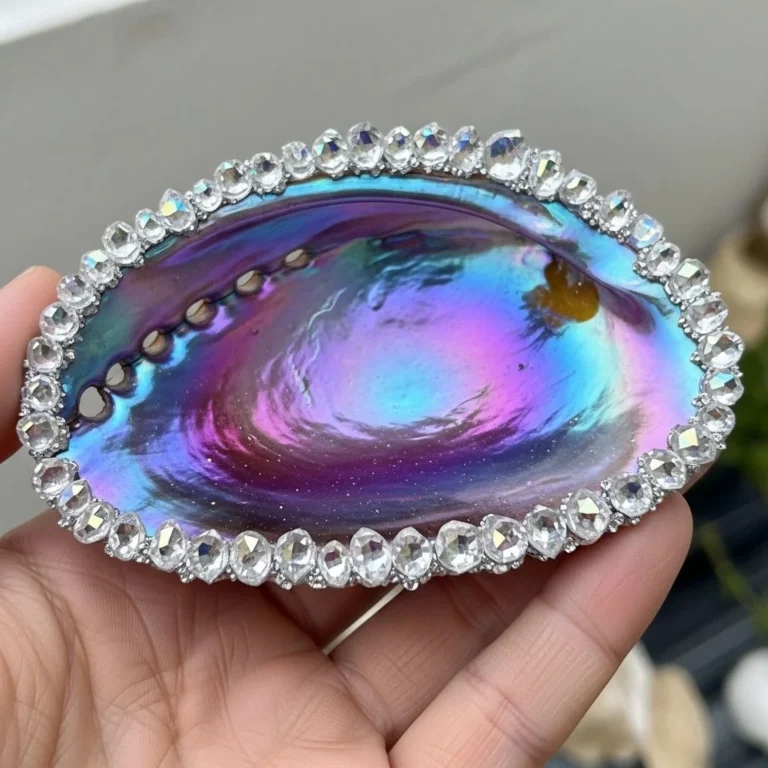
- Nudge crystals into place. Use a toothpick to move chips or glitter into patterns. Work slowly, making small adjustments until the design reads like a quiet galaxy.
- Pop visible bubbles with a warm breath or torch. Hold a small butane or heat tool a few inches above the resin and wave it in short bursts. The warm air lifts bubbles without rushing the surface.
- Let the shells cure in a dust-free place. Cover with a shallow box or container to keep dust away. Check them after the time the bottle suggests; resin often firms to a tacky feel first, then fully hardens later.
- Finish edges if needed. When fully cured, sand any sharp spots gently with fine-grit paper. Wipe with alcohol to remove dust and reveal the glossy surface below.
- Add a final seal if you wish. A clear sealant spray or thin resin topcoat gives extra protection. Spray or brush in light, even strokes and let everything dry slowly.
- Sit and savor the process afterward. Place your finished shells in a favorite bowl or on a windowsill. Hold one and notice how the light moves through crystals and glitter.
Last Step: Don’t forget to leave a rating and comment below! It helps other readers find the best recipes — and it helps us too!