Would you like to save this recipe?
By submitting you agree to receive this recipe and occasional emails. Unsubscribe anytime.
Materials
- Bioplastic sheets (easy to find online or in craft stores)
- Scissors (smooth and comfortable to hold)
- Natural dyes or food coloring (for vibrant hues)
- Clear adhesive tape (for finishing touches)
- Optional: cookie cutters (for fun shapes)
- Optional: embellishments like glitter or small dried flowers (to add texture and interest)
Instructions
- Begin by cutting the bioplastic sheets into desired shapes. Choose pieces that attract your eye. Create a mix of sizes for visual interest.
- If using natural dyes or food coloring, prepare your colors ahead of time. Mix small amounts with water, adjusting until you achieve your preferred shades. Setting them aside warms your creative process.
- Now it’s time to apply your colors. Use a brush or sponge to gently spread the dye across each bioplastic piece. Enjoy the smooth motions as the colors swirl together.
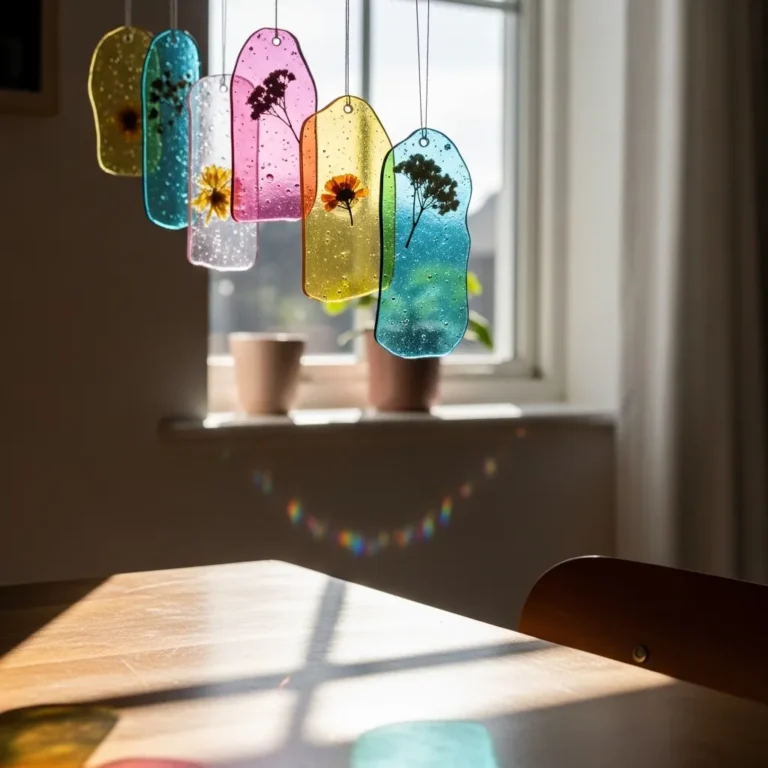
- While the dyes dry, explore the option of adding embellishments. Press small dried flowers or sparkles into the wet color. Observe how they interact with the dye, becoming an extension of your vision.
- Allow the pieces to dry completely, which usually takes a few hours. While you wait, enjoy the soft look of your creations. Think about where you will display them.
- Once dried, use clear adhesive tape to attach small loops on the top. This step creates a way to hang your suncatchers, inviting light to dance through the colors.
- Finally, hang your suncatchers where they can catch the light by the window or in a sunlit corner. Step back and admire how the colors come alive in the sunlight.
Last Step: Don’t forget to leave a rating and comment below! It helps other readers find the best recipes — and it helps us too!