Would you like to save this recipe?
By submitting you agree to receive this recipe and occasional emails. Unsubscribe anytime.
Materials
- All-purpose flour (easy to find)
- Salt (a common kitchen staple)
- Water
- Food coloring (optional, for a fun twist)
- Baking sheet (for drying)
- Rolling pin (for flattening)
- Cookie cutters or optional molds
- An oven (for baking, if required)
Instructions
- Prepare Your Workspace: Start by clearing a flat surface, ensuring it’s clean and ready for crafting. Lay down some parchment paper or a protective cloth for easy cleanup.
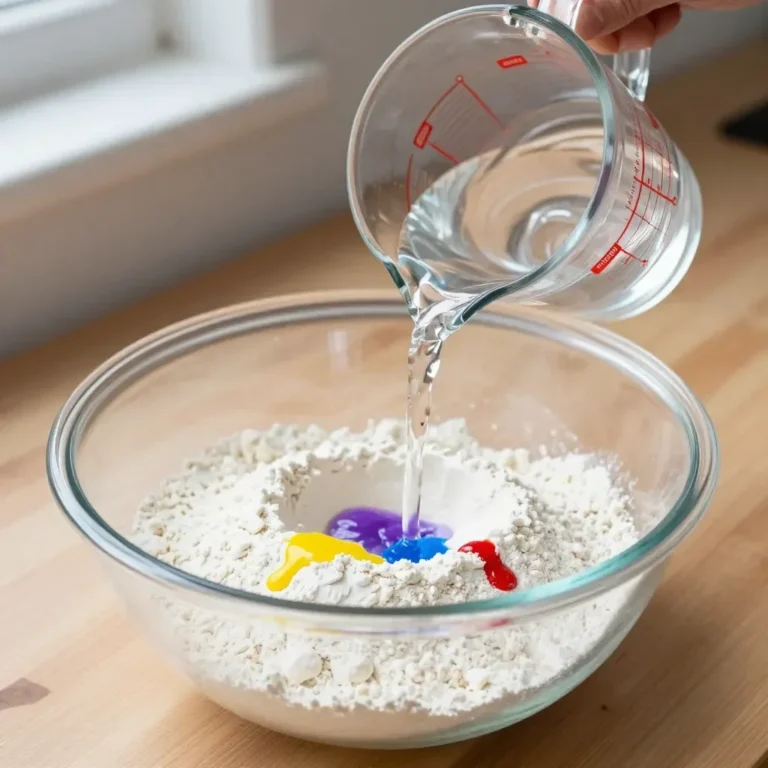
- Mix the Ingredients: In a large bowl, combine 2 cups of flour, 1 cup of salt, and 1 cup of water. Stir until it forms a dough. Feel the texture as it begins to come together.
- Knead the Dough: Transfer your dough to the prepared workspace. Knead it gently for about 5 minutes until it’s smooth and pliable. Notice the warmth and softness as you work.
- Add Color: If you wish to color your dough, separate it into smaller portions and add a few drops of food coloring. Knead each piece until the color is evenly distributed. The colors will brighten your crafting session.
- Create Handprints: Roll the dough out to about half an inch thick. Use cookie cutters or your hands to create shapes, then press your child's hand into the dough to form a print. This part can spark giggles and chatter.
- Dry Your Creation: Place the handprints or shapes on the baking sheet. If you choose to bake them, set your oven to 200°F (93°C) and let them bake for about 2 hours until dried — or let them air dry for 24 hours.
- Finish and Enjoy: Once dry, you can paint or decorate your keepsakes further if desired. Take a moment to appreciate the crafted pieces and the memories cradled within them.
Last Step: Don’t forget to leave a rating and comment below! It helps other readers find the best recipes — and it helps us too!