Would you like to save this recipe?
By submitting you agree to receive this recipe and occasional emails. Unsubscribe anytime.
Materials
- Green crayons (easy to find in craft stores)
- Silicone molds (any shape you find comforting)
- A melting pot (or microwave-safe container)
- Parchment paper (to catch any spills)
- A baking sheet (for easy transportation)
- An oven (set at a low temperature, if needed)
Instructions
- Start by preheating your oven to a low temperature, around 200°F (93°C). This gentle heat will melt the crayons slowly, keeping the colors rich and vibrant.
- Unwrap the green crayons and break them into small pieces. The sound of breaking crayons is oddly satisfying, a brief moment of transformation before the real magic starts.
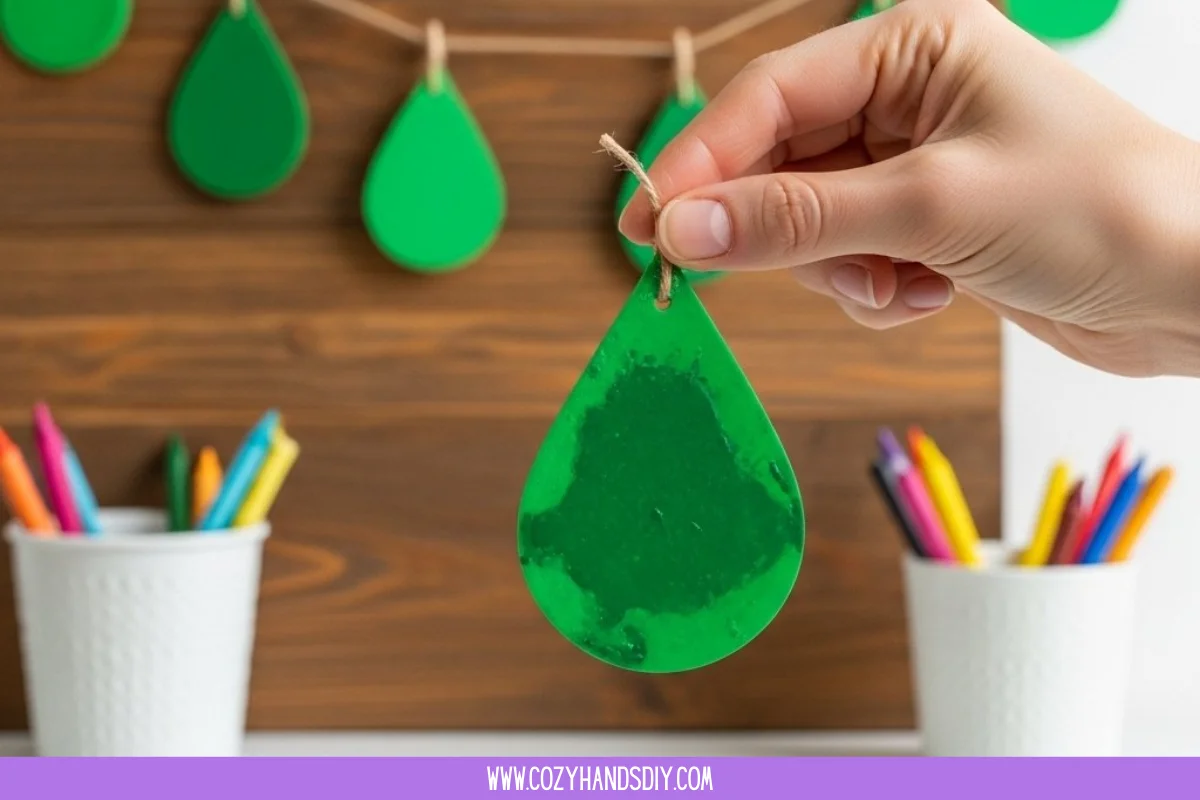
- Place the crayon pieces into your silicone molds. Feel free to experiment with various shapes, or stick to simple raindrops. Let your heart guide your choices.
- Once your molds are filled, carefully place them on the baking sheet. This will make it easy to move them in and out of the oven without spills.
- Place the baking sheet in the preheated oven. Watch patiently as the crayons melt, taking care to avoid opening the oven door too often. The hypnotic sight of the colors blending brings a sense of tranquility.
- After about 10-15 minutes, check the crayons. They should be completely melted. The colors will have turned into a beautiful swirl, inviting you to savor the moment.
- Once melted, carefully remove the baking sheet from the oven. Allow the molds to cool slightly once you have transferred them to a safe spot.
- When cool enough to touch, gently remove the suncatchers from the molds. Experience the smooth, warm shapes in your hands, celebrating the unique appearance of each one.
Last Step: Don’t forget to leave a rating and comment below! It helps other readers find the best recipes — and it helps us too!