Would you like to save this recipe?
By submitting you agree to receive this recipe and occasional emails. Unsubscribe anytime.
Materials
- Clean seashells, rinsed and dried (easy to find or collected)
- Borax powder or alum (borax is common; alum works as a substitute)
- Hot water, just off the boil
- Small glass jars or heatproof containers (one per shell or cluster)
- Clear string or thin wire for suspending shells (optional)
- A spoon or stir stick (wooden or metal)
- Food coloring or liquid dye, optional for color
- A tray or towel to protect your work surface
- Gloves and goggles for safety if you prefer (recommended for careful handling)
- A fine brush or soft cloth for gentle cleaning after crystals set
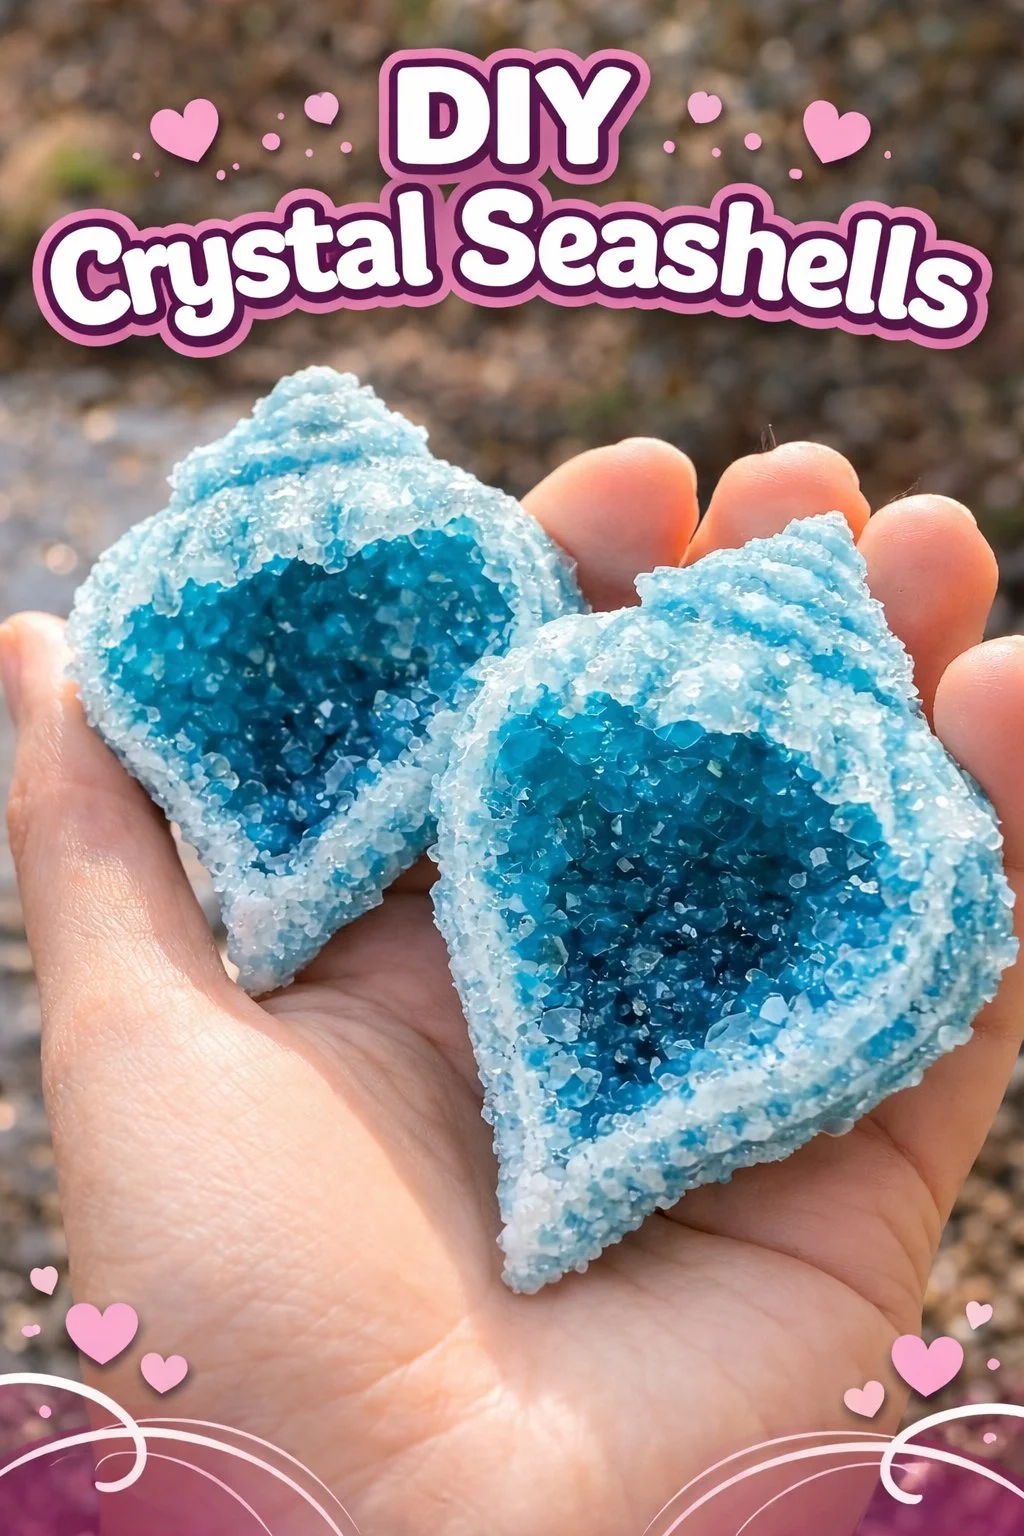
- Inspiration shell photos like the calming tones in this turquoise crystal seashells post
Instructions
- Gather a calm workspace. Lay down a towel to catch spills and place jars on a steady surface.Let your hands warm with the cup of tea you keep nearby.
- Measure hot water into a jar. Use enough to fully cover the shell you plan to crystalize.The water should be very warm but not boiling by the time you mix.
- Add borax or alum slowly, stirring until the water looks full and a bit cloudy.You want a saturated solution; a small amount may remain undissolved at the bottom.
- Prepare the shell by rinsing and letting it dry. If it has a waxy feeling, wipe with a soft cloth.A clean surface invites even crystal growth along ridges.
- If you plan to suspend the shell, tie clear string and hang it in the jar so it does not touch the sides.Or nestle the shell in the solution with a support so it sits comfortably.
- Gently lower the shell into the solution and leave it undisturbed. Cover lightly if you worry about dust.The silence of waiting is part of the practice; check only occasionally.
- Watch for the first tiny crystals to appear usually within a few hours, clearer by morning.When they look full and sparkly, remove the shell slowly by lifting the string or support.
- Rinse the shell very gently in cool water to remove loose crystals. Use a soft brush if needed.The rinse should be delicate; too much force can knock crystals free.
- Let the shell dry on a paper towel or soft cloth until completely set. Turn it slowly as it dries.The drying process helps crystal faces sharpen and catch more light.
- If you want deeper growth, return the shell to a fresh saturated solution and repeat.Each soak can produce larger, more confident crystals.
Last Step: Don’t forget to leave a rating and comment below! It helps other readers find the best recipes — and it helps us too!