Would you like to save this recipe?
By submitting you agree to receive this recipe and occasional emails. Unsubscribe anytime.
Materials
- Crayons in shades of blue, peeled and chopped or shaved (easy to find, reuse old crayons)
- A silicone mold or an oven-safe shallow tray (silicone works nicely for release)
- Parchment paper or a silicone mat (optional, for catching drips)
- A sharp knife, peeler, or grater for creating shavings (use gently and with focus)
- An oven, toaster oven, or heat source with a reliable low temperature
- A small metal spoon or wooden craft stick for arranging wax
- A toothpick or skewer for nudging small bits and releasing air bubbles
- Thin string, ribbon, or fishing line for hanging (optional)
- A hole punch tool or a metal skewer for making hanging holes once set (optional)
- A towel and a heatproof surface for cooling (safety first)
Instructions
- Preheat your oven or toaster oven to a low setting, around 200 to 225 degrees Fahrenheit.Keep the temperature gentle so the wax melts slowly and does not bubble too much. Low heat gives you more control.
- Prepare your workspace on a heatproof towel and set out your silicone mold.Lay down parchment or a silicone mat to catch any stray drips. Have your tools nearby so you do not rush.
- Peel crayon wrappers and shave or chop crayons into small pieces.Use a peeler for thin shavings or a knife for small chunks. The thinner the pieces, the faster and more even they melt.
- Arrange blue shavings in the mold in a single layer first.Think about light. Leave tiny gaps or patch with lighter blues to let sun glow differently through each area. Keep hands steady and fingers cool.
- Add a second layer of shavings if you want deeper color.You can mix blues or create stripes. The wax will blend a little, but the layers keep some texture. Less is often more.
- Place the mold on a flat tray and slide it into the oven.Check it at three to five minute intervals. The wax will soften and then become liquid, showing a gentle shine. If you heat slowly, you avoid bubbling and discoloration.
- Use a spoon or skewer to nudge any large unmelted bits and to encourage even spread.If small air pockets appear, let the wax settle or very gently tap the tray to bring bubbles to the surface. Work with calm, small motions.
- Remove the mold when the wax looks mostly smooth and has the glow of melted wax.Set it on a heatproof surface. It will cool and dull slightly as it sets. Avoid moving it while still very liquid to prevent spilling.
- Let the wax cool fully until it feels solid and slightly warm.Cooling may take thirty minutes or more depending on thickness. If you plan to make a hanging hole, do so with a skewer while the wax is just cooled but not bone-chilly; this reduces cracking.
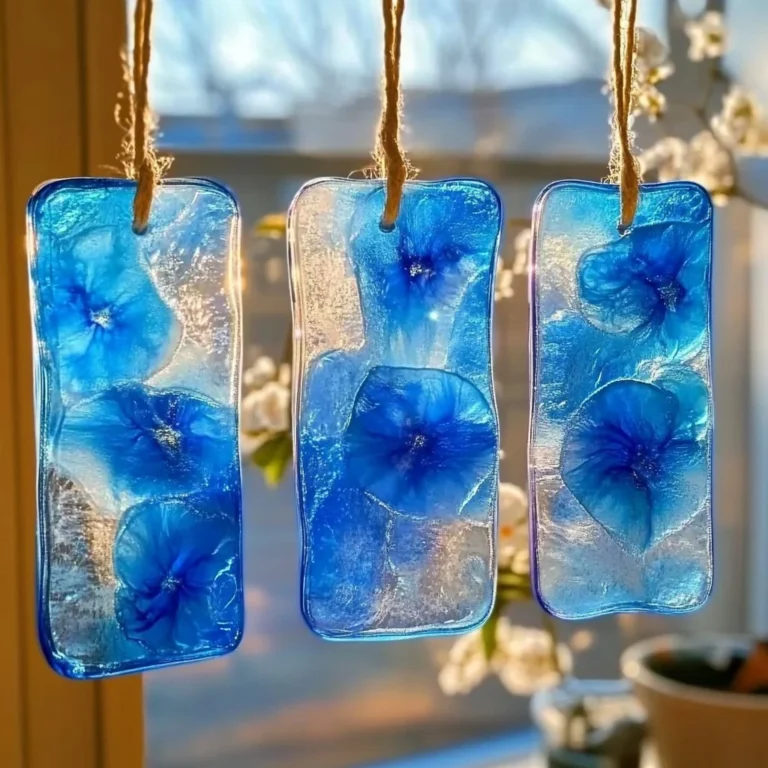
- Trim any rough edges and attach string or ribbon for hanging.If you used a mold, gently press from the back to pop the suncatcher free. Enjoy the way the light filters through the blue; adjust hang height as you like.
Last Step: Don’t forget to leave a rating and comment below! It helps other readers find the best recipes — and it helps us too!