Would you like to save this recipe?
By submitting you agree to receive this recipe and occasional emails. Unsubscribe anytime.
Materials
- Potato starch or cornstarch, 1 tablespoon per small suncatcher (easy to find)
- White vinegar, 1 teaspoon per batch (helps plasticize)
- Glycerin, 1 teaspoon per batch (optional, keeps flexibility)
- Water, about 3 tablespoons per batch (warm)
- Small saucepan or microwave-safe bowl (use what feels safe)
- Wooden spoon or silicone spatula (smooth stirring)
- Parchment paper or silicone mat (keeps pieces from sticking)
- Cookie cutters or household shapes to trace (optional)
- Leaves, petals, small feathers, thin paper, or pressed botanicals (dry, light)
- Small beads or fine glitter, optional for sparkle (use sparingly)
- Hole punch or needle for hanging once dry (if desired)
- String, twine, or thin ribbon for hanging
- Scissors and tweezers for careful placement
Instructions
- Measure the starch and water into a small saucepan or microwave-safe bowl.Warm the water slightly so the starch dissolves easily and feels smooth on your spoon.
- Add the vinegar and glycerin.Stir slowly until the mixture looks milky and the texture thickens gently.
- Heat the mixture on low, stirring constantly.You will feel the texture change from watery to lightly gloopy; stop heating when it holds a ribbon when you lift the spatula.
- Remove from heat and let it cool for a minute until it is warm, not hot.Warm mixture allows you to press delicate items without burning them and prevents tearing.
- Lay a sheet of parchment on the table and pour a small puddle where you want your suncatcher.Spread gently with a spatula to a thickness like a coin. Keep edges smooth for even drying.
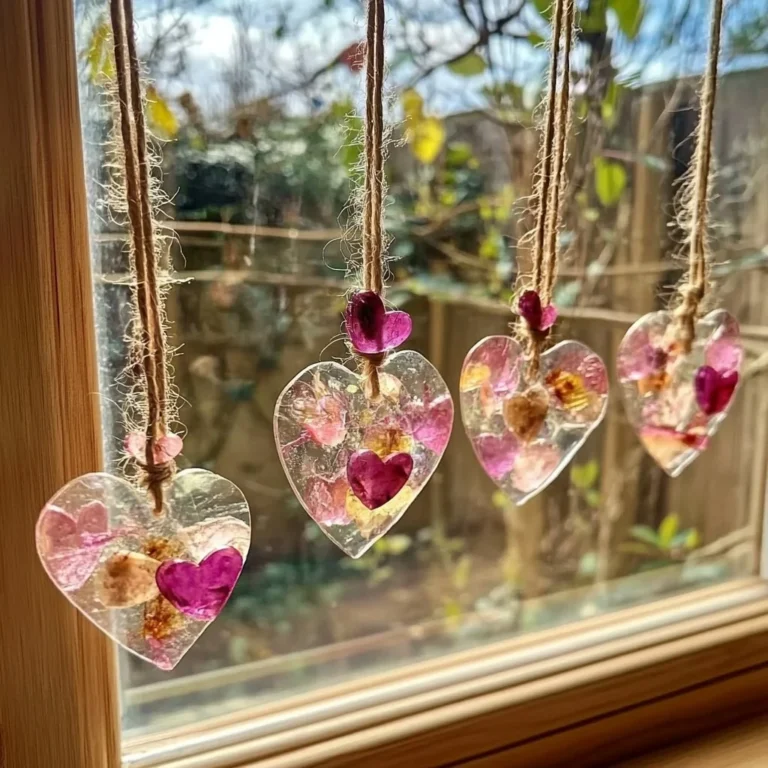
- Arrange your botanicals or small items on the warm film.Use tweezers for precise placement. Press each piece gently so it sinks slightly and bonds with the film.
- If you want a hole for hanging, use a skewer or needle to make one near the edge now.It will hold shape better while the material is still warm and flexible.
- Let the piece cool until it becomes leathery and safe to touch.Place on a flat, cool surface away from drafts. A short, patient touch tells you it is ready to move.
- If the piece warps, press it gently between two sheets of parchment under a light book overnight.This flattens while preserving the translucent effect.
- Once fully dry, trim edges or cut shapes with scissors.Work slowly and notice the way light catches the trimmed edge. Thread a string and hang where morning light can find it.
Last Step: Don’t forget to leave a rating and comment below! It helps other readers find the best recipes — and it helps us too!