Would you like to save this recipe?
By submitting you agree to receive this recipe and occasional emails. Unsubscribe anytime.
Materials
- Clear epoxy resin and slow hardener, 1-part or 2-part depending on the product (choose a resin labeled for deep pours or casting; clarity matters).
- Silicone sphere mold, smooth interior, appropriate size for your ball (easy to find online or at craft stores).
- Mixing cups and sticks, disposable and sturdy.
- Nitrile gloves and a well-fitting respirator rated for organic vapors if your resin demands it.
- Thermometer or infrared thermometer (optional; helps manage pour temperature).
- Isopropyl alcohol, 91 percent or higher, for degassing small surface bubbles.
- Mini torch or heat gun, low heat setting for bubble removal.
- Toothpicks and silicone-tipped tools to guide bubbles gently.
- Clear polish compound or fine sandpaper grits (600 to 2000) and polishing paste for final shine.
- Small drill with diamond bit or eyelet hardware if you plan to hang the ball.
- Soft cloths and cotton swabs for finishing.
- Clean, dust-free workspace and a protective cover for your work surface.
Instructions
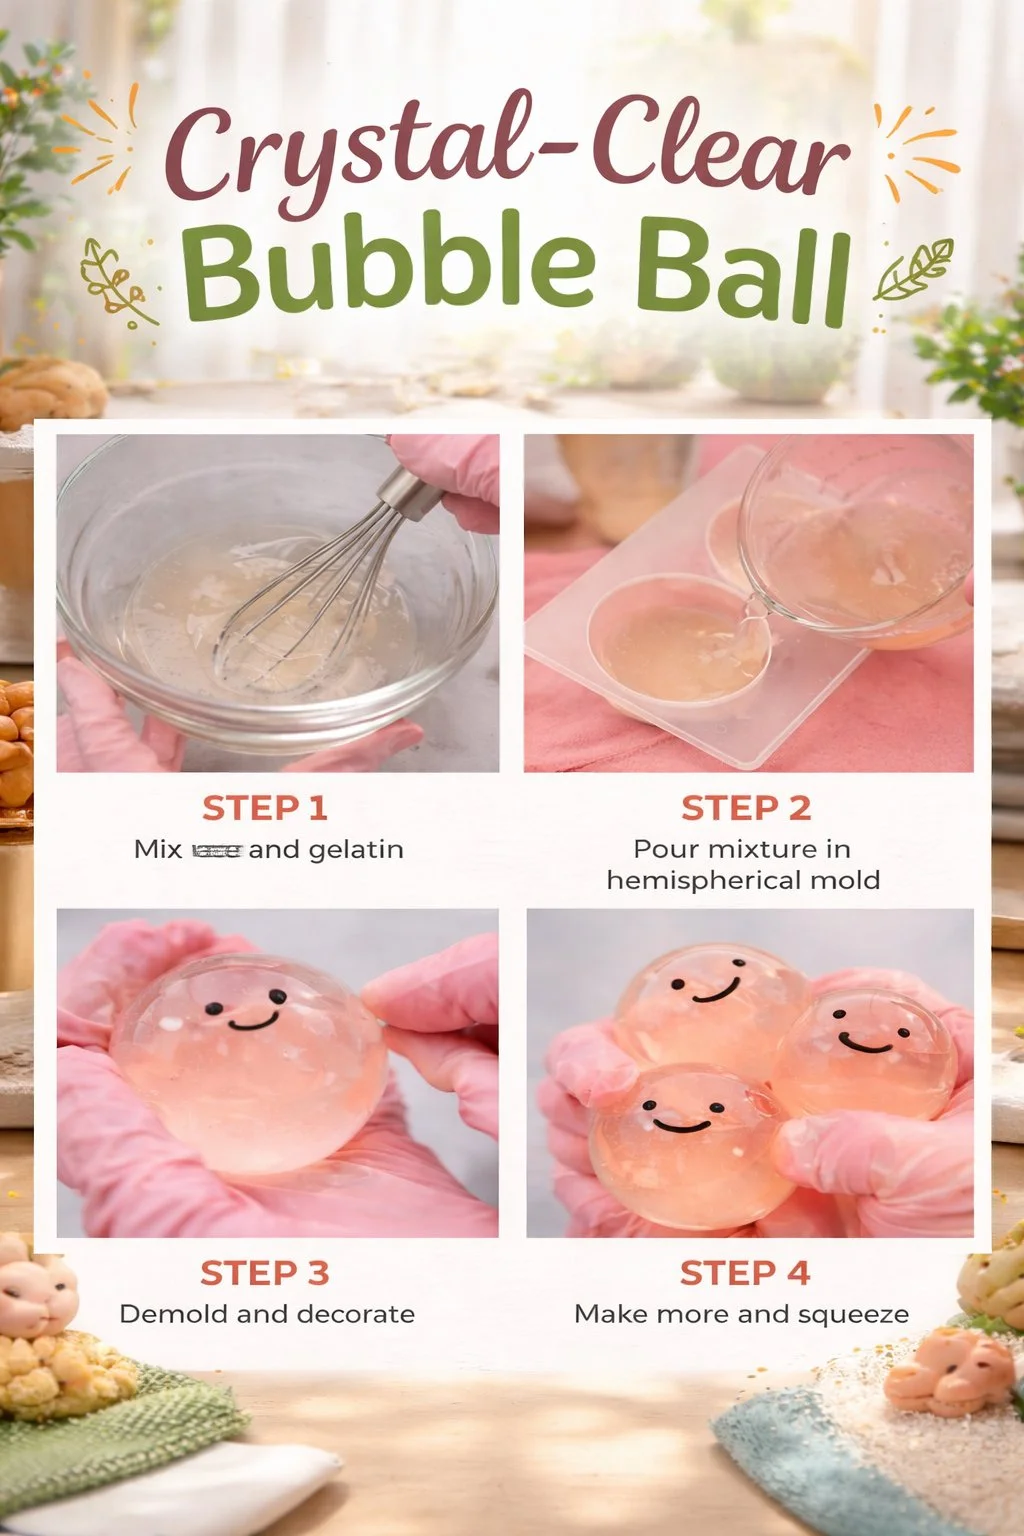
- Prepare your space and tools. Put on gloves and respirator. Cover your surface and arrange everything within reach.
- Measure and mix the resin slowly. Follow the resin maker’s ratio exactly. Stir gently for the full time to avoid introducing bubbles.
- Warm the mixed resin a little if allowed. A slightly warm resin flows more smoothly. Use a warm water bath for the cup, not direct heat.
- Pour a thin base layer into the sphere mold. Let it settle for a few minutes to level quietly. Use a small torch sweep to pop surface bubbles.
- Add a controlled inner inclusion or let a single bubble form. If you want a captured bubble, use a droplet of resin on a toothpick and position it. If you prefer the bubble to be a natural result, pour slowly and watch where air naturally gathers.
- Allow the first layer to reach a tacky stage. This helps subsequent pours bond without creating seams. Be patient and check the resin’s recommended cure windows.
- Pour the remaining resin in gentle layers. Pace your pours to avoid trapping new air. Pause between layers to let bubbles rise and pop.
- Use isopropyl alcohol to clear small surface bubbles. Spritz lightly and watch the surface calm. Move slowly and in small circles if you use a tool to nudge bubbles.
- Let the piece fully cure in a dust-free spot. Follow the resin’s cure time for full hardness. Avoid moving the mold during this time.
- Demold gently once cured. Press the silicone mold outward to release the ball. If needed, trim any flash with a sharp blade.
- Sand and polish for crystal clarity. Start with 600 grit if needed and progress to 2000. Finish with a polishing paste and a soft cloth for a glassy look.
- Add a hanging eye or mount if desired. Drill a small hole with a diamond bit slowly and with cooling. Insert an eyelet or use a clear stand to display your ball.
Last Step: Don’t forget to leave a rating and comment below! It helps other readers find the best recipes — and it helps us too!