Would you like to save this recipe?
By submitting you agree to receive this recipe and occasional emails. Unsubscribe anytime.
Materials
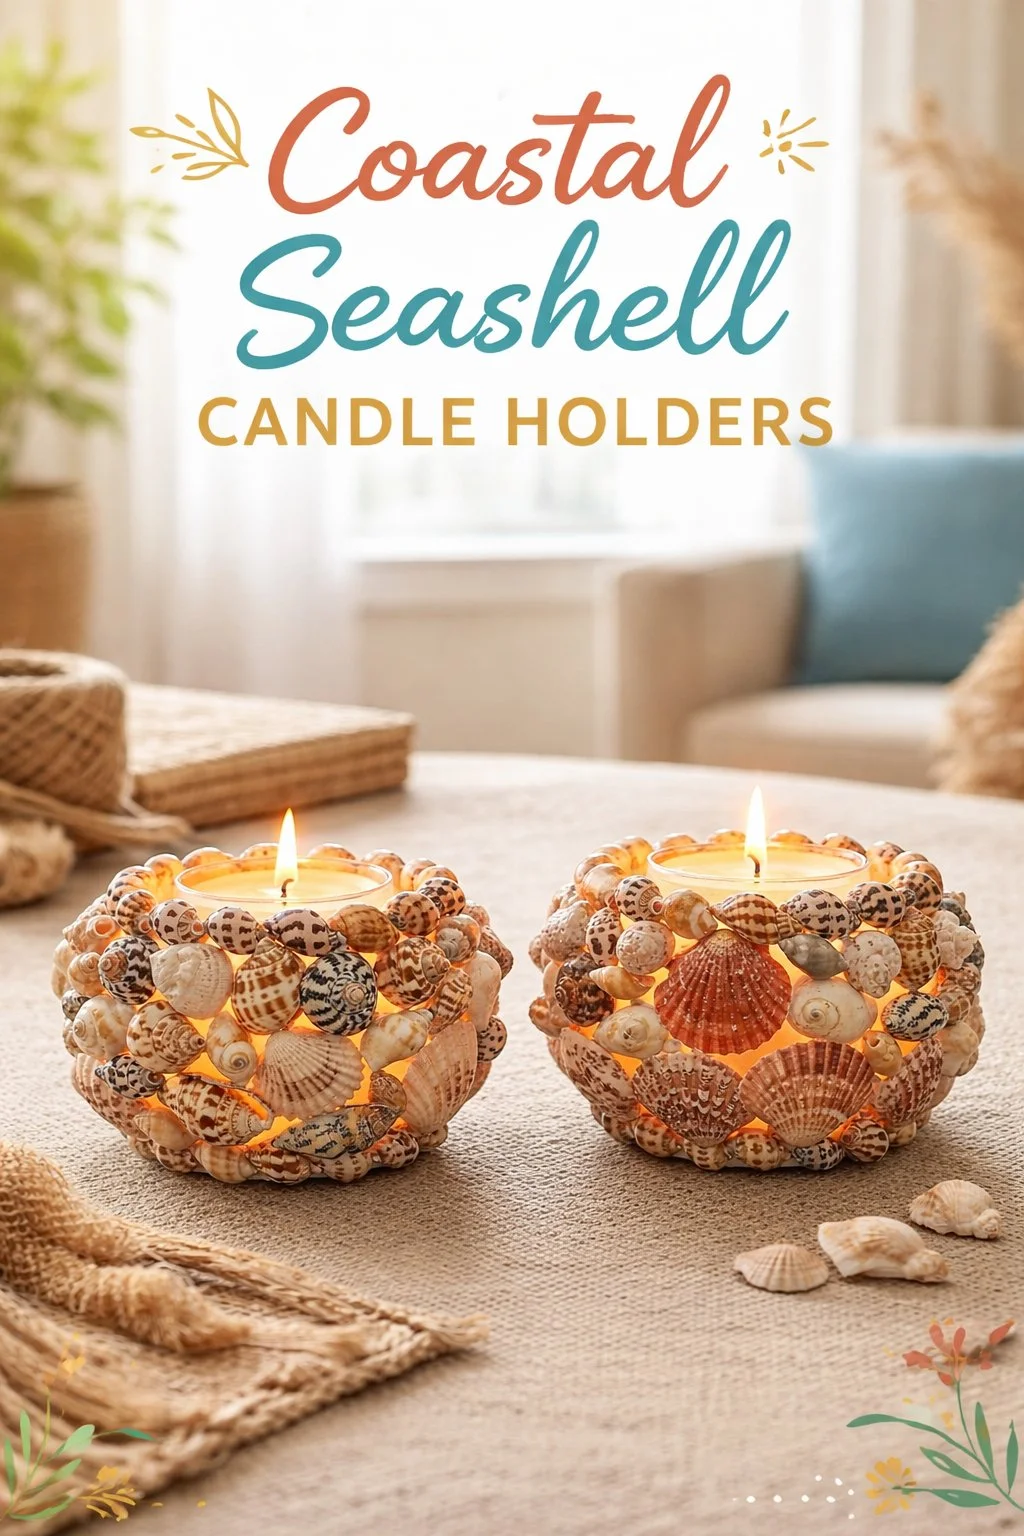
- Small seashells with a stable, concave center (easy to find or use collected shells)
- Tealight candles in metal cups (safer and tidy)
- Hot glue gun and glue sticks (quick setting; optional alternative below)
- Small sanding block or fine sandpaper (smooths edges)
- Rubbing alcohol and cotton pads (for cleaning; evaporates quickly)
- Clear craft sealant or varnish (optional; protects shells and keeps dust away)
- Tweezers or small pliers (for precise placement)
- Flat tray or heat-safe surface for working (protects your table)
- Small decorative sand or beads (optional for display; substitute-friendly)
Instructions
- Gather shells and choose the ones with a stable base and a gentle cup. Wrap a soft cloth around your hands and hold a shell to feel its balance. Place the shell on your work surface and imagine the candle sitting inside.
- Clean each shell with rubbing alcohol and a cotton pad. Move slowly and notice the grain of the shell as the pad passes. Let the shells dry fully; they will look brighter and feel cleaner.
- Test-fit a tealight in the shell without glue. See how the metal cup sits against the shell curves. If it rocks, you can sand a small contact point on the shell base.
- Lightly sand any sharp edges of the shell with fine sandpaper. Sand in one direction and feel how the shell softens under the block. Wipe away dust with a soft brush or cloth.
- Warm the hot glue gun and prepare a small line of glue. Work in a calm, steady rhythm so the glue stays soft and tacky. Apply a small dab inside the shell where the candle cup will touch.
- Place the tealight into the shell using tweezers if needed. Press gently and hold for a few seconds until the glue sets. Feel how the tealight settles into place like a tiny anchor.
- Repeat with remaining shells, spacing items on your tray. Let all glued pieces rest undisturbed for at least 10 minutes. This pause allows the glue to fully cool and the bond to strengthen.
- If you like, seal the outside of shells with clear craft varnish. Use small, light brush strokes and follow the grain of the shell. Allow the sealant to dry completely in a well-ventilated spot.
- Arrange shells in a shallow bowl of sand or on a wooden tray. Place them where you can see the flicker of candlelight and feel safe. Keep them away from flammable fabrics and out of reach of pets and children.
- Light one tealight at a time and quiet your breathing. Notice the warm glow pooling in the shell’s cup and the shadow it casts. Enjoy the slow rhythm of a single flame and the gentle scent of wax.
- When a candle finishes, let the shell cool before handling. Remove leftover wax from the metal cup if needed, or replace the tealight. Store shells clean and dry between uses.
- Take notes on what worked and what you might change next time. Some shells take glue well and others prefer a tiny bit of sand beneath the cup. Over time you build a small, tactile knowledge of each shell’s needs.
Last Step: Don’t forget to leave a rating and comment below! It helps other readers find the best recipes — and it helps us too!