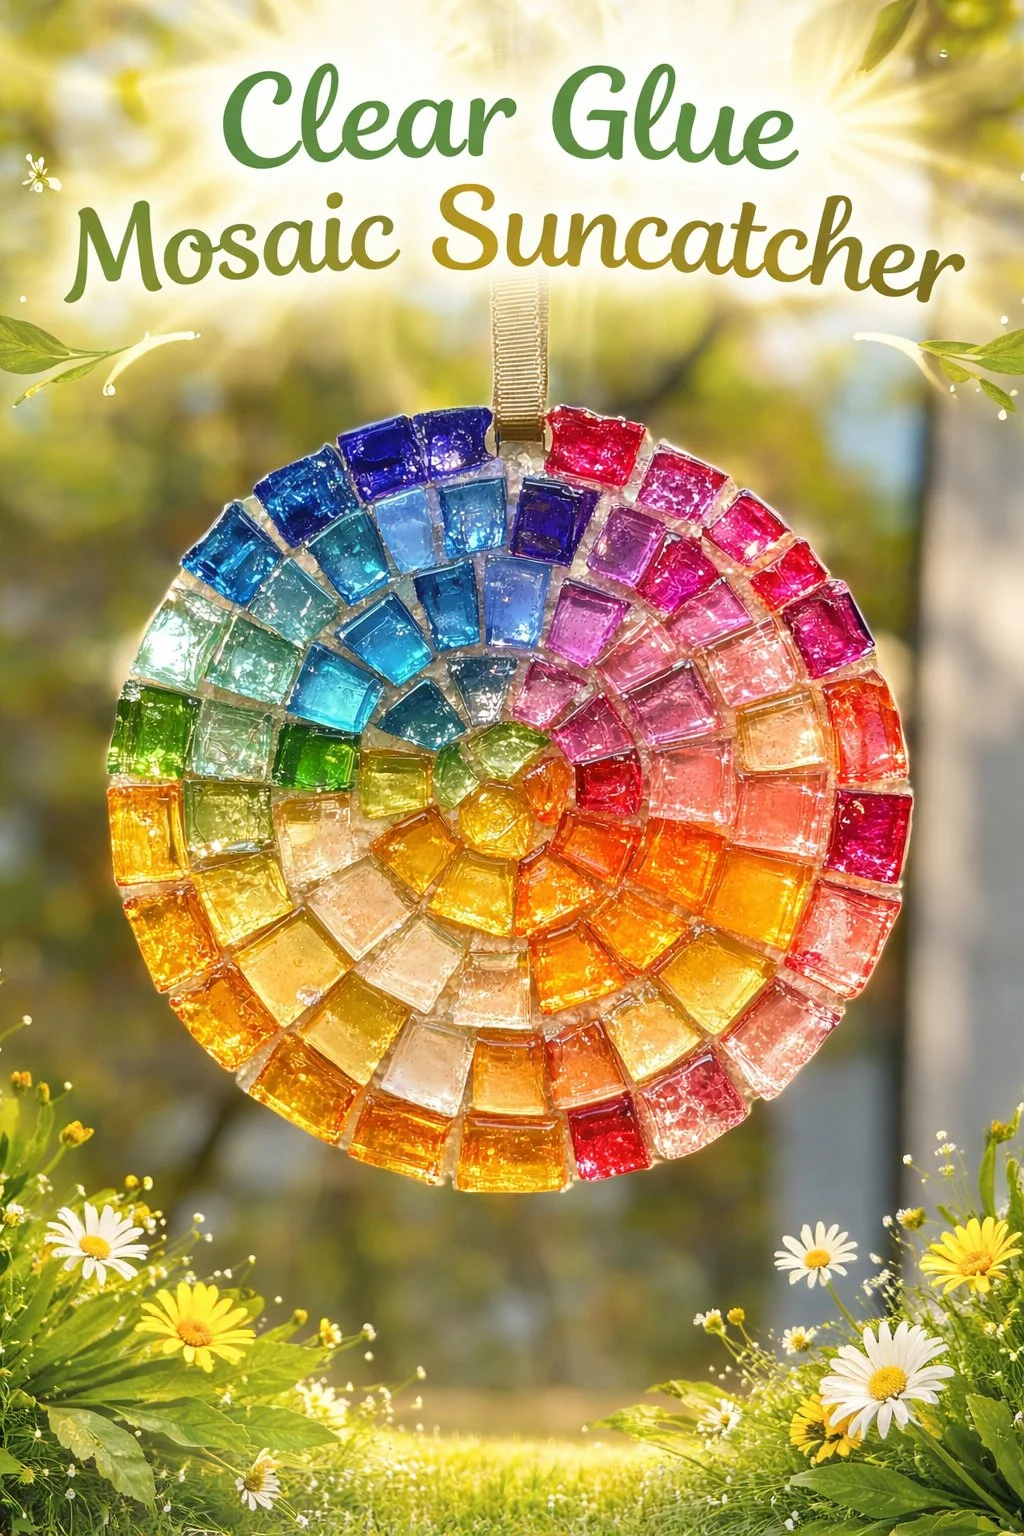
Would you like to save this recipe?
By submitting you agree to receive this recipe and occasional emails. Unsubscribe anytime.
Materials
- Clear craft glue (thick or gel finish; easy to find)
- Clear plastic sheet or thin acetate (sturdy base)
- Small glass beads, flat marbles, or glass gems (assorted colors)
- Transparent craft gems or acrylic shapes (optional, for variety)
- Craft sticks or palette knife (for spreading glue)
- Trim scissors (for cutting plastic)
- Wax paper or nonstick craft mat (protects surfaces)
- Fine-tip squeeze bottle or pipette (optional for precise glue drops)
- Small mixing tray or disposable plate (to hold glue)
- Lightweight string or clear fishing line (for hanging)
- Small hole punch or heated needle (to make a hanging hole)
- Paper towels and a damp cloth (for gentle cleanup)
- Protective gloves (optional, for sensitive skin)
Instructions
- Prepare your workspace and base. Lay wax paper on the table and place the acetate sheet flat. Keep a small tray of glue and your gems within easy reach.
- Plan a loose design with a calm hand. Scatter beads over the acetate until you like the rhythm of color. Breathe and move slowly as you decide where the first bead will sit.
- Place a small glue puddle where the first piece will go. Use a craft stick or a squeeze bottle for a steady drop. Aim for a shallow mound that will spread slightly under the piece.
- Set a glass gem into the glue. Press gently until the glue spreads under the edge and holds. You should feel a soft give as the gem finds its place.
- Continue adding pieces with mindful pacing. Work in small areas so glue does not run together too much. Leave tiny gaps if you like a mosaic effect or crowd pieces for a denser look.
- Use thin lines of glue to connect pieces if needed. A fine-tip bottle lets you draw delicate paths of glue. These connections help hold smaller bits in place without overwhelming the light.
- Let the first layer set until it feels tacky but not wet. This dry time varies with glue brand and room temperature. Touch lightly to sense when the glue supports new layers.
- Add depth with a second layer or small clear beads. Place the second layer with quieter motions and smaller pieces. That layering creates shadows and little pools of light.
- Create a hanging point once the glue holds firm. Punch a tiny hole in a corner of the acetate or warm a needle and melt a hole carefully. Thread a short length of string or fishing line through and knot it gently.
- Allow the entire suncatcher to cure fully in a flat, dust-free space. Cure times vary; expect at least 24 hours for most gel glues. Avoid moving it until the glue feels hard and secure.
- Final clean and gentle buff. Wipe edges with a damp cloth to remove stray glue. Trim any ragged acetate edges with clean cuts for a soft finish.
- Display and breathe. Hang the suncatcher in a window that catches a slow shift of light. Sit nearby, notice small changes, and let the work make a quiet place in your day.
Last Step: Don’t forget to leave a rating and comment below! It helps other readers find the best recipes — and it helps us too!