Would you like to save this recipe?
By submitting you agree to receive this recipe and occasional emails. Unsubscribe anytime.
Materials
- Birdseed mix, plain or mixed (easy to find; buy bulk for more ornaments)
- Plain gelatin or a vegetarian binder such as agar for a vegan option (simple chemistry: binder holds seeds)
- Warm water for dissolving binder
- Mixing bowl (medium size)
- Spoon and measuring cups (or a kitchen scale)
- Cookie cutters or ornament molds (metal or silicone; optional)
- Twine, ribbon, or natural jute for hanging (substitute-friendly)
- Skewer, straw, or small straw-like implement to make a hole before drying
- Parchment paper or a silicone mat (for drying)
- Small baking tray (flat, to support shapes while drying)
- Optional: dried cranberries, raisins, chopped unsalted nuts (check for bird safety), herbs like rosemary or marigold petals for scent and color
- Optional: non-toxic glitter or food coloring for visual variation (use sparingly and choose bird-safe options)
Instructions
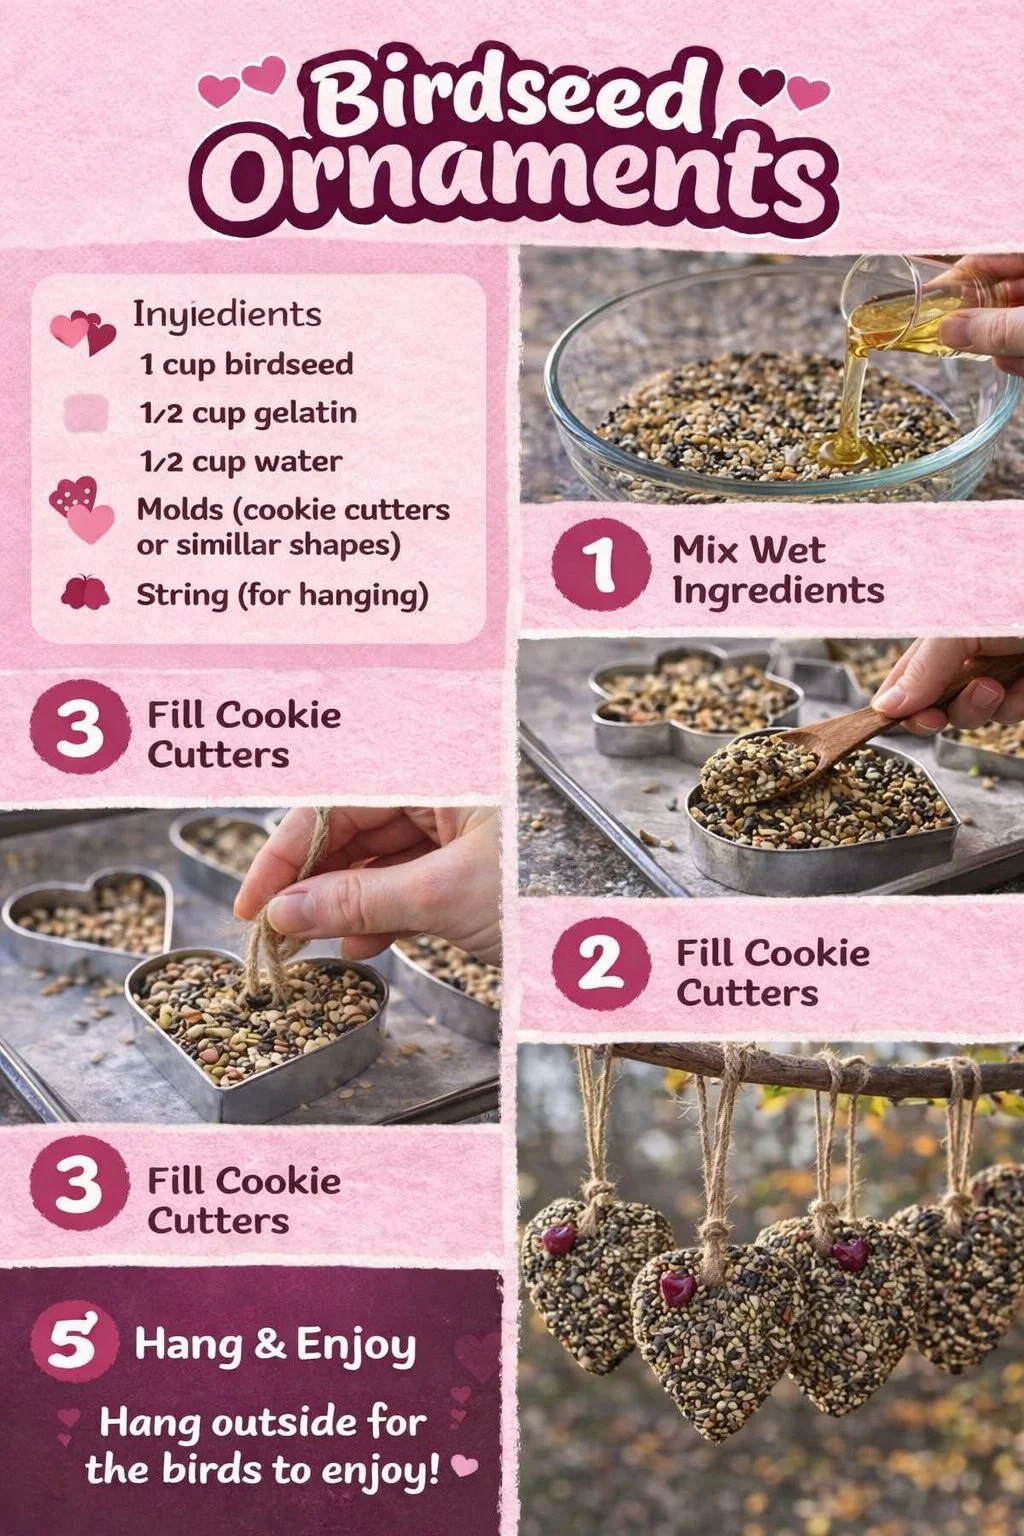
- Prepare your workspace with parchment paper and a tray.Lay out cookie cutters or molds and have your twine ready.The parchment keeps seeds from sticking and makes cleanup calm.
- Measure seeds into the bowl and admire their color and texture.Gently stir them to notice sound and movement.This simple act starts the slow rhythm of the project.
- Dissolve the binder in warm water according to package directions.Use gentle heat and stir until fully clear and smooth.The warm liquid helps the seeds bind and gives you control.
- Pour the binder gradually into the seed bowl and mix slowly.Use a spoon to fold rather than beat so seeds stay whole.Aim for a mix that holds when pressed but does not drip.
- Spoon the mixture into a cookie cutter or mold on parchment.Press down with your palm or the back of a spoon to compact.Compacting removes air pockets and creates a smooth face.
- Use a skewer or straw to make a small hole at the top for hanging.Make the hole before the mixture dries so it stays open and neat.Keep your motions gentle to preserve the shape.
- Leave ornaments on the tray to dry in a warm, airy spot.Drying can take 24 to 48 hours depending on humidity.Rotate them gently if needed so they dry evenly.
- When fully dry and firm, remove from mold and thread twine.Hang where birds can reach but cats and squirrels cannot easily access.Watch quietly and enjoy the small visits they bring.
Last Step: Don’t forget to leave a rating and comment below! It helps other readers find the best recipes — and it helps us too!