Would you like to save this recipe?
By submitting you agree to receive this recipe and occasional emails. Unsubscribe anytime.
Materials
- Baking soda, plain and dry (easy to find)
- White vinegar (common and safe when used with care)
- Table salt (optional for texture)
- Food coloring or liquid watercolors, several colors (small drops make big difference)
- Small shallow tray or plate (ceramic, glass, or plastic)
- Small cups or droppers for colors (pipettes or syringes work well)
- A stirring stick or spoon
- Measuring spoons and a teaspoon (simple, no need for exact precision)
- Toothpicks or small wooden skewers for shaping (optional)
- A damp cloth for quick cleanups (handy)
- Clear workspace and a towel beneath the tray (to catch drips)
Instructions
- Prepare your workspace and tray. Keep a towel under the tray. Arrange cups of color, a stirring stick, and a small cloth nearby.
- Make a shallow baking soda bed. Spoon baking soda into the tray to form a layer about one quarter to half an inch thick. Press lightly so it holds shape.
- Create small mounds or forms. Use a spoon or toothpick to shape tiny hills and valleys. These offer places for crystals to start and grow.
- Add optional texture. Sprinkle a pinch of table salt in areas where you want coarser crystal shapes. The salt alters how the solution moves.
- Mix simple colored solutions. In small cups, combine one teaspoon of white vinegar with three to four drops of food coloring. Stir gently.
- Test one drop first. Use a dropper to add a single drop of colored solution to a mound. Watch how it spreads slowly into the baking soda.
- Apply color thoughtfully. Drop color near the edges or on peaks. You might see faint fizzing. The movement feels alive and quiet.
- Repeat with different colors. Layer drops of different colors across the tray. Let them sit and mingle without mixing aggressively.
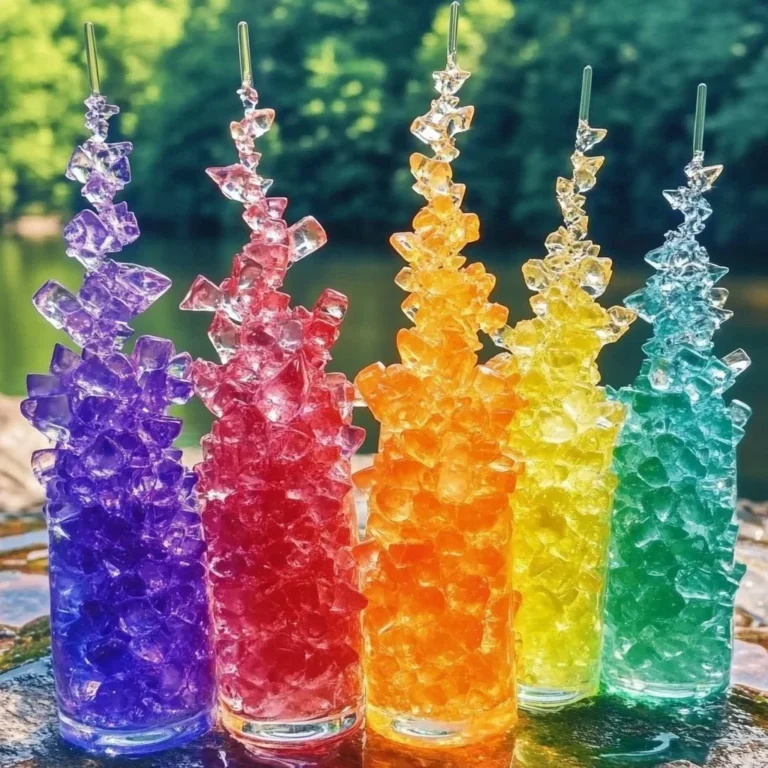
- Wait and observe closely. Crystals will begin forming where the solution concentrates. Check every 10 to 30 minutes and notice small shifts.
- Encourage vertical growth gently. If you want taller, branch-like crystals, add very small additional drops at the base of new formations.
- Let the scene dry slowly. Move your tray to a spot with stable temperature and low drafts. Slow evaporation supports clearer crystal structures.
- Enjoy or preserve your forest. When growth slows and the surface feels dry, you can leave the display as is. If you wish, you may carefully lift small sections to examine them.
Last Step: Don’t forget to leave a rating and comment below! It helps other readers find the best recipes — and it helps us too!