Would you like to save this recipe?
By submitting you agree to receive this recipe and occasional emails. Unsubscribe anytime.
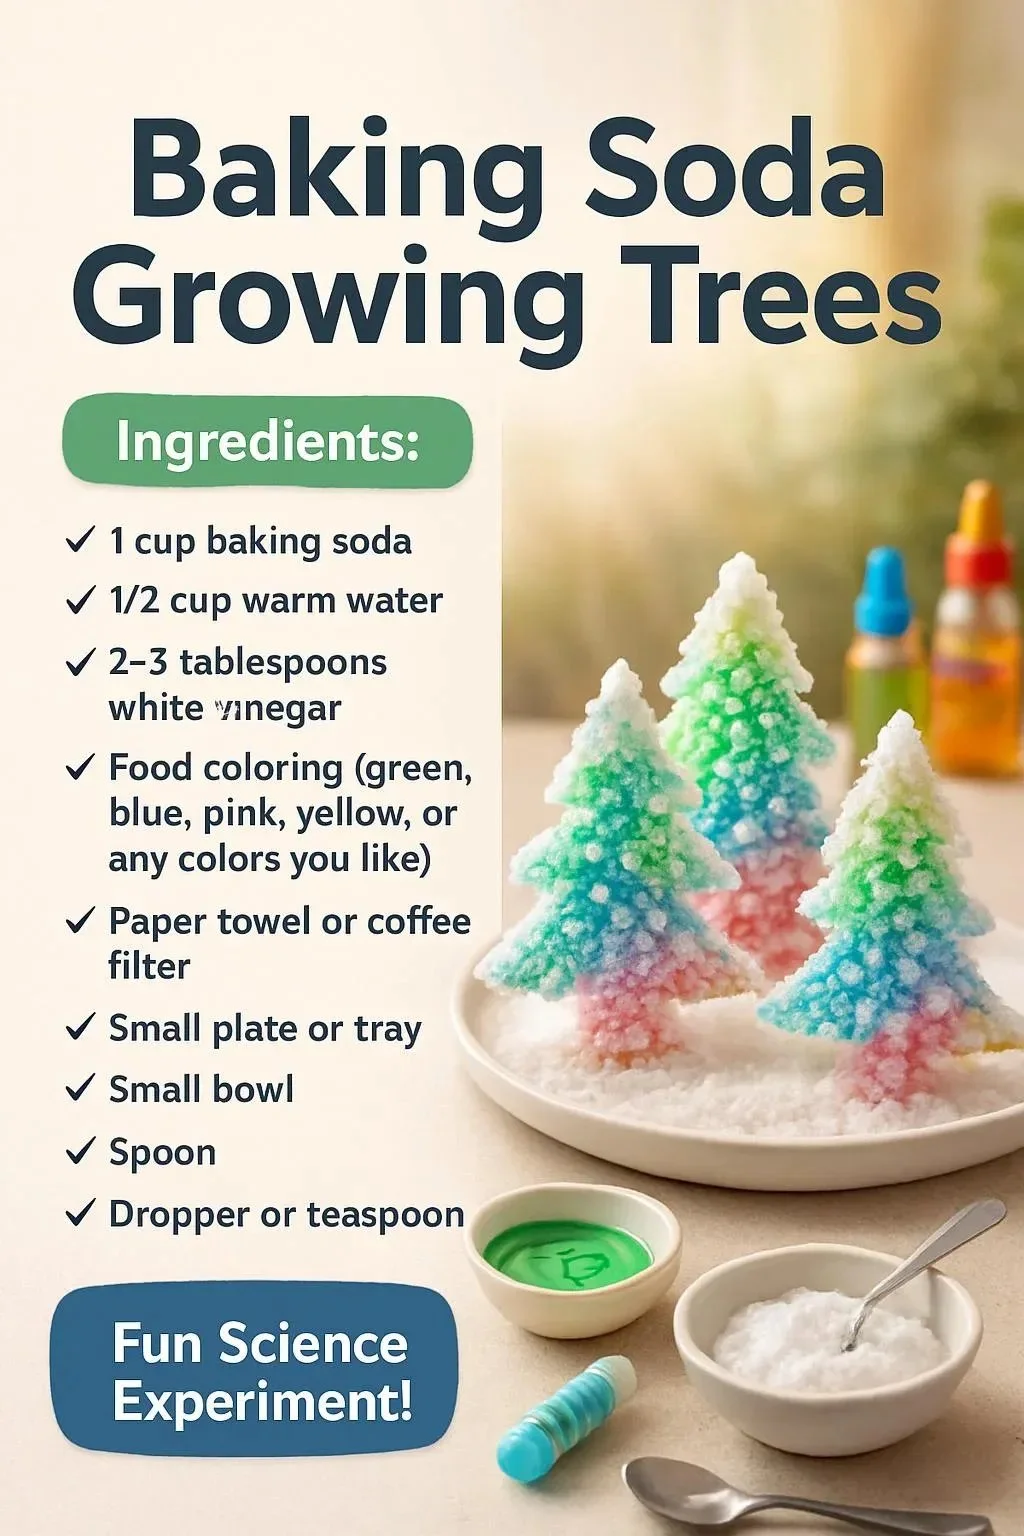
Materials
- Baking soda (sodium bicarbonate), easy to find at grocery stores.
- Warm water, to help dissolve and carry the baking soda.
- Clear glass or shallow dish, optional but helpful for watching growth.
- Small twig-like forms: small paper trees, pipe cleaners, or twig shapes from craft clay.
- Food coloring or watercolor for gentle tinting, optional and safe in small amounts.
- Measuring cups and spoon, simple tools.
- Tray or towel to protect your workspace, recommended.
- Small jars or cups for mixing solutions, easy to reuse.
- Protective gloves and safety glasses for sensitive skin or if you prefer extra care, optional.
- Tweezers or chopsticks for moving pieces with a light touch, helpful and nice for slow handling.
Instructions
- Prepare your workspace. Set a tray or towel down to protect the table. Arrange jars, tools, and your tree form within reach.
- Make a concentrated baking soda solution. Stir 1 cup warm water into about 3 to 4 tablespoons baking soda. Stir slowly until the powder mostly dissolves and the mix looks a bit cloudy.
- Color the solution gently if you like. Add a drop or two of food coloring and stir. Keep colors soft; they spread slowly through the crystals.
- Shape your tree base. Bend a pipe cleaner or clip a paper tree onto a cork or small jar lid. Make sure it stands upright and has thin, twiggy branches.
- Position the tree in the solution. Set the base so only the lowest branches touch the liquid. Avoid submerging the whole trunk; crystals form best from the wet edges upward.
- Watch and wait with a gentle eye. Place the tray in a spot with steady light, not direct sun. Check hourly for a gentle rise of crystalline growth.
- If fizzing occurs, slow down and observe. A small fizz can come from tiny reactions if any acid touches the base. This fizz often ends quickly; let the piece settle before moving it.
- Lift the tree after a day to inspect. Use tweezers or a careful hand to lift and set on paper towel. Let excess liquid drip away while you admire the texture forming.
- Let the crystals dry and harden slowly. Place the tree on a soft surface out of drafts. Drying slowly gives clearer, more defined crystal faces.
- Add finishing touches if you like. Dust a little extra baking soda where growth looks sparse. You can glue a few larger crystals to hold a shape, using a tiny dab of white glue.
- Display gently. Set the tree in a shallow dish or on a shelf with a soft cloth underneath. Avoid high traffic spots where curious hands might nudge fragile branches.
- Reflect on the process. Sit with a cup of tea and notice how your pace changed while you watched. Let the small outcome feel like a slow, shared moment with the materials.
Last Step: Don’t forget to leave a rating and comment below! It helps other readers find the best recipes — and it helps us too!