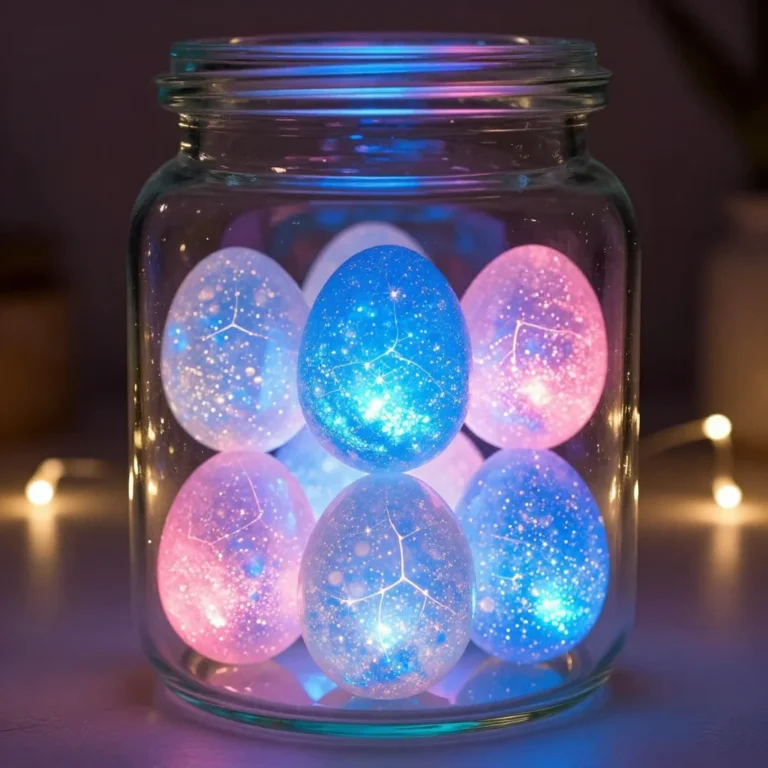
Would you like to save this recipe?
By submitting you agree to receive this recipe and occasional emails. Unsubscribe anytime.
Materials
- Clear eggs (plastic or blown, depending on preference)
- Tissue paper in various colors (easy to find at craft stores)
- Mod Podge or white glue
- Soft paintbrush
- Warm water (for mixing with glue if necessary)
- A small bowl (for mixing materials)
- Scissors (if you want to cut your tissue paper into specific shapes)
Instructions
- Begin by arranging your materials on a flat surface. Take a moment to enjoy the colors and textures. This small act sets the stage for your creative process.
- If you desire, cut the tissue paper into smaller shapes. Think about how you want to layer them on your eggs. The uneven edges will create beautiful textures and looks.
- In your bowl, mix equal parts Mod Podge and warm water. This mixture should feel smooth and is essential for adhering the tissue paper to the eggs.
- Dip your paintbrush into the mixture and apply a thin layer to the surface of your egg. Enjoy the way the brush glides over the plastic, leaving a glossy finish.
- Carefully place a piece of tissue paper onto the glue-covered part of the egg. Use your brush to gently dab more glue over the paper, helping it adhere and become part of the egg’s surface.
- Continue layering, overlapping the pieces of tissue paper. Feel free to experiment with different colors and shapes as you build up the design.
- Allow the first layer to dry slightly before adding more. This pause can bring a sense of calm, letting you appreciate your work so far.
- Once finished, set your eggs aside to dry completely. The wait brings anticipation, a moment to reflect on the beauty of your craft.
Last Step: Don’t forget to leave a rating and comment below! It helps other readers find the best recipes — and it helps us too!