Would you like to save this recipe?
By submitting you agree to receive this recipe and occasional emails. Unsubscribe anytime.
Materials
- Gelatin powder (unflavored), easy to find in grocery stores
- Glycerin, available at pharmacies or craft shops (optional, but helps softness)
- Distilled water, clear and free of scent
- A small saucepan, clean and steady
- Wooden spoon or silicone spatula, warm to the touch when stirring
- Baking sheet or tray lined with parchment paper, smooth surface for pouring
- Cookie cutters or a sharp craft knife, for shaping once dry
- Natural items for embedding: pressed flowers, thin leaves, small grasses (fully dry)
- Food coloring or watercolor pigments (optional), a few drops for subtle color
- Small paintbrush or pipette, for placing color or water drops
- Scissors and tweezers, for gentle placement of tiny items
- A fine mesh strainer (optional), to remove bubbles before pouring
- Heavy books or a small rolling pin wrapped in cloth, for gentle flattening
- A shallow dish for mixing and measuring spoons, simple, calm tools
Instructions
- Measure and mix the basics.Warm 2 tablespoons of distilled water in a small saucepan, then sprinkle 1 tablespoon of gelatin over the surface. Let it bloom for a few minutes until the granules swell and soften. This step feels slow and patient, like waiting for a tea to steep.
- Heat gently while stirring.Place the pan on low heat and stir steadily until the gelatin dissolves. Add 1 teaspoon glycerin if you want a softer sheet. Keep the motion slow; the sound and movement calm the mind.
- Add color if you like.If you choose color, mix a single drop of food coloring or a tiny bit of watercolor into the warm liquid. Stir until it blends into a soft, translucent tint. A little goes a long way; the change is subtle and gentle.
- Strain to smooth the surface.Pour the warm mix through a fine mesh strainer into a heat-safe measuring cup. This removes bubbles and ensures a clear film. The liquid looks glossy and calm as it falls.
- Prepare your pressing surface.Line a baking sheet with parchment paper and flatten it until it lies smooth. The texture of the paper will show faintly in the finished piece; that adds charm.
- Pour slowly and thin.Pour a small pool of the gelatin mix onto the paper. Spread it slowly with a spatula until it reaches a thickness like a thin coin. Work with soft, even strokes so the surface stays smooth.
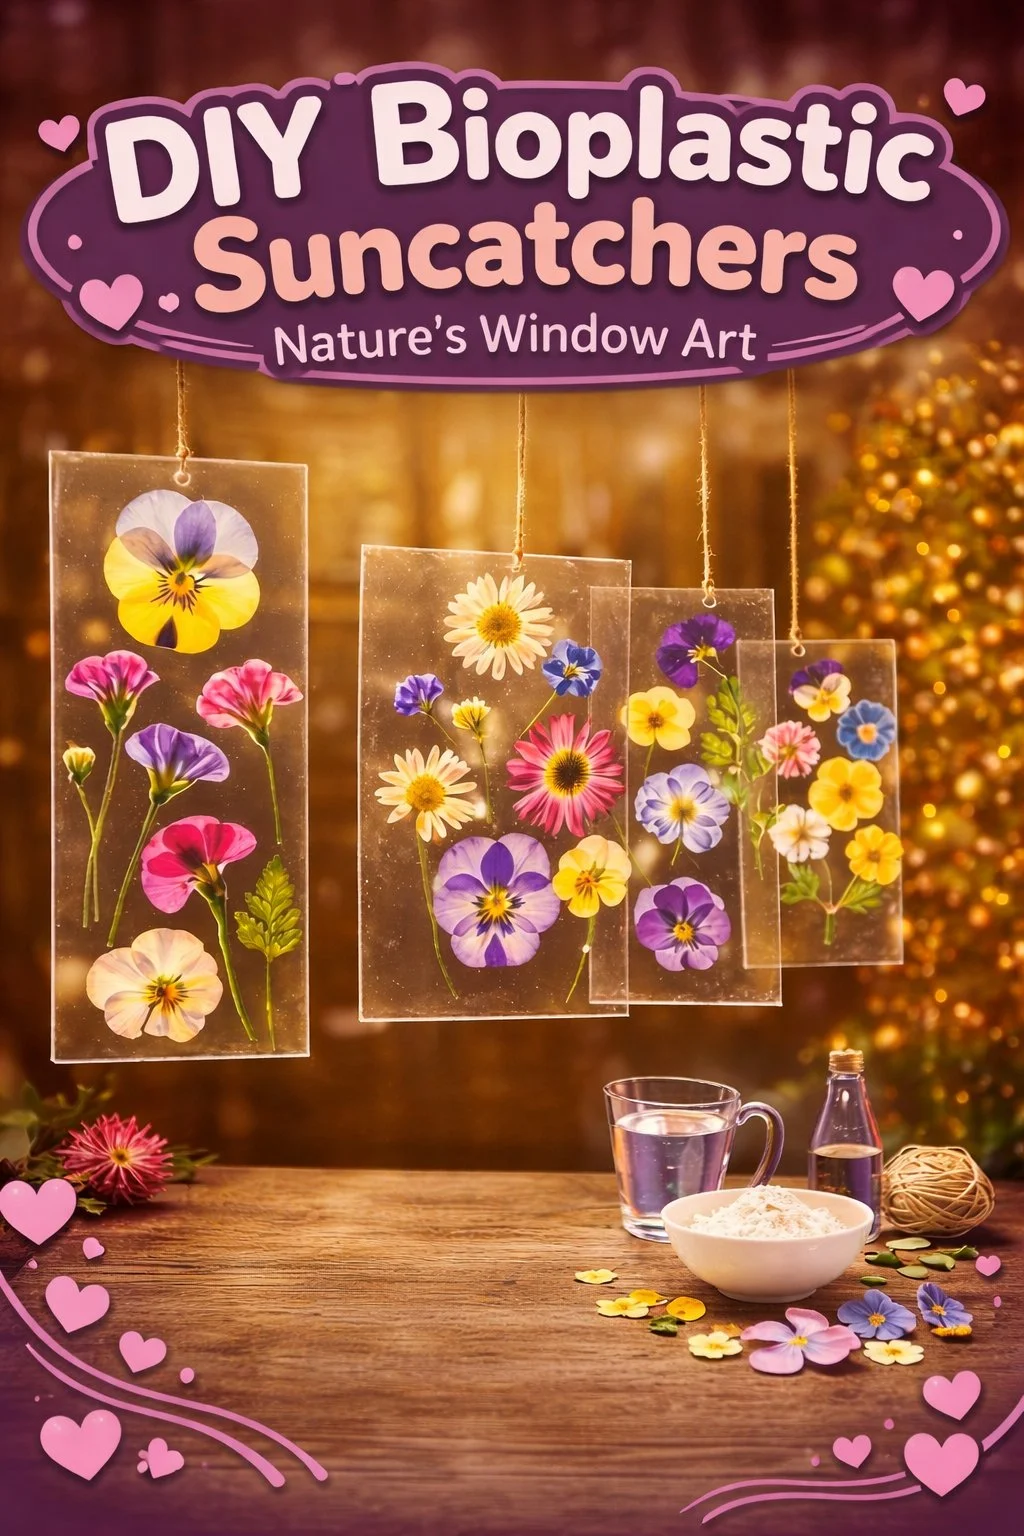
- Lay in your nature bits.Using tweezers, place dried petals, leaves, or grasses on the wet surface. Press them down gently with the back of the spatula or a clean brush handle. Notice how the textures nestle into the film without tearing.
- Remove bubbles with soft taps.If tiny bubbles rise, tap the tray gently on the table or use a small needle to lift them away. The motion is small and steady; you will find it calming.
- Let pieces dry slowly.Allow the sheets to dry in a warm, airy spot for several hours or overnight. Avoid direct sun or a hot radiator; slow drying reduces curling. The wait invites quiet observation: peek at the way light begins to travel through.
- Test for flexibility.When the surface feels dry to the touch, lift a corner to see if it holds. If it still feels tacky, give it more time. A fully cured suncatcher bends slightly but does not stick to your fingers.
- Cut into shapes.Use cookie cutters or a sharp knife to trim shapes. Work on a soft surface and trim slowly; the edges smooth with each careful pass. If you want a hole for hanging, pierce it now while the material is dry.
- Finish edges and hang.If edges feel rough, gently buff them with fine sandpaper or trim again with scissors. Thread thin string or fishing line through the hole. Hang near a window and listen as light changes throughout the day.
Last Step: Don’t forget to leave a rating and comment below! It helps other readers find the best recipes — and it helps us too!