Would you like to save this recipe?
By submitting you agree to receive this recipe and occasional emails. Unsubscribe anytime.
Materials
- Clear glue (look for one that dries transparent and flexible)
- Colorful tissue paper (any shades that inspire you)
- Scissors (for cutting out flower shapes)
- Baking sheet or wax paper (to protect your work surface)
- Acrylic paint (optional for extra design elements)
- Brushes (if using paint)
Instructions
- Prepare Your Workspace: Lay down the baking sheet or wax paper to protect your surface from glue spills. Take a moment to find your flow in this quiet activity.
- Cut Flower Shapes: Use the scissors to cut various flower shapes from the colorful tissue paper. These can be simple circles with pointed edges or more intricate designs, depending on your preference.
- Mix the Glue: In a small container, mix a portion of your clear glue with a few drops of acrylic paint (if using), creating a tinted adhesive that complements your flower colors.
- Layer the Glue: Using a brush, apply a thin layer of glue on one side of the flower shape. Be gentle as you coat it to ensure even spreading.
- Create the Flower: Place another flower shape on top of the first one, allowing the two to bond. You can experiment with layering different colors and shapes for a more dynamic look.
- Drying Time: Allow your flowers to dry completely on the baking sheet or wax paper. This might take a few hours. Embrace this waiting period as a moment to relax and breathe.
- Final Touches: After the flowers are dry, consider adding additional elements. You could paint small details, add glitter, or even attach them to a string for hanging.
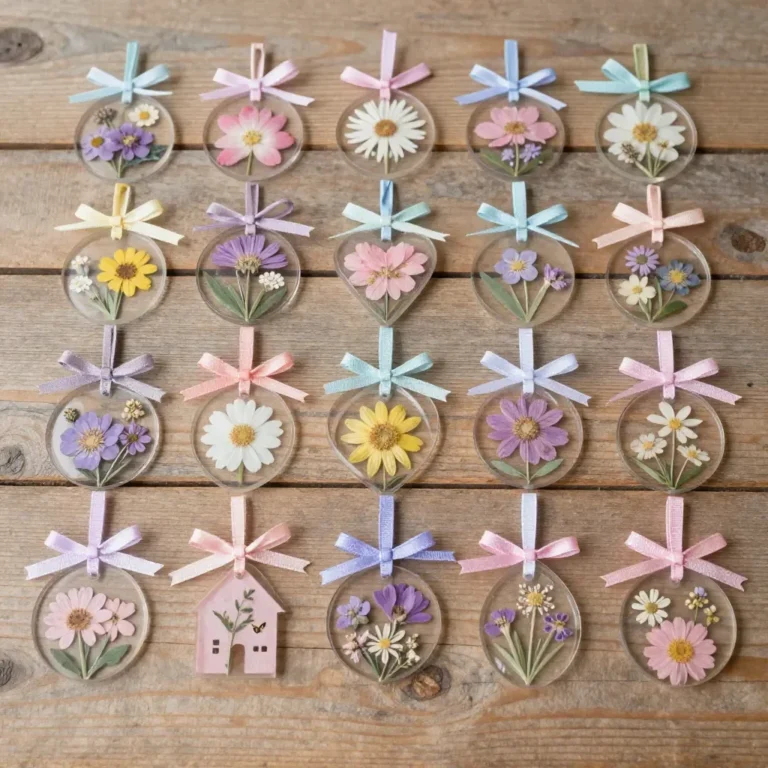
- Display Your Art: Think about how you want to showcase your Clear Glue Flower Ornaments. You might hang them in a window, place them on walls, or give them as thoughtful gifts.
Last Step: Don’t forget to leave a rating and comment below! It helps other readers find the best recipes — and it helps us too!