Would you like to save this recipe?
By submitting you agree to receive this recipe and occasional emails. Unsubscribe anytime.
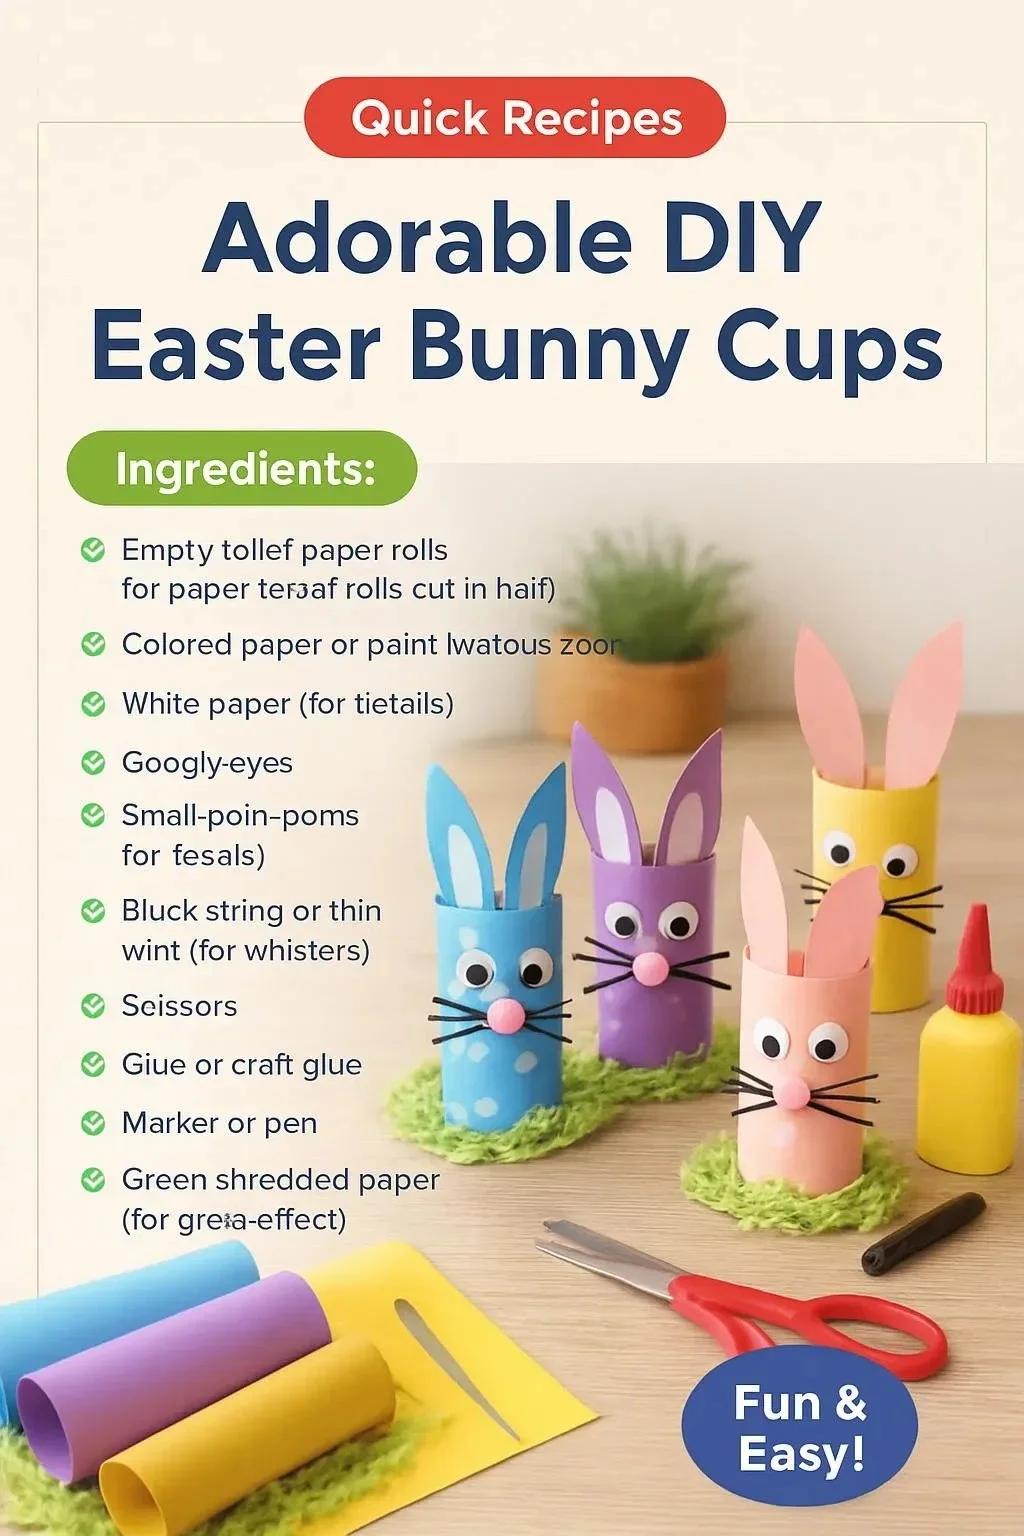
Materials
- Paper or plastic party cups (plain white or pastel, easy to find)
- Colored construction paper (soft pastels work well)
- Small pom poms (white or pink; optional)
- Cotton batting or scrap fabric for stuffing (soft and breathable)
- Washable glue or craft glue (quick-setting preferred)
- Scissors (comfortable grip)
- Pencil and eraser (light lines help)
- Fine-tip permanent marker for faces (safe and low-odor)
- Double-sided tape (optional, to avoid wet glue)
- Small candies or tiny treats for filling (optional)
- Ribbon or twine for accents (optional)
- Googly eyes (optional, substitute with marker for a softer look)
Instructions
- Choose a cup and lightly sketch where the bunny face will sit. Keep lines soft and minimal.
- The face sits best near the upper third of the cup, leaving space for ears.
- Cut two ear shapes from construction paper. Make them slightly longer than you think you need.
- The extra length lets you tuck them gently inside the cup rim.
- Add inner ear details with a smaller shape or a soft marker. Press glue sparingly along the ear base.
- Hold for a few seconds until tacky and secure.
- Attach the ears to the inside rim so they stand up. Tuck a small fold at the ear base for stability.
- Let glue set while you prepare the face.
- Create a small pom pom or cotton ball for the tail. If you use fabric scraps, roll them into a tiny soft ball.
- Attach the tail with a dab of glue to the back of the cup.
- Draw a simple face using a fine marker. Keep features small and spaced gently.
- A few delicate dots and a tiny smile give a calm expression.
- Fill the cup with soft tissue, tiny treats, or a little dried lavender. The filling adds weight and a pleasant texture.
- If you use scents like lavender, they add a quiet sensory note.
- Add ribbon or twine accents around the base if you like. A small bow softens the look and adds a tactile ribbon to stroke.
- Trim any excess with gentle snips.
- Make a few more, keeping the same shapes for cohesion. Notice how your hands remember the motions.
- Place them together to see a calm chorus of tiny bunnies.
- Let everything dry fully before placing near food or little hands. A resting hour gives glue time to firm up.
- Store finished pieces somewhere cool and dry until use.
Last Step: Don’t forget to leave a rating and comment below! It helps other readers find the best recipes — and it helps us too!