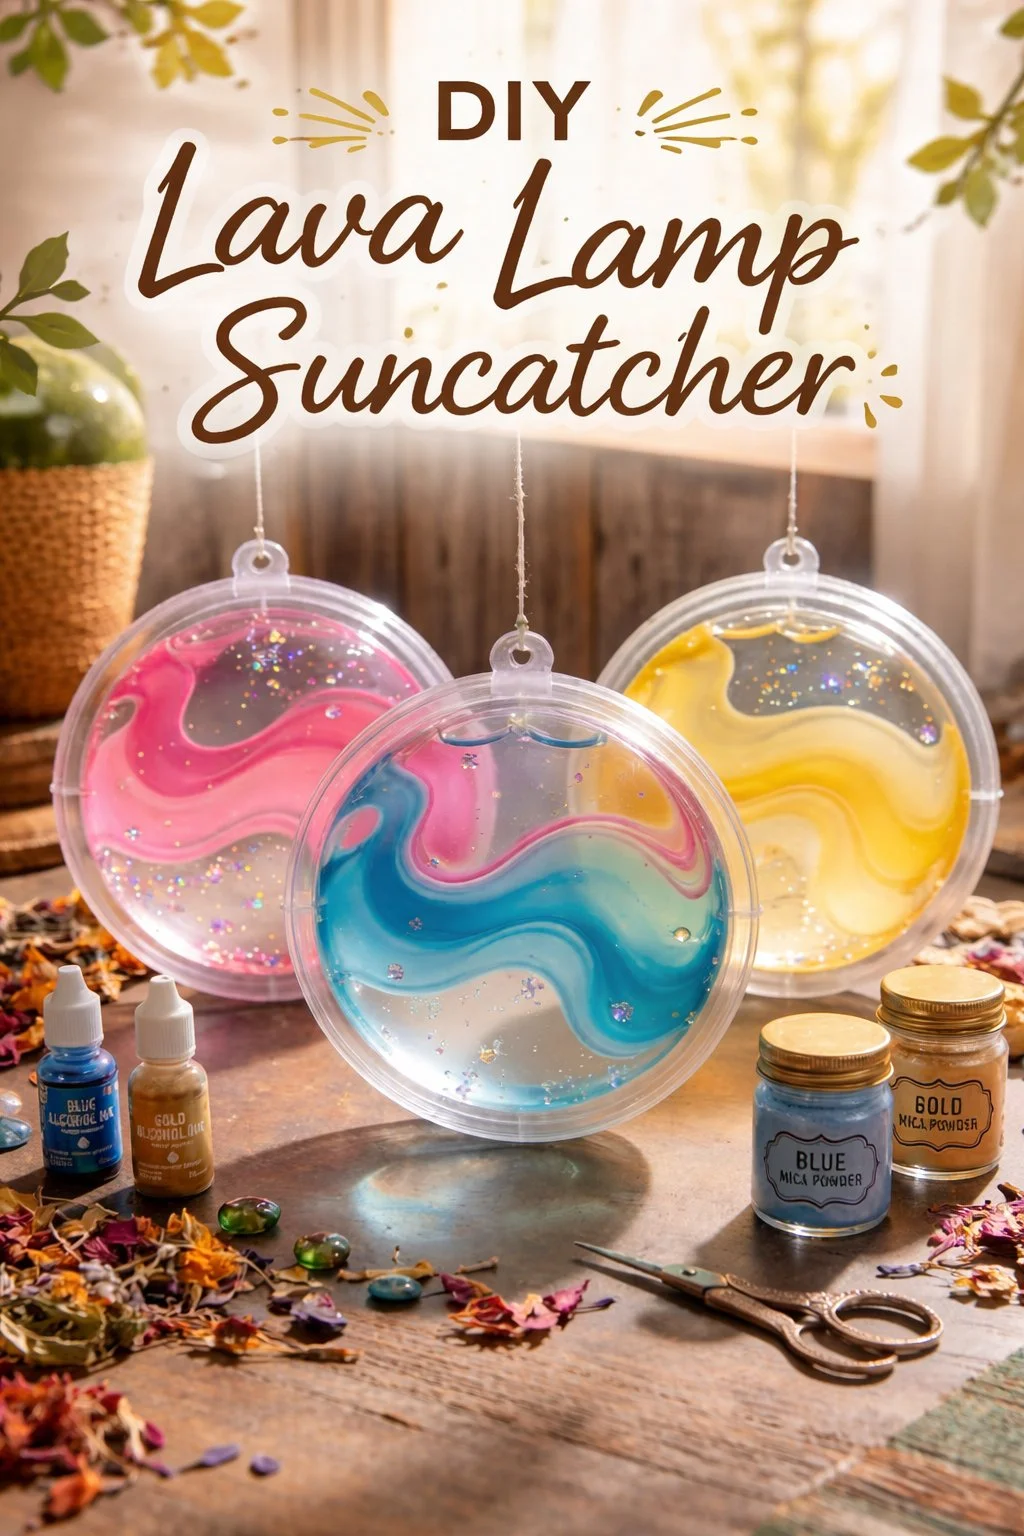
Would you like to save this recipe?
By submitting you agree to receive this recipe and occasional emails. Unsubscribe anytime.
Materials
- Small glass ring or clear glass suncatcher frame (easy to find at craft stores)
- Clear resin or clear silicone gel (resin gives a glass-like finish; silicone is softer and flexible)
- Gel or colored oil drops (can use colored silicone pigments or oil-based dyes)
- Small pipettes or droppers (optional, but they help with precision)
- Stirring sticks or wooden skewers (simple and tactile)
- Disposable mixing cups (single-use keeps things simple)
- Gloves (nitrile or latex, for safe handling)
- A small heat gun or hair dryer (optional; helps release bubbles)
- Fine sandpaper or a polishing pad (for gentle finishing)
- Thin wire or ribbon for hanging (optional)
- A shallow tray or protective mat (to catch spills and protect your table)
- Small funnel or paper cone (optional, for neat pouring)
- Isopropyl alcohol and lint-free cloths (for cleaning edges and tools)
Instructions
- Prepare your space and materials.Lay down a tray and cloth to protect the surface.Put on gloves and organize cups, pigments, and drops.
- Measure and mix the clear base.Follow the resin or silicone instructions gently and slowly.Stir in smooth, controlled motions to avoid bubbles.
- Pour a thin base layer into the glass ring.Aim for a level, slow pour that spreads like glass.Let this settle a few minutes until lightly tacky.
- Add colored droplets with a pipette.Place drops near the center and watch them spread.Small drops make small, floating shapes; larger drops make more dramatic motion.
- Encourage flow with a gentle tilt.Tilt the ring just a degree or two to guide movement.Watch how colors chase each other and find balance.
- Remove air bubbles softly.Use a small heat gun or warmed spoon at a distance.Keep movements steady and never overheat the resin.
- Layer and repeat for depth.Add another clear layer to fix the colored shapes in place.Continue adding color until the composition feels right.
- Finish edges and cure fully.Allow the piece to cure following the product timings.Use fine sandpaper to smooth any rough edges when fully set.
- Add hanging hardware.Attach thin wire or ribbon through the glass ring.Ensure the wire sits secure and the piece hangs level.
- Clean and reflect.Wipe the outer surface with isopropyl alcohol to remove any residue.Sit with the finished suncatcher in natural light and notice small shifts.
Last Step: Don’t forget to leave a rating and comment below! It helps other readers find the best recipes — and it helps us too!