Would you like to save this recipe?
By submitting you agree to receive this recipe and occasional emails. Unsubscribe anytime.
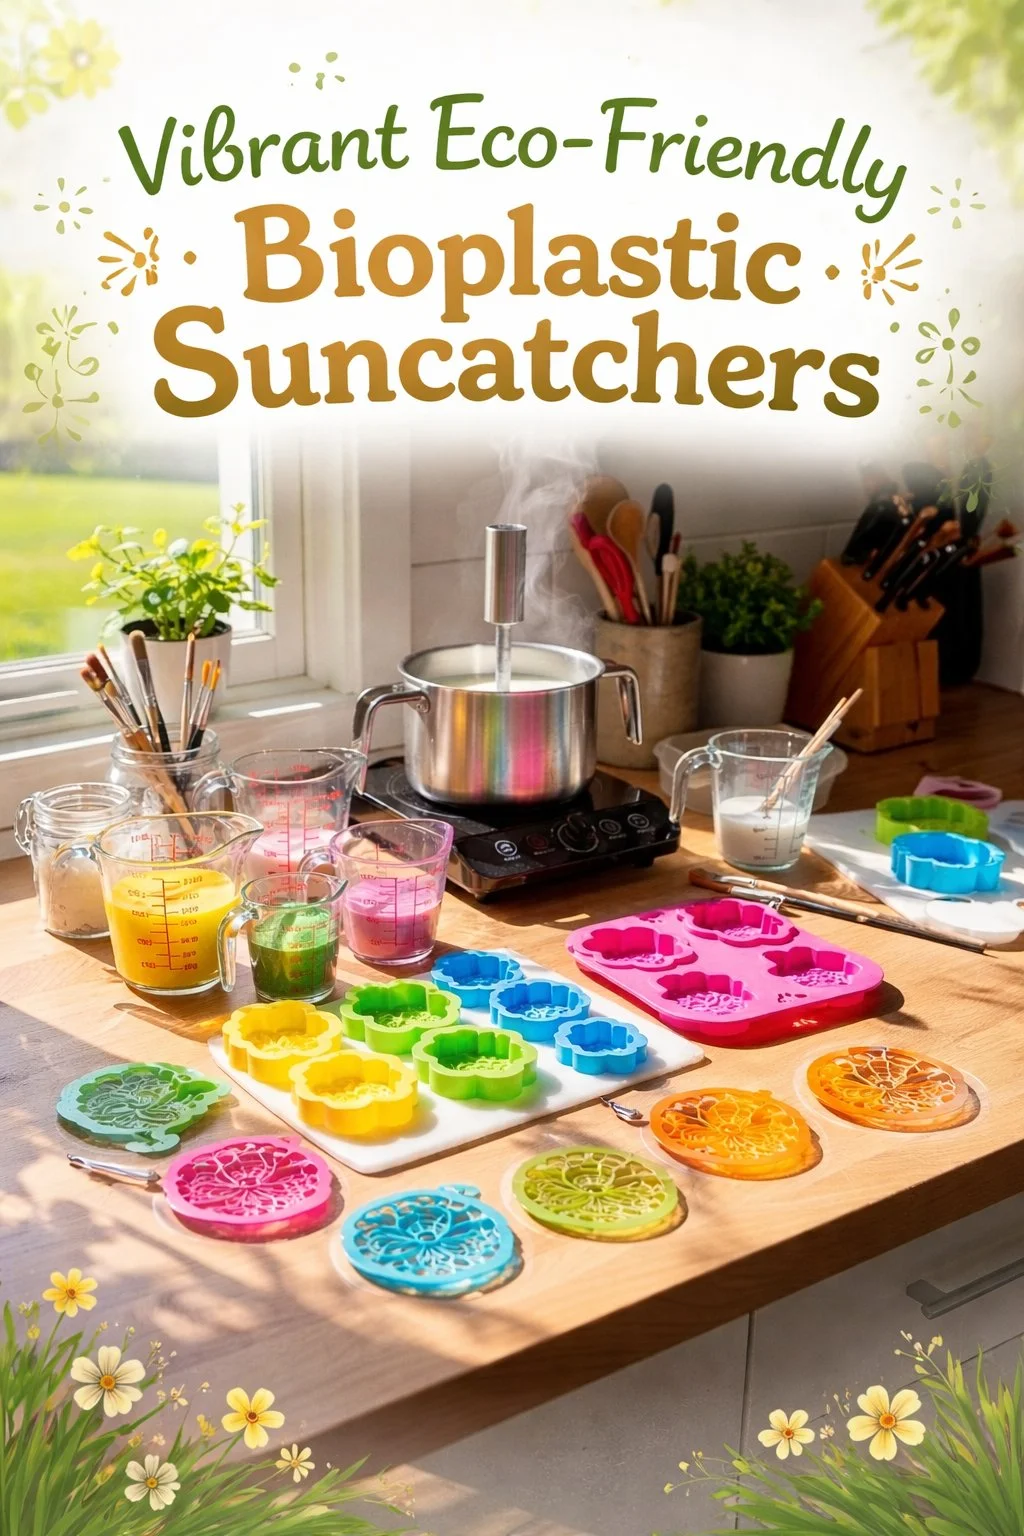
Materials
- Agar powder or gelatin (plant-based agar is eco-friendlier and sets at room temperature; gelatin works if you prefer a softer sheen)
- Glycerin (keeps the sheets flexible; easy to find at pharmacies)
- Distilled water (helps avoid cloudiness from minerals; optional but helpful)
- White vinegar or lemon juice (small amount helps the mix set and balances pH; optional)
- Food coloring or concentrated liquid watercolor (strong, vibrant pigments work best)
- Small saucepan or nonstick pan (smooth bottom helps even heating)
- Measuring spoons and a small scale (for calm, precise work)
- Silicone trays or smooth baking trays lined with silicone baking mats (nonstick surface makes removal gentle)
- Heatproof bowl and a silicone spatula (soft touch on the sheet)
- Small pipettes or droppers (to add color in controlled drops)
- Cookie cutters or small craft punches (for cutting shapes once dry)
- Needle and thin thread or small suction-cup hooks (for hanging)
- Paper towels and a small drying rack (for tidy, slow drying)
- Kitchen thermometer (helpful, not required; watch visual cues instead)
- Oven mitts and a towel (safety and warmth control)
Instructions
- Heat the water and agar or gelatin in a small saucepan. Stir gently until the powder dissolves and the mixture becomes clear, warm, and slightly thick. Keep the heat low and steady so the mix does not scorch.
- Remove the pan from heat and add a small splash of vinegar or lemon juice. Stir in a measured amount of glycerin. It is the softening agent that keeps the final sheet flexible.
- Let the mixture cool briefly until it is warm rather than hot. Too-hot liquid can cause color to spread too quickly and smoke the pigment. Warmth helps the color settle slowly.
- Divide the mixture into small bowls if you plan several colors. Add a few drops of food coloring or liquid watercolor to each bowl. Stir with long, slow strokes so the color distributes evenly and you see the exact shade.
- Pour one color at a time into your silicone tray. Pour slowly from near the surface and let the liquid find its own shape. If you like layered color, pour in gentle arcs and stop between layers to allow slight surface tension to form.
- Use a small spoon or spatula to nudge the color into corners or to blend tiny edges. This is where the process feels most like painting; keep your movements calm and deliberate.
- Let the tray sit undisturbed. As the mix cools, you will see the surface go from glossy to slightly matte. Tiny beads of condensation may appear pat them away with a soft towel if needed.
- When the sheet feels mostly set and slightly firm to the touch, gently lift one edge to check flexibility. If it flexes without cracking, the piece is ready to remove. Use both hands and peel slowly.
- Place the fresh sheet on a drying rack or a smooth, clean surface. If you want crisp shapes, immediately press cookie cutters into the still-warm sheet and then remove the excess film.
- Allow the suncatchers to cure for 24 to 48 hours. They will continue to harden and lose surface tack. Keep them in a dust-free spot, away from direct heat.
- If you plan to hang them, make a small hole while the sheet is still slightly warm, or use a hole punch once fully cured. Thread with a thin cotton or silk thread and tie a loose loop.
- Enjoy the soft play of light. If a piece feels sticky, let it rest longer. If it becomes too stiff, a tiny brush of glycerin can restore some flexibility.
Last Step: Don’t forget to leave a rating and comment below! It helps other readers find the best recipes — and it helps us too!