Would you like to save this recipe?
By submitting you agree to receive this recipe and occasional emails. Unsubscribe anytime.
Materials
- Baking soda (sodium bicarbonate), plain and dry
- Warm water (hot water from the tap, used carefully)
- A clear glass or shallow dish (easy to see growth)
- Pipe cleaners or cardboard cut into a small tree shape
- Small pebble or clothespin to anchor the tree
- Food coloring (optional, for soft tinted crystals)
- A teaspoon and a stirring stick
- Paper towel and small tray for gentle drying
- Measuring cup (optional, for consistency)
Instructions
- Prepare your workspace and hands.Keep a clean surface and a paper towel. Pour a small cup of warm water into your glass and have the baking soda ready. Warm water helps the baking soda dissolve more fully.
- Shape your tree base.Twist pipe cleaners into a small tree or cut a cardboard tree. Anchor it with a pebble or clip so it stands upright. The base should sit in the dish without wobbling.
- Measure and stir the baking soda.Add one teaspoon of baking soda at a time to the warm water and stir slowly. Notice the way the powder dissolves and the solution looks clearer with each stir.
- Make a saturated solution.Keep adding small amounts of baking soda until the mixture stops dissolving and a tiny residue appears. That tells you the water holds as much baking soda as it can. Warm water will hold more.
- Add gentle color if you like.Drop one drop of food coloring into the solution and stir once. The soft tint moves through the liquid like a quiet watercolor.
- Place the tree in the dish.Set the tree gently into the solution so its branches are just above the water line or slightly touching. If you touch the solution with the tree, do so slowly so you do not splash.
- Find a calm spot to watch.Move the dish to a place with steady, mild air and indirect light. Avoid fans and direct sunlight because strong air currents speed evaporation unevenly.
- Wait and observe small changes.Check after two to four hours for tiny crystal seeds on the tree or the dish rim. The first crystals may look like frost or tiny beads. Look for sparkle and texture rather than dramatic size at first.
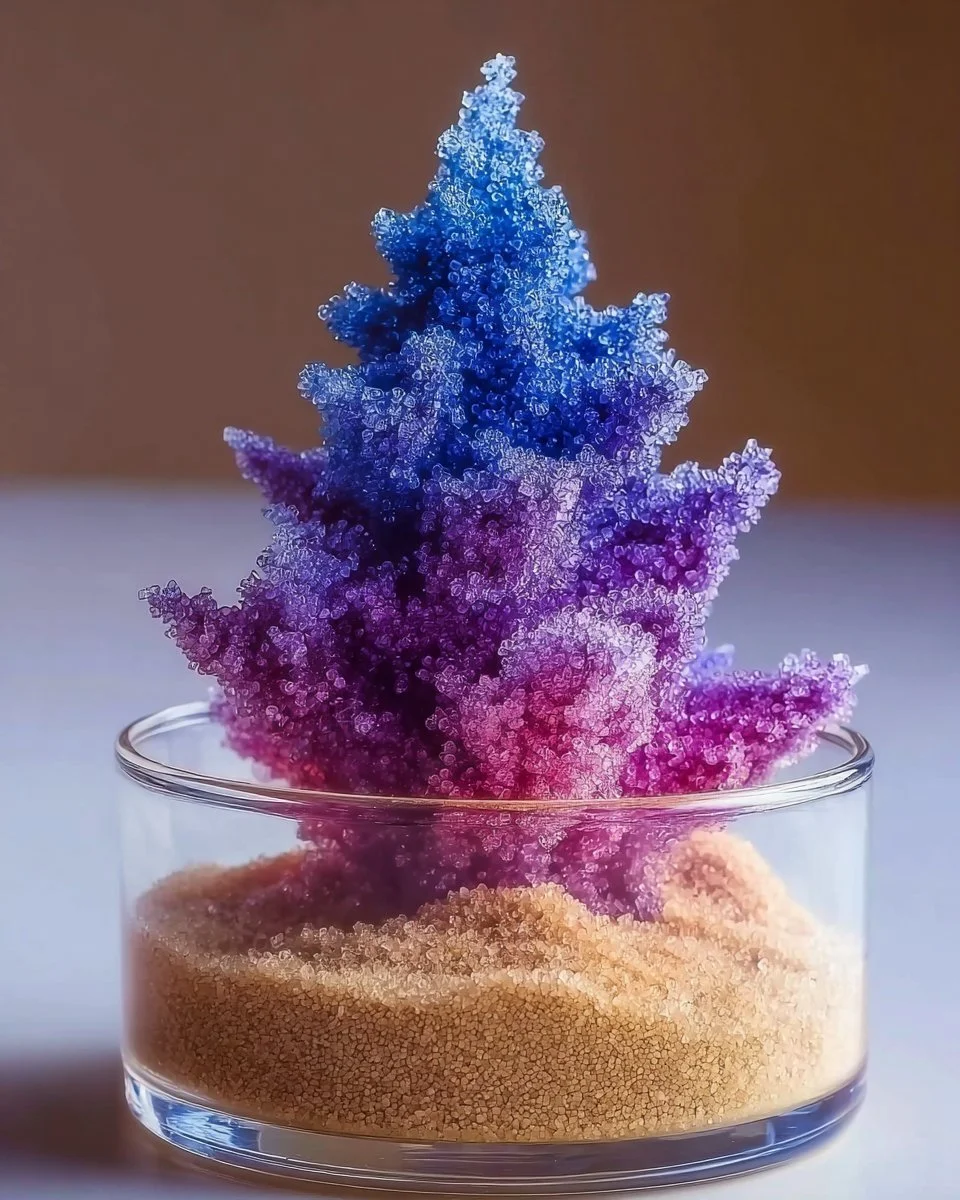
- Let the crystals grow slowly.Allow the tree to sit undisturbed for 24 to 48 hours. As water evaporates, baking soda will reorganize into crystalline shapes. The slow pace encourages finer, more delicate crystals.
- Lift and dry the tree gently.When you like the growth, lift the tree out and set it on a paper towel. Pat lightly if needed and allow it to dry fully in a quiet place. The crystals will harden as the last moisture evaporates.
- Display or photograph.Once dry, move your tree to a protected surface. Use a soft light to show how the crystals catch the rays. If you want to repeat the process, you can reuse the base.
- Clean up safely.Dispose of the used solution down the sink with extra water, or pour it into a plant pot if your soil tolerates mild alkalinity. Wipe the dish and surfaces gently.
Last Step: Don’t forget to leave a rating and comment below! It helps other readers find the best recipes — and it helps us too!