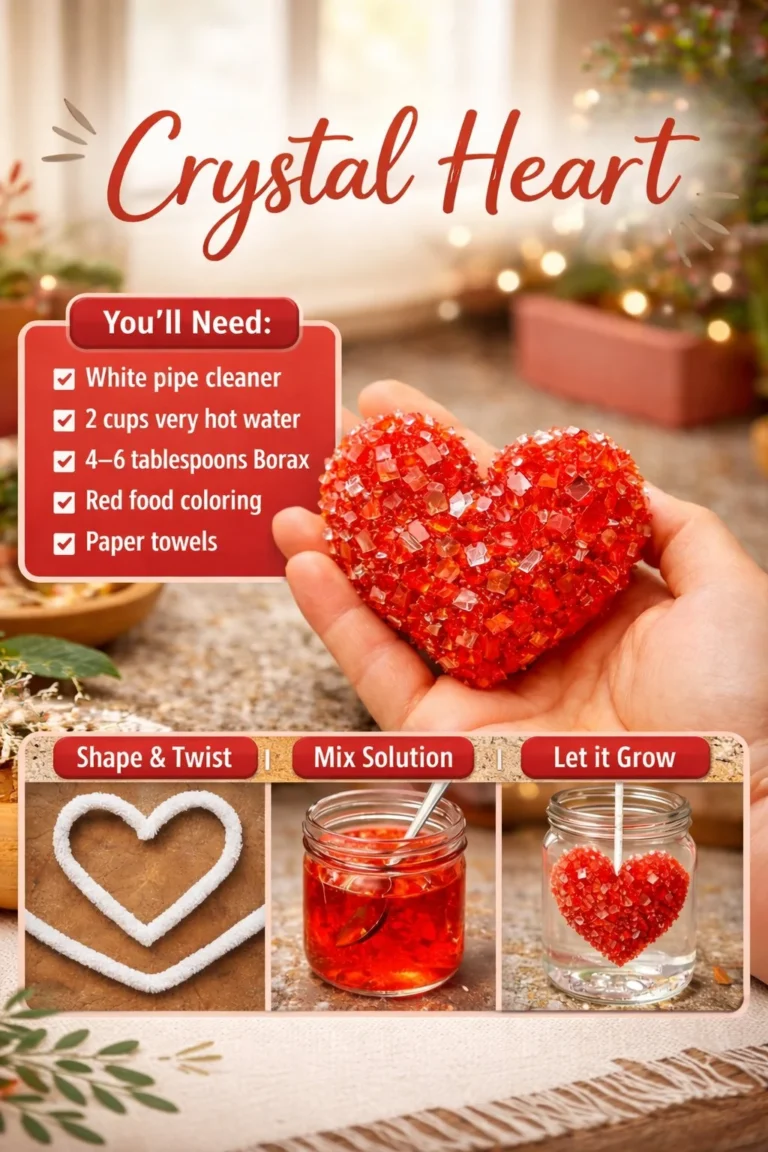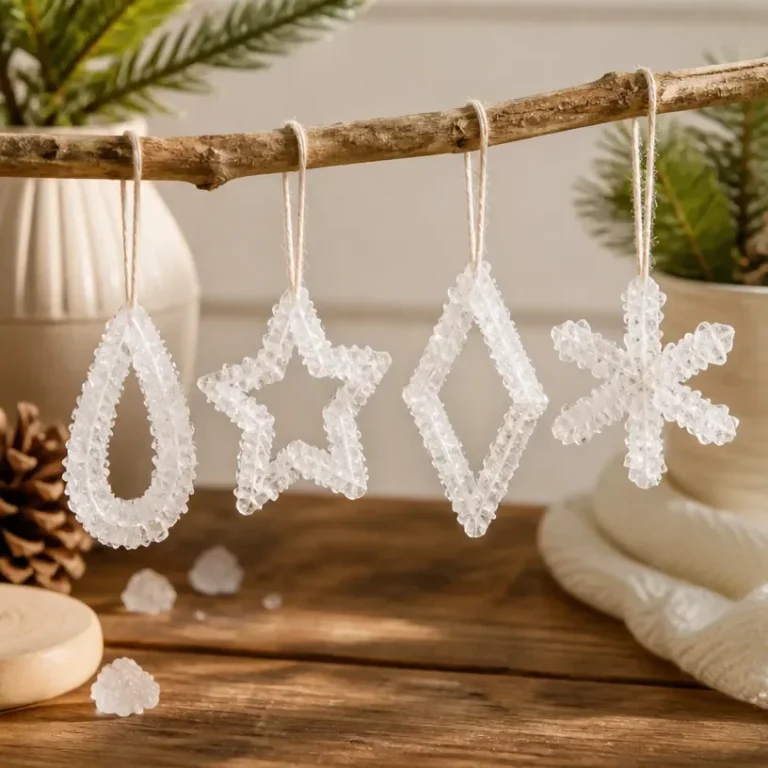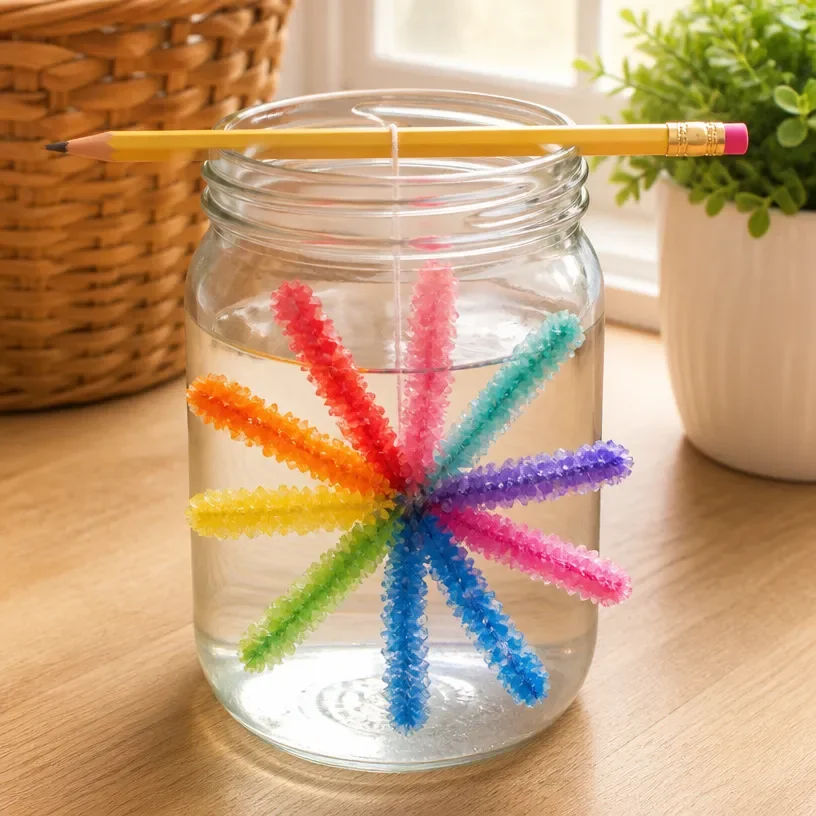
As you watch the transformation of everyday materials into stunning Borax crystals, the excitement builds. Not only do these crystals sparkle beautifully in the light, but they also offer a perfect entry into science experiments for kids with borax. This project involves a fascinating interaction of chemistry and creativity that enhances any indoor space or window. You may also find Rainbow Bubble Volcano Science Experiment For Kids useful.
What Makes This Work
The main ingredient in this project, borax, works as a powerful crystal-forming agent. When combined with water and then cooled, the solution forms crystals as it evaporates, leading to stunning results. These mesmerizing creations provide a hands-on way to understand scientific principles while exploring the beauty of crystals. You may also find Baking Soda Rainbow Crystal Forest Rainbow Crystals useful.
Materials
To begin your crystal-making journey, gather the following materials: You may also find Crystal Forest useful.
- Borax (found in many grocery stores)
- Water
- A heat-resistant container
- A stirring tool
- String or pipe cleaners
- A pencil or stick to hold the string in place
- Food coloring (optional for colorful crystals)
For more exciting projects involving colorful elements, consider looking into crystal seashell crafts.
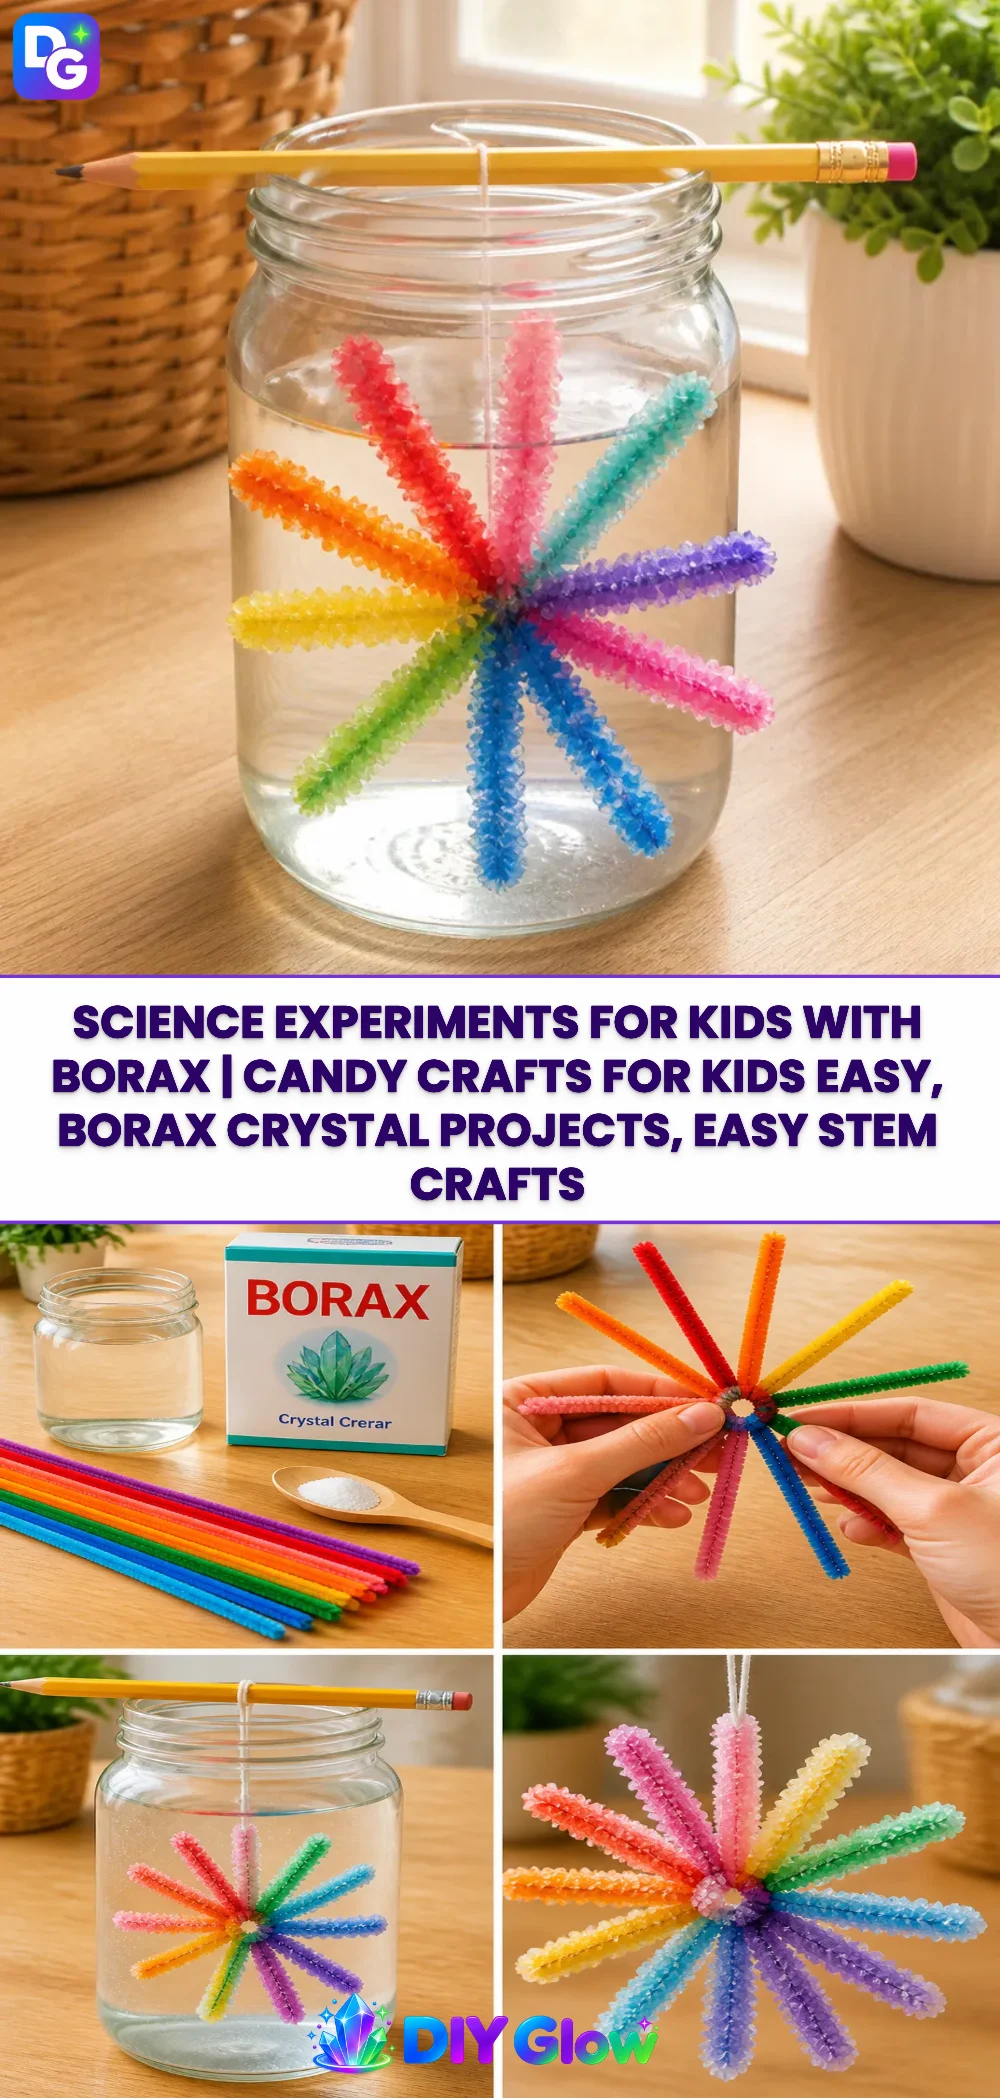
You may also find Crystal Seashells Transform Ocean Treasures useful.
Steps
Prepare Your Solution: Start by boiling water in your heat-resistant container. For every cup of water, add three tablespoons of borax. Stir until the borax is fully dissolved. This creates a saturated solution, crucial for crystal formation. You may also find Diy Flowers Salt Painting For Kids Cozy useful.
Set Up for Crystal Growth: Take your piece of string or pipe cleaner and shape it into a fun design. Attach it to a pencil or stick, making sure it is suspended in the solution without touching the bottom.
Add Color (Optional): If you’d like a splash of color, add food coloring to the solution before placing in the string. This will tint the crystals as they form.
Wait and Observe: Set the container in a safe, undisturbed spot. Over the next few hours to overnight, watch as the crystals begin to form. The longer you leave it, the more impressive the results will be. Look for changes in texture and size as they develop.
Remove and Rinse: Once you’re satisfied with your crystal growth, carefully remove the string from the solution. Rinse the crystals gently under warm water to remove any residue, and then allow them to dry.
Display Your Crystals: Choose a suitable spot to show off your creations. These sparkling gems can be used as decorations, gifts, or educational tools.
What Goes Wrong and How to Fix It
Sometimes crystals may not grow as expected. This can happen if the solution was not saturated enough or if there was movement in the container. To remedy this, try dissolving more borax in your solution or ensuring the setup remains stable.
Where to Display It
Crystal creations look amazing in sunlight and can brighten up any room. For a mesmerizing effect, try placing them in windows or using them as centerpieces. They also make a delightful addition to a science-themed display alongside other projects like rainbow crystals.
Variations
Experimenting with different shapes and sizes of string or pipe cleaners can yield diverse crystal formations. You can also create themed crystals, like holiday decor or specific color combos for special occasions. Each choice leads to unique and beautiful results.
FAQs
How do I store my crystals after making them?
Store your crystals in a dry space, away from humidity, to maintain their beautiful shine.
Can I use different materials besides borax?
While borax is the most common choice for crystal-making, other materials like sugar or salt can also create crystals but may not have the same clarity or sparkle.
What happens if my solution isn’t saturated enough?
If the solution is not saturated, crystals may not form properly. Always ensure you’re using the right ratio of borax to water for optimal results.
How long will my crystals last?
Crystals can last a long time if stored correctly. However, exposure to humidity can dissolve them over time, so keep them in a dry area.
Can kids help with this project?
Absolutely, kids can play a significant role in shaping the pipe cleaners or choosing colors. Just make sure an adult handles the hot water.
Why did my crystals turn out cloudy?
Cloudy crystals usually indicate impurities in the solution or residue remaining from the rinse. Ensure the solution is well mixed and clean before starting the project.
Conclusion
Creating Borax crystals is a fun and educational experience for families. Not only does it provide a hands-on look at science, but it also fosters creativity and artistic expression. To explore more about crystal-making, you can check out how to make crystal stars and find another exciting activity for your family. Additionally, if you want to learn more techniques for crystal growth, visit this comprehensive guide for step-by-step instructions.
Follow me on social for more recipe ideas & inspiration!
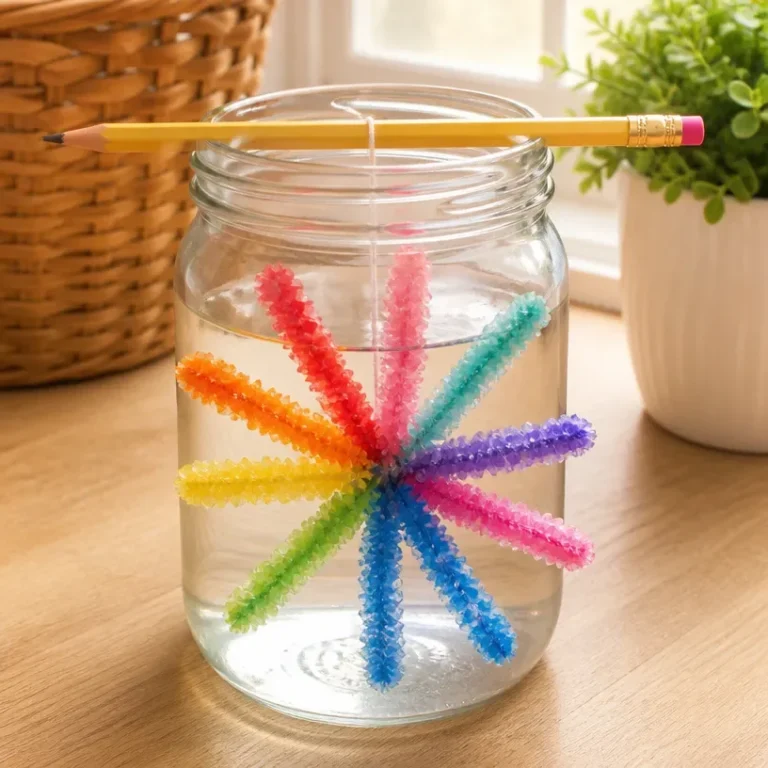
Borax Crystals
Would you like to save this recipe?
By submitting you agree to receive this recipe and occasional emails. Unsubscribe anytime.
Materials
Materials for Crystals
- 3 tablespoons Borax Found in many grocery stores
- 1 cup Water Boiled water for dissolving Borax
- 1 piece String or pipe cleaners For shaping the crystals
- 1 Pencil or stick Pencil or stick To hold the string in place
- optional Food coloring For adding color to the crystals
- 1 heat-resistant container Heat-resistant container
- 1 stirring tool Stirring tool
Instructions
Preparation
- Start by boiling water in your heat-resistant container.
- For every cup of water, add three tablespoons of borax.
- Stir until the borax is fully dissolved to create a saturated solution.
Set Up for Crystal Growth
- Shape the piece of string or pipe cleaner into a fun design.
- Attach it to a pencil or stick, ensuring it is suspended in the solution without touching the bottom.
Add Color
- Add food coloring to the solution if you want colorful crystals.
Wait and Observe
- Set the container in a safe, undisturbed spot.
- Observe over the next few hours to overnight as crystals begin to form.
Remove and Rinse
- Carefully remove the string from the solution.
- Rinse the crystals gently under warm water to remove any residue, and then allow them to dry.
Display Your Crystals
- Choose a suitable spot to display your creations.
- These sparkling gems can be decorations, gifts, or educational tools.
Last Step: Don’t forget to leave a rating and comment below! It helps other readers find the best recipes — and it helps us too!
Tips & Notes:
Nutrition Information: Serving: 1 | Calories: | Carbohydrates: | Protein: | Fat: | Sodium: | Fiber: | Sugar:
Nutritional information is provided as a courtesy and calculated automatically. Values can vary depending on the brands and ingredients you use, so if you’re tracking closely, I recommend calculating with your own preferred tool.