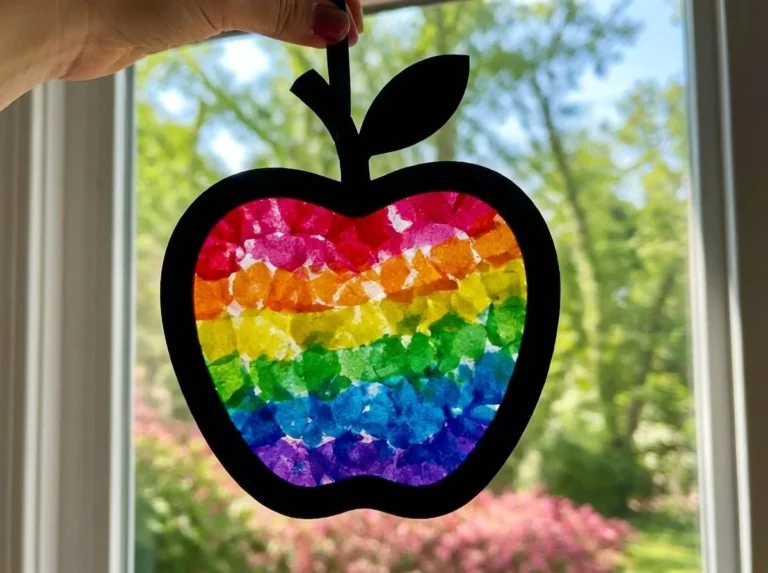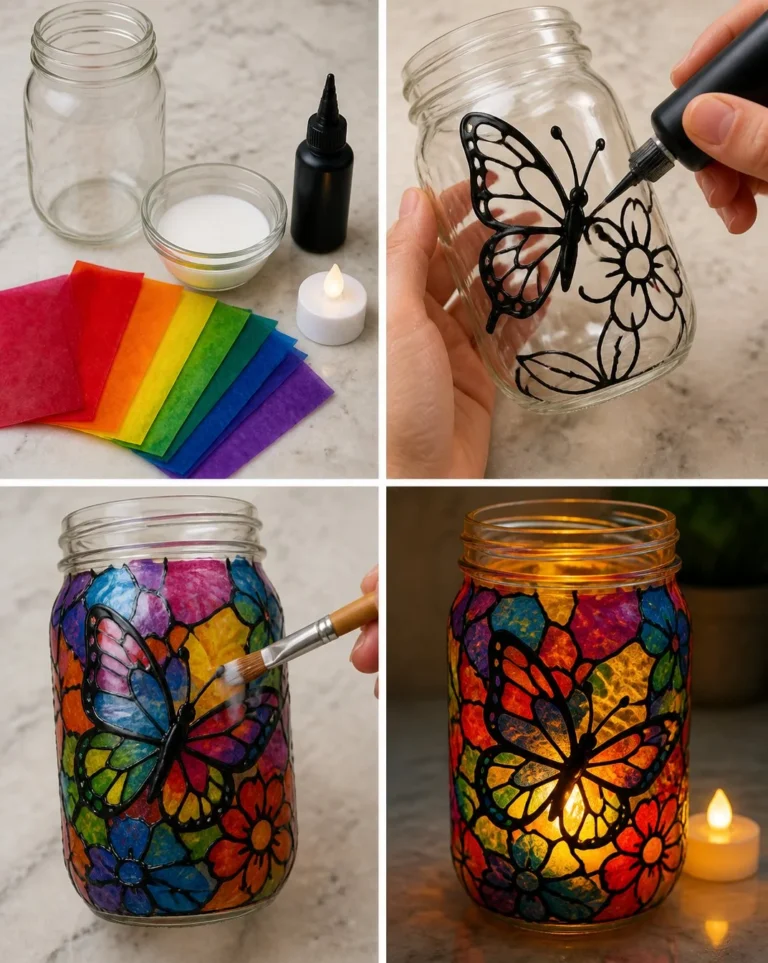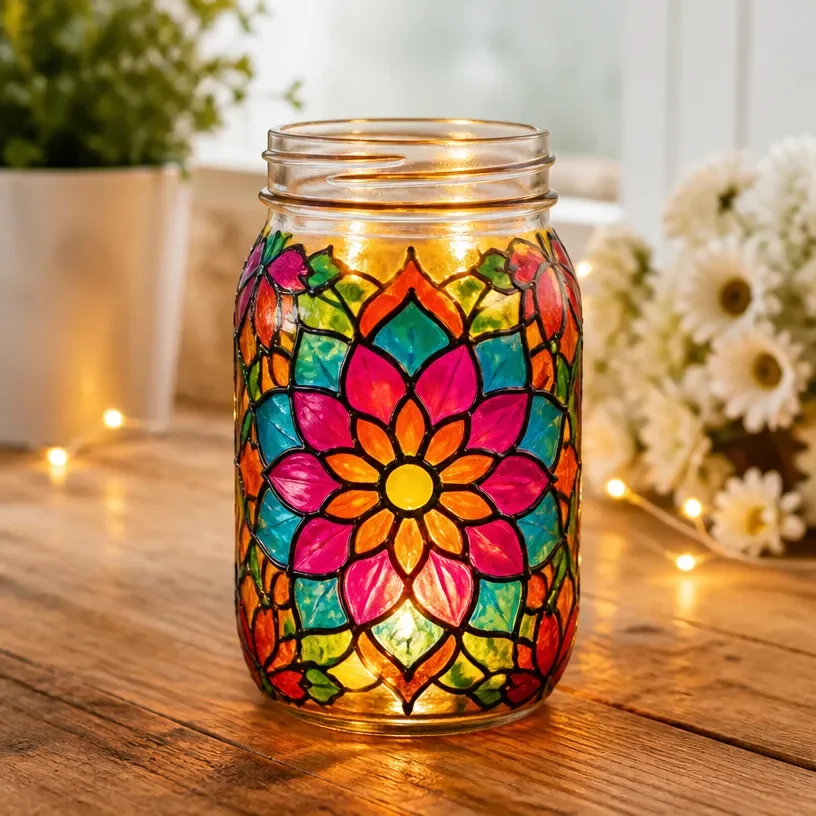
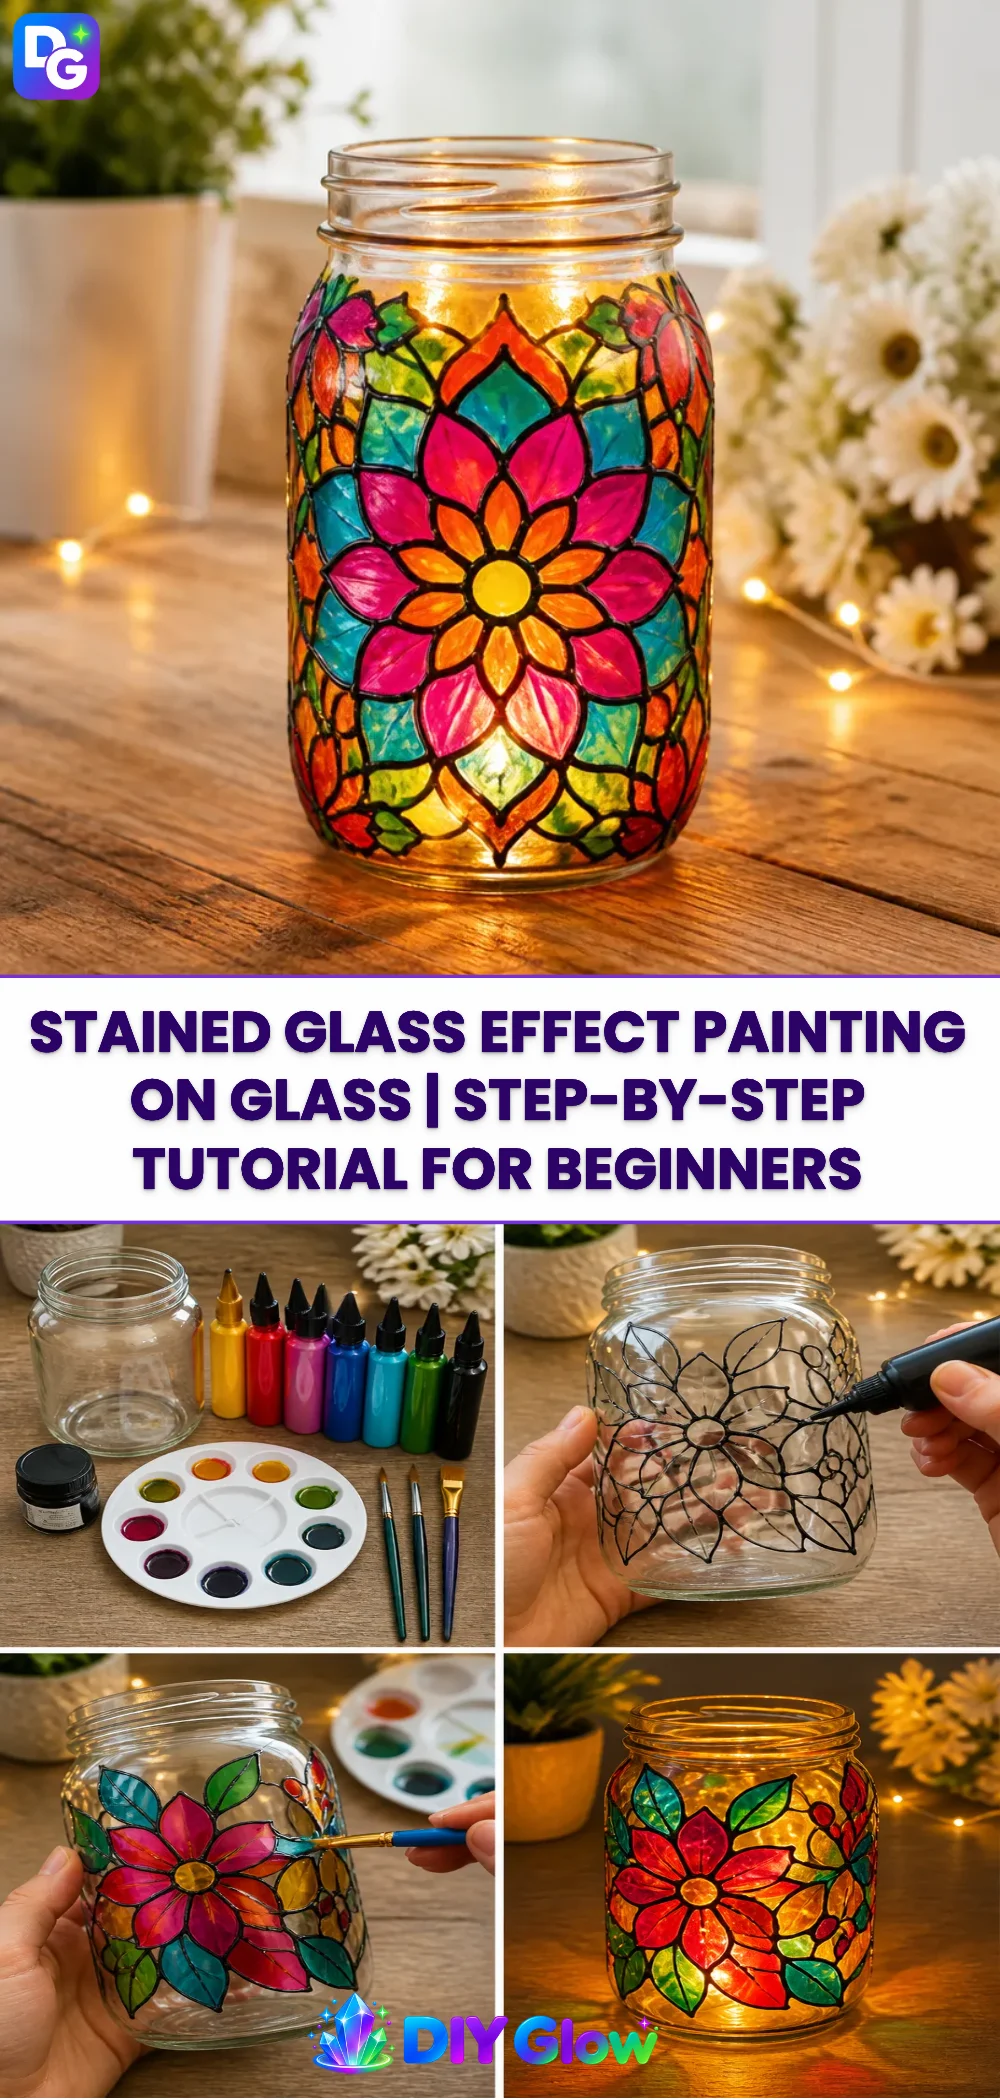
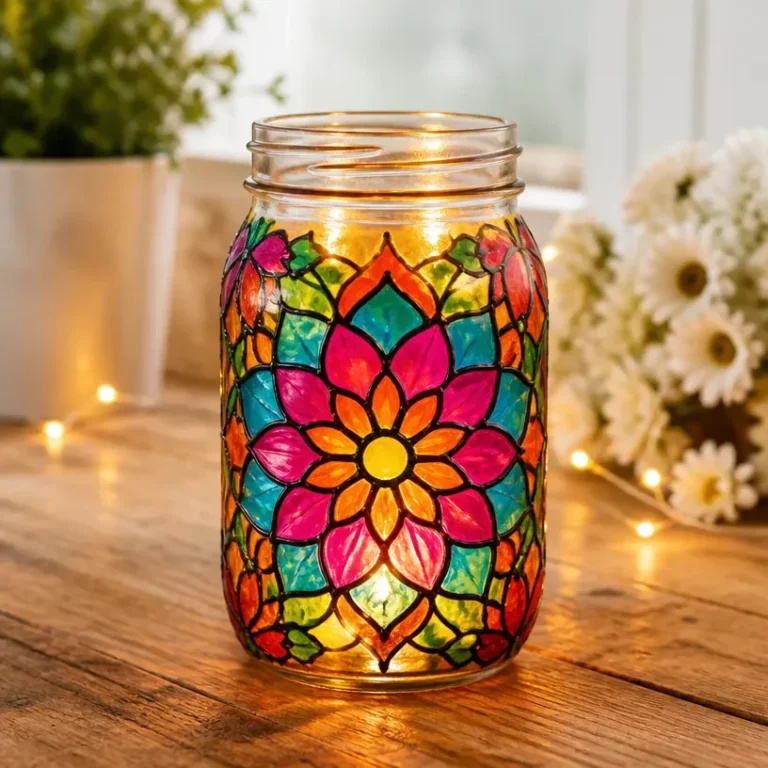
Stained Glass Effect Painting on Glass | Step-by-Step Tutorial for Beginners transforms your plain glass into a colorful masterpiece. This project captures the light beautifully, making it perfect for brightening up your home or a special event. As you create this art, you’ll see colors blend and a rich texture emerge, creating a stunning visual effect. You may also find Stained Glass Glue Window Art Transformed Cozy useful.
What Makes This Work
Stained glass art is more than just a decoration; it harnesses the effect of light play. The paints used are designed to mimic real stained glass, giving depth and a beautiful finish. When exposed to sunlight, your glass piece radiates vibrant colors, making it a delightful focal point in any room. You may also find Diy Flowers Salt Painting For Kids Cozy useful.
Materials
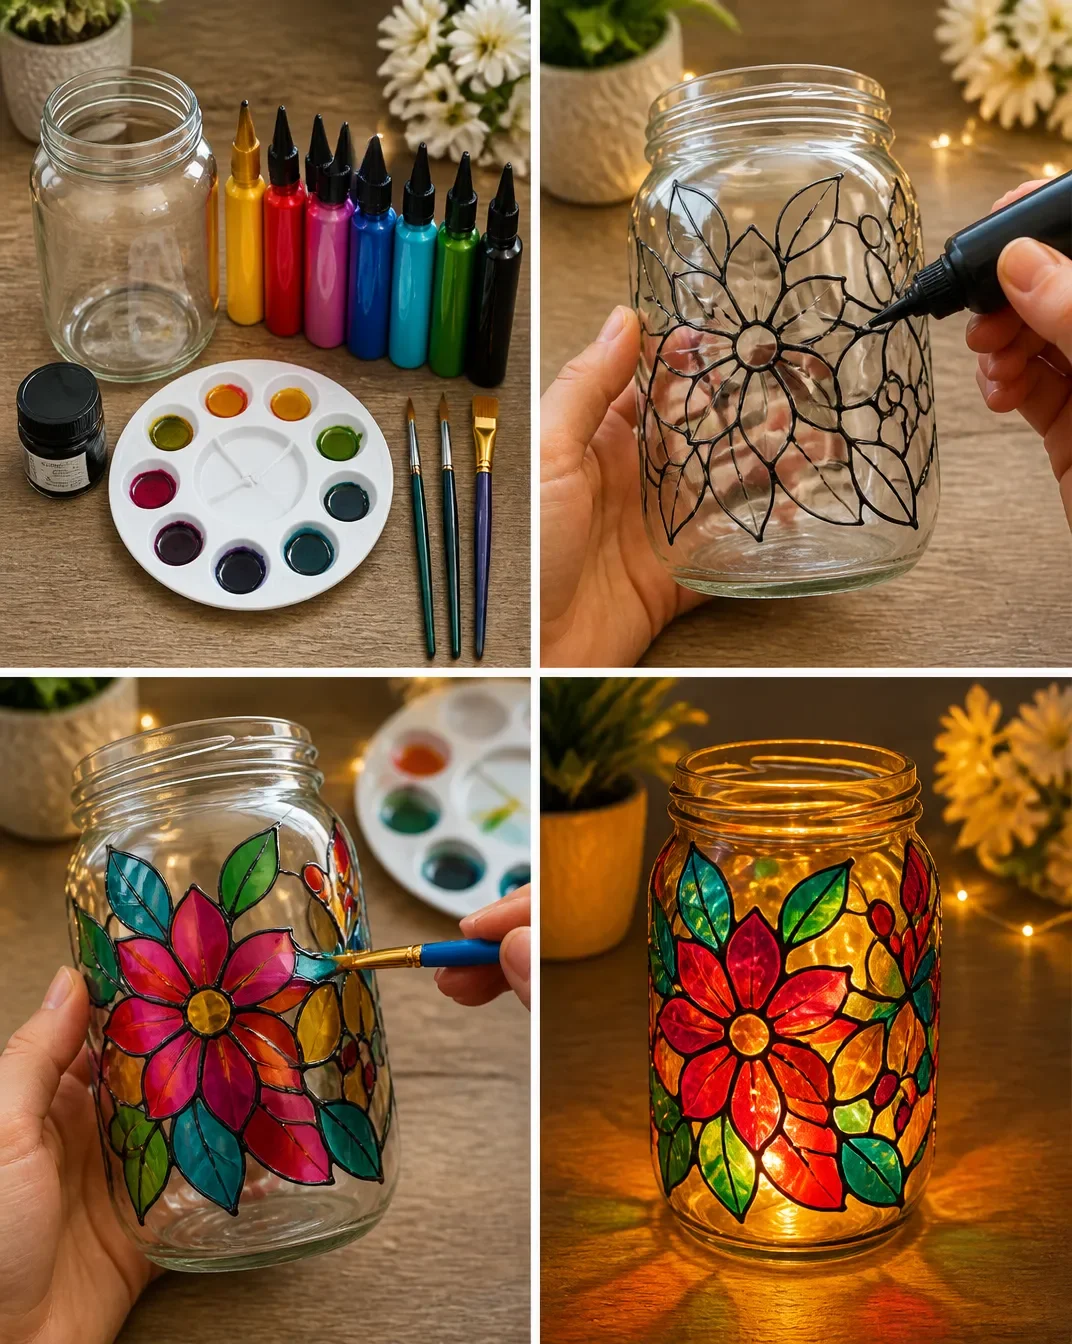
To begin your project, gather the following materials:
- Clear glass surface (window, glass jar, etc.)
- Stained glass paint
- Paintbrushes in various sizes
- Palette or container for mixing colors
- Paper towels for cleanup
- Masking tape (optional, for clean edges)
Steps
Prepare your glass surface. Ensure it is clean and free of dust. Wipe it with glass cleaner to avoid any smudges.
Plan your design. Using a pencil, lightly sketch your design directly onto the glass. You can also use masking tape to help create sharp edges for geometric shapes.
Start painting. Begin with your darker colors and work toward lighter shades. Apply the paint in thin layers, allowing each layer to dry before adding another. Look for the paint to change from glossy to matte, indicating it’s drying.
Experiment with blending colors. For a smooth transition, blend colors while they are still wet. Use a clean brush to feather between colors and achieve a beautiful gradient.
Allow it to dry completely. This step is crucial. Depending on the thickness of your paint, drying may take several hours or even overnight. Paint should feel dry and firm to the touch.
Finish your piece. Once dry, you can seal your artwork with a clear coat if desired. This can add extra shine and protect your design.
Display your artwork. Find a place where your stained glass can catch the light. Whether in a window or as a lantern, it will cast beautiful colors around the room.
What Goes Wrong and How to Fix It
Sometimes things don’t go as planned. If your paint drips, you can use a razor blade to scrape away excess paint once it’s dry. If you find a color isn’t vibrant enough, applying another layer can enhance its brightness.
Where to Display It
The finished piece works well in various locations. Hang it in a window where sunlight can filter through or place it on a shelf or table for casual viewing. You might also consider creating a display with other stained glass items to enhance the aesthetic. For additional ideas, consider checking out this stained glass lantern project.
Variations
There are many ways to personalize your stained glass art. You could use different types of paints, like acrylics, to achieve a unique look. For a fun twist, try experimenting with melted crayon suncatchers these create beautiful, vibrant effects and are simple to make. You can learn more about this in our melted crayon project.
FAQs
How long does stained glass paint last?
When properly applied and maintained, stained glass paint can last for several years. Ensure it’s displayed away from direct moisture and heat.
Can kids help with this project?
Yes, children can participate with supervision! They can help with the design and simple painting tasks. However, adults should handle any cutting or heavy work. Safety is key, especially with glass.
What if my colors look dull when they dry?
If colors seem lackluster, consider applying a second layer of paint. This can enhance vibrancy and richness in appearance.
Can I use other types of glass?
Absolutely! This technique works on any clear glass surface, such as jars, frames, or bottles. Just be mindful of the thickness and type of glass.
What should I do if I get paint on unwanted areas?
If you accidentally smudge paint onto areas you didn’t want to cover, wait until it dries and carefully scrape it off with a blade or wipe it clean with a solvent.
How can I create a more detailed design?
For intricate patterns, use fine brushes to add detail. Templates can also help guide your work and ensure accuracy. For inspiration, look at designs from this suncatcher project.
Conclusion
In summary, Stained Glass Effect Painting on Glass | Step-by-Step Tutorial for Beginners is an enjoyable project that brightens your home with color. With the right techniques and a bit of creativity, you can easily create stunning pieces that capture light beautifully. If you’re interested in learning more about creating faux stained glass, check out this guide on how to make Faux Stained Glass with Acrylic Paint and Glue for more ideas. You can also explore options for buying quality materials like Gallery Glass ® Stained Glass Effect Paint for your next project.
Follow us on social for more DIY ideas & inspiration!
Stained Glass Effect Painting
Would you like to save this project?
By submitting you agree to receive this project and occasional emails. Unsubscribe anytime.
Materials
Materials
- 1 piece Clear glass surface (window, glass jar, etc.) Choose a clear glass surface for your artwork.
- 1 set Stained glass paint Use paints designed for stained glass to achieve the best effect.
- 3 pieces Paintbrushes in various sizes Different sizes allow for detailed work and broader strokes.
- 1 container Palette or container for mixing colors Use this to mix and hold your paint.
- 1 roll Paper towels for cleanup Have these on hand for easy cleanup.
- 1 roll Masking tape (optional) Use to create sharp edges during your design.
Directions
Preparation
- Prepare your glass surface. Ensure it is clean and free of dust by wiping it with glass cleaner.
- Plan your design. Lightly sketch your design directly onto the glass with a pencil or use masking tape for clean edges.
Painting
- Start painting with your darker colors, working toward lighter shades. Apply the paint in thin layers and allow each layer to dry.
- Experiment with blending colors while they are still wet by using a clean brush to feather between colors for a gradient effect.
Finishing Up
- Allow it to dry completely, which may take several hours or overnight. Ensure the paint feels dry and firm to the touch.
- Once dry, seal your artwork with a clear coat if desired for added shine and protection.
Display
- Find a place for your stained glass to catch the light, such as a window or a lantern, to enjoy the colorful display.
Last Step: Don’t forget to leave a rating and comment below! It helps other readers find the best DIY projects — and it helps us too!