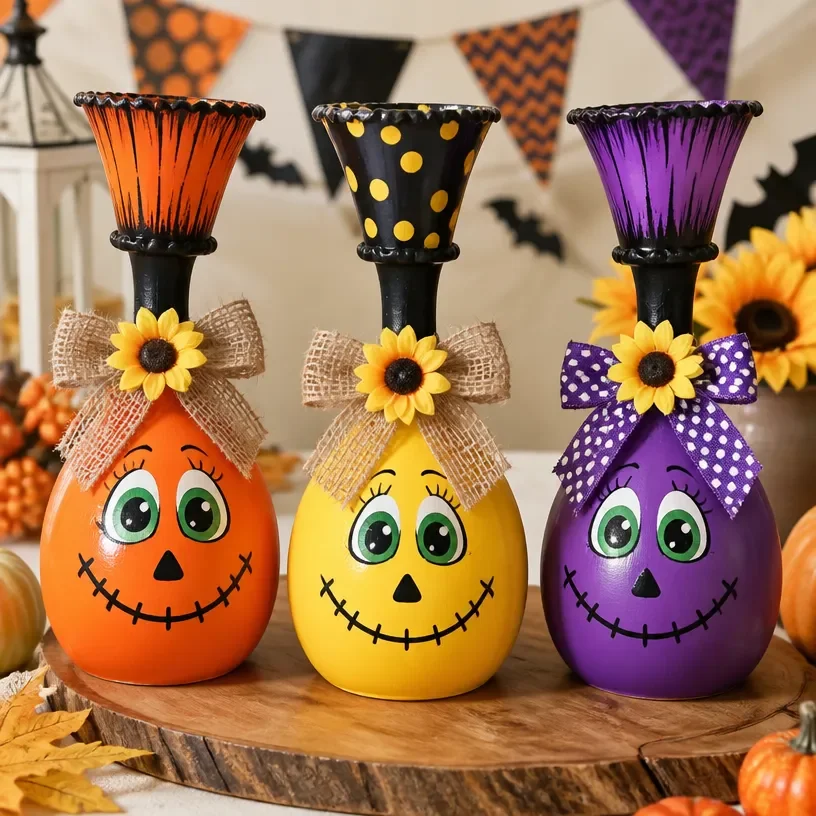
Spooky DIY Halloween decor ideas can transform an ordinary space into an enchanting display. When crafted thoughtfully, these projects can shine with vibrant colors and captivating lights, making your home feel festive. Using simple materials, you can create pieces that will dazzle your friends and family. Let’s explore how to bring your Halloween spirit to life. You may also find Glow In The Dark Rainbow Potion Bottles Diy Decor useful.
What makes this work
The secret lies in the combination of light and color. Specific materials can glow or reflect light in unique ways. For instance, using a glow-in-the-dark paint can create an ethereal effect, enhancing your decorations. As you craft your spooky pieces, pay attention to details like color changes and textures, which are indicators of your project’s progress. You may also find Rainbow Glow Potions Diy Glow In The Dark Decor useful.
Materials
You will need a selection of materials to create your Halloween decor. Gather the following items: You may also find Adorable Diy Easter Bunny Cups useful.
- Clear plastic containers (such as jars or bottles)
- Glow-in-the-dark paint
- Black and orange construction paper
- A hot glue gun and sticks
- Scissors
- Various small decorative items (e.g., spiders, bats, or balloons)
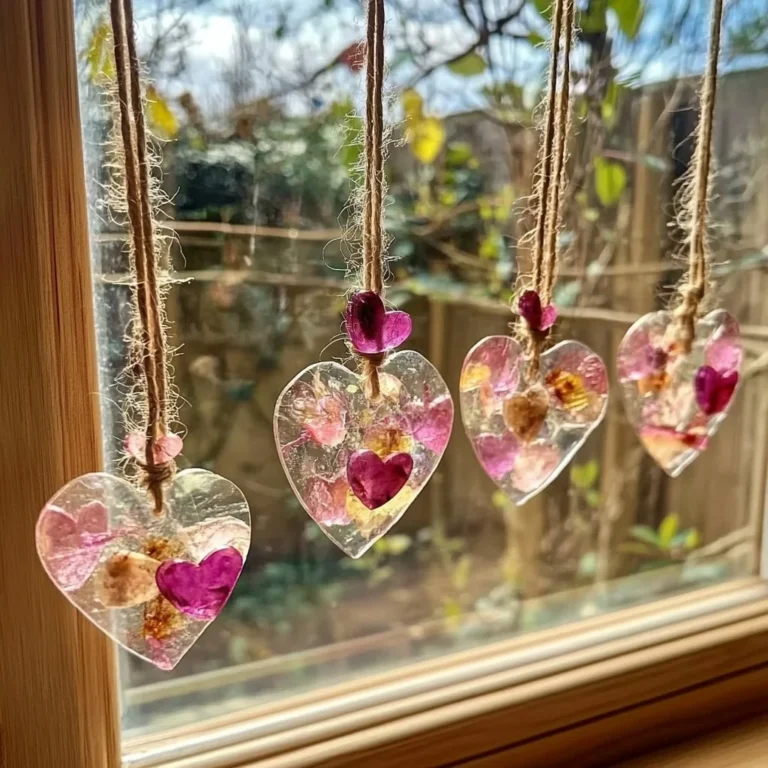
Following these steps with the right materials will ensure a successful crafting session. You can also explore other creative projects like DIY floral suncatchers for more decoration ideas.

Steps
Choose your design and prepare your workspace. Clear a suitable area to work on your decorations, ensuring you have good lighting to see your materials clearly. This will make it easier to craft without interruption.
Prepare the base. For bottles or jars, clean them thoroughly. Any residue can affect the paint’s adherence. Make sure the surfaces are dry to avoid issues when applying colors.
Apply glow-in-the-dark paint. Start painting your chosen surface with glow-in-the-dark paint. You’ll know it’s ready for the next coat once it appears dry and no longer tacky. Ensure even coverage to maximize the glow effect.
Cut shapes from construction paper. Use scissors to create spooky shapes like ghosts, pumpkins, or witches that will be glued onto the containers later. This adds texture and depth to your decor.
Assemble your decoration. Use the hot glue gun to attach your cut-out shapes to the painted surfaces. Always remember to handle the glue gun carefully to avoid burns, ideally letting an adult assist with this step.
Add decorative items. Enhance your creations with small embellishments like artificial spiders or glitter. This final touch will make your decor stand out.
Let everything dry completely. Ensure all components have ample time to dry before displaying them. This will help keep them intact and looking fresh.
What goes wrong and how to fix it
Sometimes things might not go as planned. If the glow-in-the-dark paint does not show up strongly, check if you applied an even enough coat; you may need another layer. If glue oozes from your attachments, let it harden, then carefully trim away the excess. If your decorations lose their glow after a while, charge them under a light source to rejuvenate their luminescence.
Where to display it
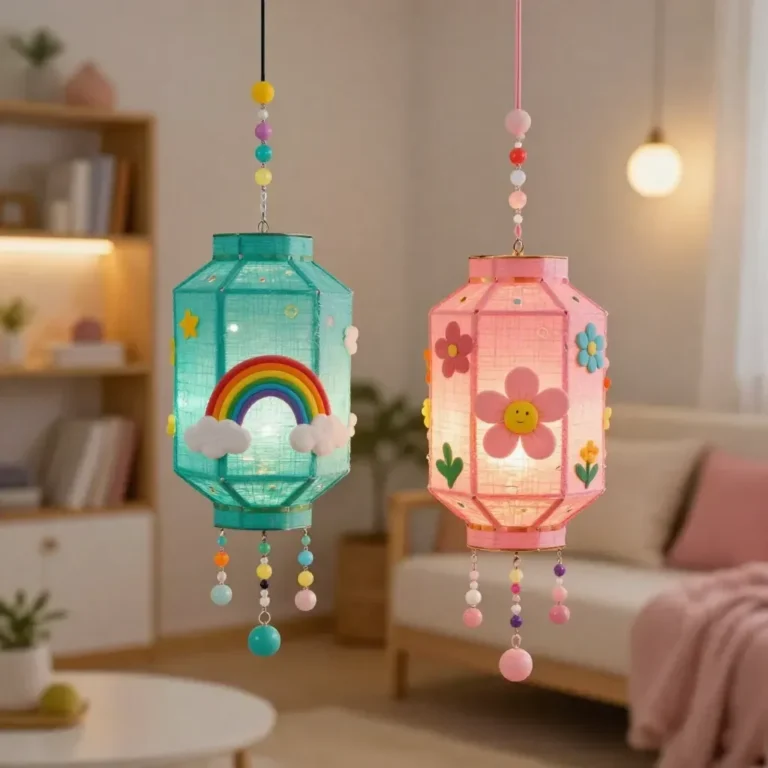
These spooky creations can be displayed in various spots around your home. Consider placing them on windowsills, where they can catch light and “glow” in the evening. Alternatively, group them on a mantelpiece or set a few around your dining area for a themed dinner atmosphere. If you want more aquatic-themed ideas, check out glowing fish lanterns for inspiration.

Variations
Get creative with your decorations! You could change the colors of the glow paint or use different shapes that fit your Halloween theme. Instead of classic orange and black, try using neon colors for a unique twist. You can also incorporate sound features by adding tiny battery-operated lights that flicker, making your decor more dynamic.
FAQs
How can I make glow-in-the-dark paint last longer?
To extend the lifespan of glow-in-the-dark paint, store your decorations in a dark area when not in use. Regular exposure to light can recharge the paint, but avoiding excessive direct sunlight will help maintain its vibrancy.
What areas are safe for using hot glue guns?
Hot glue guns should be used on flat, heat-resistant surfaces. Keep them away from fabric or papers that can easily catch fire. Always supervise children if they are helping with hot glue.
Can I use cheaper paints, or do I need specific glow paints?
While most paints will adhere to surfaces, using specific glow-in-the-dark paints ensures optimal brightness and longevity. Regular paint might not give the same glowing effect.
Is this project suitable for kids?
Yes, but adult supervision is necessary, especially during the gluing and painting steps. Children can assist in other areas, like cutting shapes and arranging decorations.
What if my decorations aren’t glowing well?
If your decor doesn’t glow brightly, try exposing it to natural light for a longer time or adding another coat of glow-in-the-dark paint. This will help increase the brightness.
How long does it typically take to finish this project?
Most of these projects can be completed in around 1-2 hours, depending on the complexity and drying time of the materials used.
Conclusion
Creating spooky DIY Halloween decor ideas is a fun way to engage your creativity and celebrate the season. For further inspiration, explore more at DIY Halloween Decorations That Are Both Stylish and Spooky. Additionally, you might find unique projects on 100+ Creepy-Clever Halloween Projects – Instructables that can spark more of your crafting spirit. Get crafting and enjoy the glow!
Follow me on social for more recipe ideas & inspiration!
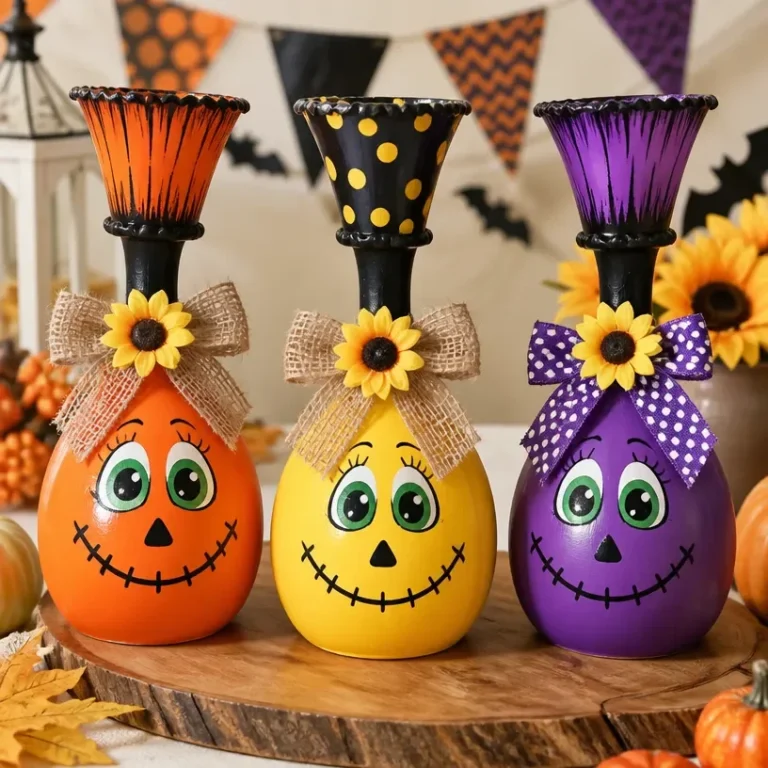
DIY Halloween Decor
Would you like to save this recipe?
By submitting you agree to receive this recipe and occasional emails. Unsubscribe anytime.
Materials
Materials Needed
- 1 each Clear plastic containers (jars or bottles) Choose various sizes for diverse decorations.
- 1 bottle Glow-in-the-dark paint Use specific glow-in-the-dark paints for best results.
- 2 sheets Black and orange construction paper Cut into spooky shapes for decoration.
- 1 each Hot glue gun and sticks Adult supervision required for usage.
- 1 pair Scissors Sharp, to cut paper shapes.
- Various Small decorative items (spiders, bats, balloons) Use to enhance the spooky effect.
Instructions
Preparation
- Choose your design and prepare your workspace with good lighting.
- Clean the plastic containers thoroughly for better paint adherence.
Decorating
- Apply glow-in-the-dark paint, ensuring an even coverage on the surface.
- Cut spooky shapes from construction paper for added texture.
- Use the hot glue gun to attach cut-out shapes to the painted surfaces.
- Enhance your creations with small embellishments like artificial spiders.
Finishing Touch
- Let everything dry completely before displaying your decorations.
Last Step: Don’t forget to leave a rating and comment below! It helps other readers find the best recipes — and it helps us too!
Tips & Notes:
Nutrition Information: Serving: 1 | Calories: | Carbohydrates: | Protein: | Fat: | Sodium: | Fiber: | Sugar:
Nutritional information is provided as a courtesy and calculated automatically. Values can vary depending on the brands and ingredients you use, so if you’re tracking closely, I recommend calculating with your own preferred tool.