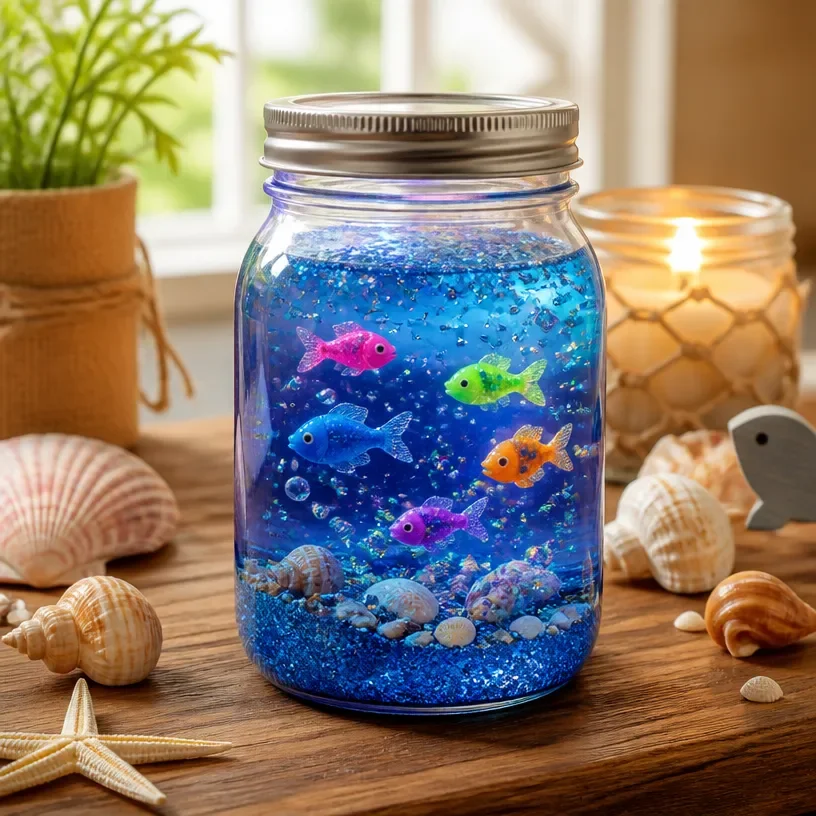
The DIY Rainbow Ocean Jar transforms as you add colorful layers, creating a stunning effect that catches the light beautifully. This project is simple but does require some attention to detail to ensure that every layer stays distinct. As you craft, you’ll see how the different materials interact, creating a mesmerizing piece ready for display. You may also find Diy Glowing Ocean Jar useful.
What makes this work
The layers in the DIY Rainbow Ocean Jar stay separated due to their differing densities. Each ingredient has a specific weight that affects how it floats or sinks in the jar. This separation creates a lovely visual display that mimics oceans. The light plays off the colors and textures, resulting in a glow that brightens any space. You may also find Glowing Jellyfish Jar Rainbow Ocean Lights useful.
Materials
Gather the following supplies to create your own DIY Rainbow Ocean Jar: You may also find Diy Lightning Storm In A Jar useful.
- Clear glass jar
- Water
- Food coloring (various colors)
- Corn syrup
- Oil (baby oil or vegetable oil)
- Funnels
- Measuring cups
- Stirring stick
Once you have your materials ready, you are all set to start the project.
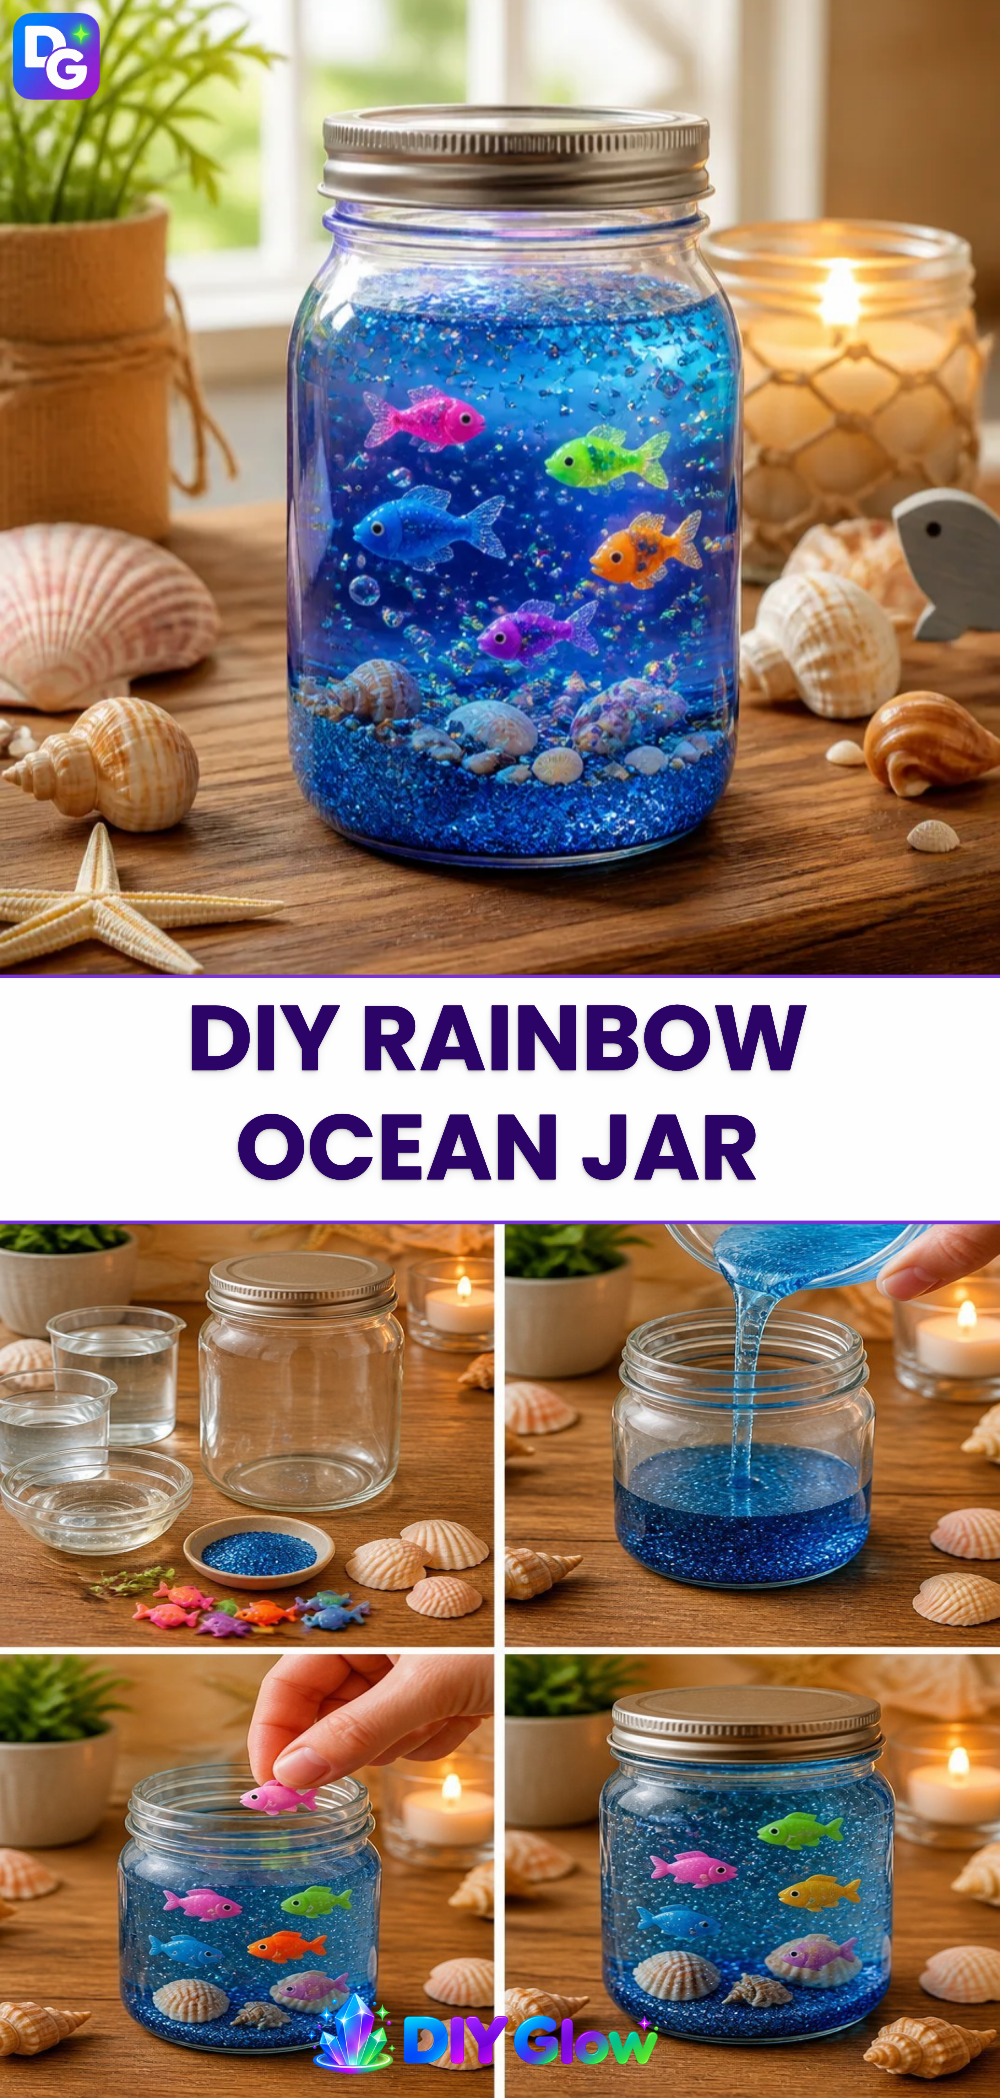
Steps
Prepare your base layer. Start by pouring some corn syrup into the jar using a funnel. This syrup is very thick and will act as the heaviest layer, ensuring it stays at the bottom. Look for a shine and viscous texture as you pour.
Add the water layer. Fill a cup with water and add a few drops of food coloring to create a vibrant hue. Choose any color you like; just make sure to mix it well before slowly pouring it over the back of a spoon into the jar. This helps the water layer rest gently on top of the syrup. You should see the clear separation as the two layers do not mix.
Incorporate oil. Next, measure the oil and carefully pour it over another spoon into the jar. The oil will create a distinct layer above the water. As you pour, notice how it floats atop the water, creating an interesting visual barrier.
Add more colors. You can repeat this process by creating additional layers with more colored water or perhaps even try different materials like glitter or small beads. The key here is to keep the layers light to heavy so they stay separate. For example, if you want to include glitter, sprinkle it over each layer. For further inspiration, check out the DIY glitter snow globe jar project.
Finalize the jar. Once you are satisfied with your layers, cap the jar tightly. Ensure it is sealed well to prevent any spills. This is a good time to notice how all the layers interact and create a depth of color that brightens up the room.
What goes wrong and how to fix it
If you notice that the colors are blending, it may be due to pouring too quickly or using layers that are not distinct in weight. Always pour slowly and use the back of a spoon to create a barrier between different fluids. If something spills, simply clean the jar and try again.
Where to display it
The DIY Rainbow Ocean Jar looks beautiful on a windowsill, where the light can shine through the layers, enhancing their colors. You can also place it on your desk or a shelf to bring life to your workspace. For more creative ideas for displaying glowing projects, take a look at a DIY gemstone glow jar.

Variations
Feel free to experiment with different colors and effects in your DIY Rainbow Ocean Jar. You can try using different types of food coloring or adding tiny shells or sea creatures to create a more ocean-themed design. Some people even like to use scented oils to provide an aromatic element to their jars, making them not just visual treats but also sensory experiences.
FAQs
How long does the DIY Rainbow Ocean Jar last?
The jar can last indefinitely if sealed correctly. However, if any ingredients seep into each other over time, you may want to remake your layers.
Can children help with this project?
This project is perfect for kids. They can help with layering the colors but should avoid handling hot or sticky materials. Always supervise them during the entire process.
What can I do if my layers mix?
If you find that your layers have blended, it may be best to restart or ensure you are pouring carefully next time. Using different densities is key.
Can I use other liquids for this project?
You can experiment with other liquids, but ensure they have different densities than water and corn syrup. Avoid using anything that might spoil or create odors over time.
What if I don’t have corn syrup?
If you don’t have corn syrup, you can use honey or glycerin. They both have similar properties and can create nice layers.
Why didn’t my colors turn out as vibrant?
If the food coloring didn’t appear vibrant, ensure you are adding enough dye and mixing it thoroughly with water before adding it to the jar.
Conclusion
Creating a DIY Rainbow Ocean Jar is a fun and educational craft for the whole family. It encourages exploration of density while producing a stunning visual effect to enjoy. For further ideas on crafting similar projects, you might find this guide on making an ocean in a jar and this rainbow jar craft for kids helpful.