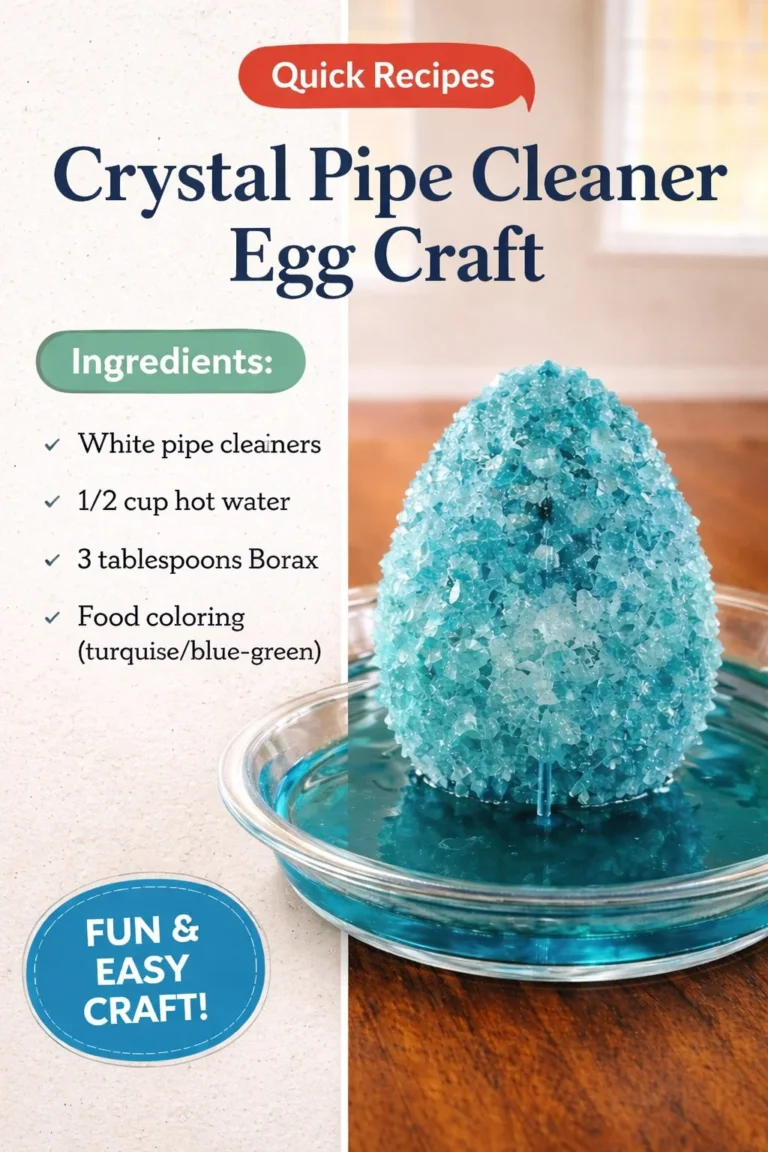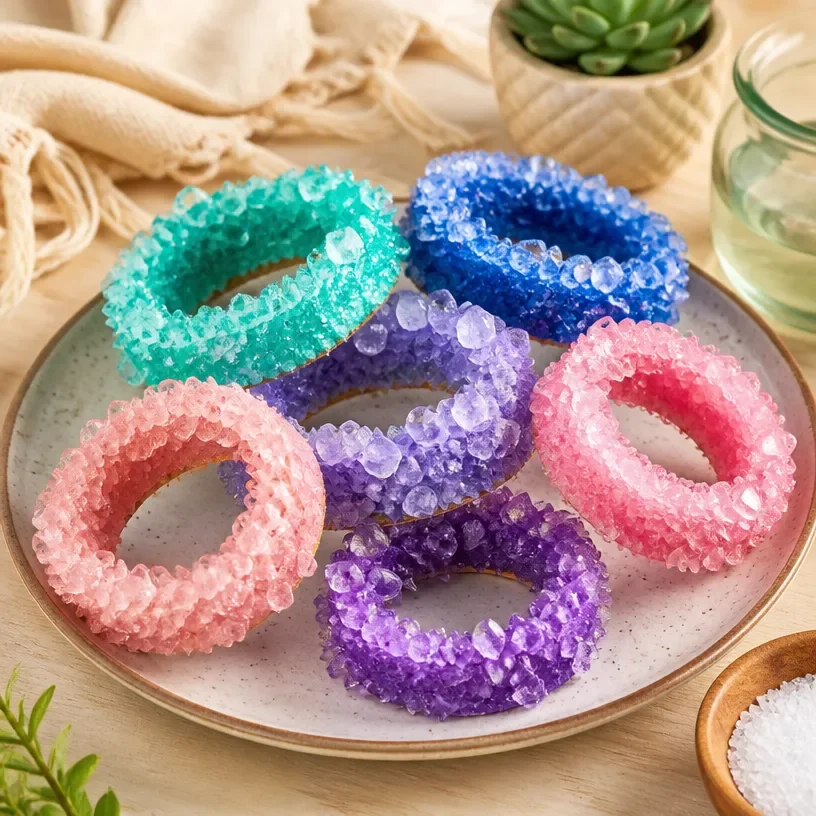
Stunning Salt Crystals: Natural Crystal Beauty will catch your eye with its sparkling surfaces and vibrant colors. This project showcases nature’s beauty while teaching kids about crystallization. It’s an engaging way to explore science through art, and watching the crystals grow can be truly captivating. You may also find Salt Volcano Stunning Lava Effect In A Jar useful.
What Makes This Work
Salt crystals form through evaporation. When the water in a salt solution evaporates, it leaves behind solid salt in beautiful crystal shapes. The temperature, humidity, and the rate of evaporation can all affect how the crystals will form. By adjusting these variables, you can create unique and stunning crystal designs. You may also find Diy Aromatic Gems Natural Scented Crystals useful.
Materials
To get started, gather the following materials: You may also find Baking Soda Rainbow Crystal Forest Rainbow Crystals useful.
- Table salt
- Warm water
- A clean container (e.g., jar or bowl)
- A spoon for stirring
- String or yarn (optional, for hanging crystals)
- A pencil or stick (optional, for hanging)
- Food coloring (optional, for colored crystals)
You may also find Beautiful Bioplastic Suncatchers Natural Flowers useful.
Steps
Prepare the Salt Solution: Begin by mixing three tablespoons of salt into one cup of warm water. Stir the mixture until the salt is fully dissolved. The solution should feel saturated, meaning no more salt can dissolve at this point. You may also find Coastal Decoration Seaside Beauty useful.
Add Color: If you want colored crystals, this is the moment to add a few drops of food coloring. Stir gently to spread the color evenly.
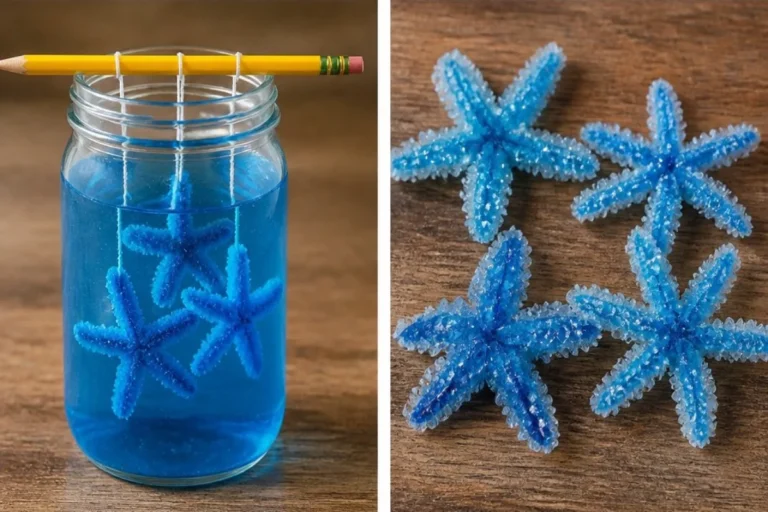
Set Up the Container: Pour the solution into the clean container. If you want to make hanging crystals, tie one end of a string to a pencil or stick. Lower the other end into the solution, ensuring it doesn’t touch the bottom. This setup allows crystals to form along the string.
Wait for Crystals to Form: Place your setup in a warm, dry location away from disturbances. The evaporation process will begin, and you should start seeing small crystals forming within a few hours.
Observe the Growth: Pay close attention over the next few days. You might notice the crystals changing size and shape, which is very satisfying to watch.
Harvest the Crystals: Once you are happy with the size, remove the salt crystals from the solution. Allow them to dry. If using a string, carefully lift the string out and let the crystals air dry completely.
What Goes Wrong and How to Fix It
Sometimes crystals may not form as expected. Here are common issues and how to fix them:
- Crystals are too small: This may indicate that the solution was not saturated fully. Make sure to add sufficient salt next time.
- They form clumps: If debris is in the solution, it can cause crystals to clump together. Use a clean container to avoid this.
Where to Display It
These crystals look fantastic displayed in sunlight, where they sparkle and shine. Consider placing them on a windowsill or a shelf where they can catch the light. They’re a beautiful way to bring color and a sense of nature into your space.
Variations
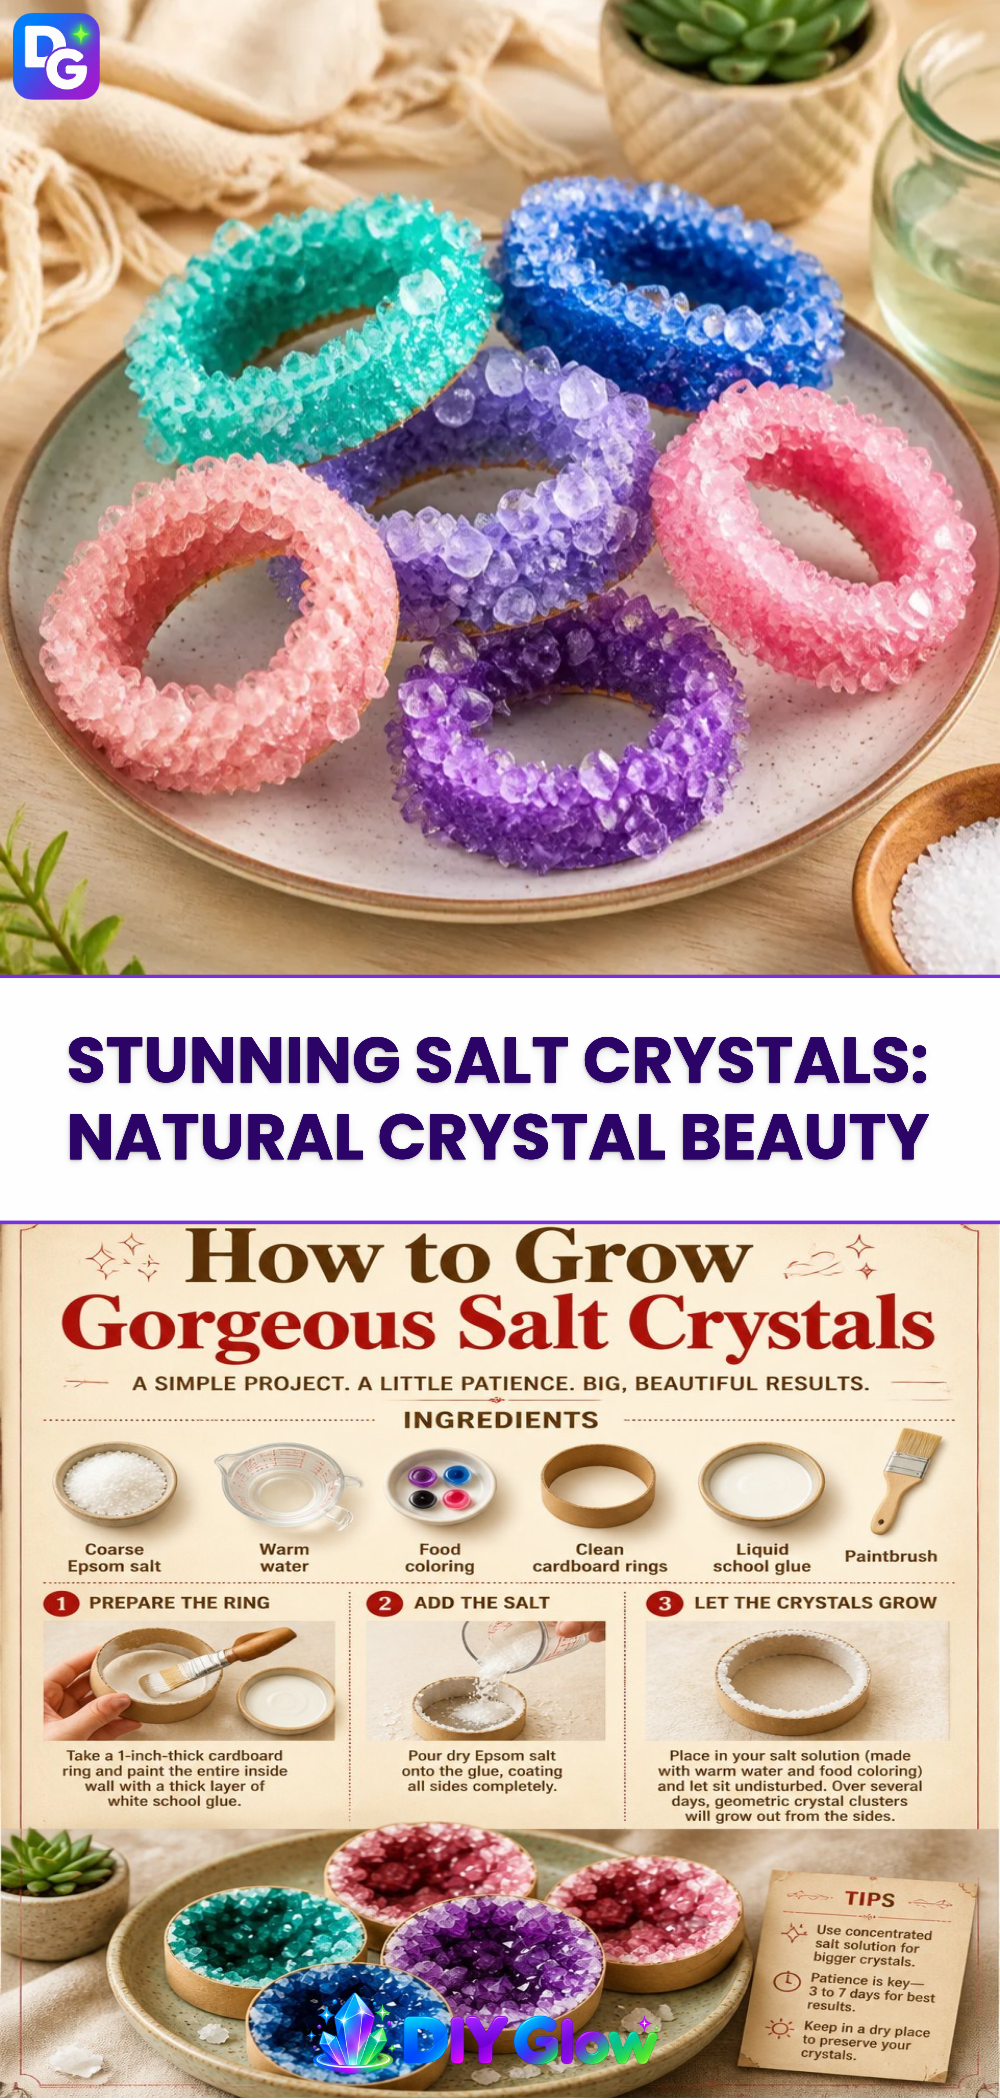
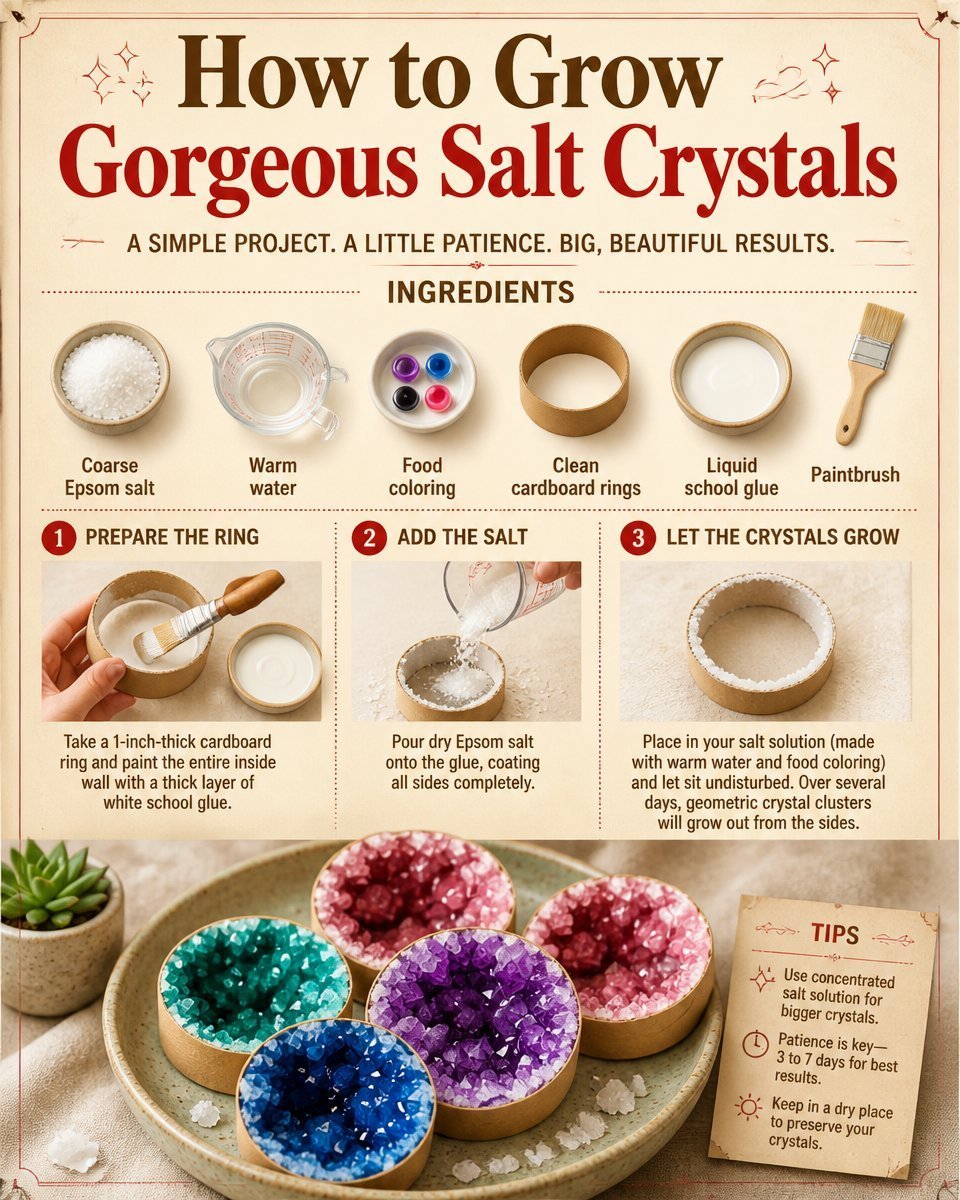
You can mix things up with this project. Try using different types of salts, like Epsom salts for a unique texture. You could also experiment with colored crystals using more or fewer drops of food coloring. Creating a variety of shapes or even forming crystals in different styles can be fun for kids, providing a broader experience with science and art creations.
FAQs
How long do salt crystals take to grow?
Salt crystals can take anywhere from 24 hours to days to grow, depending on environmental conditions. Warmer areas may speed up the process.
Can I use other salts to make crystals?
Yes, other salts like Epsom salts or sugar can also create beautiful crystals. Each type will have its unique shape and color.
What if my crystals look dull?
If your crystals appear dull, they might be covered in leftover salt. Rinse them gently under water and allow them to dry.
Can kids participate in this project?
Absolutely! Kids can help with mixing and pouring, but be sure they understand safety, especially when working with hot water.
What happens if I shake the container?
Shaking can disturb the crystallization process and cause smaller or uneven crystals to form. It’s best to leave the setup undisturbed.
How long do these crystals last?
With proper care, the salt crystals can last a long time. However, they may attract moisture over time and dissolve if left in humid conditions.
Conclusion
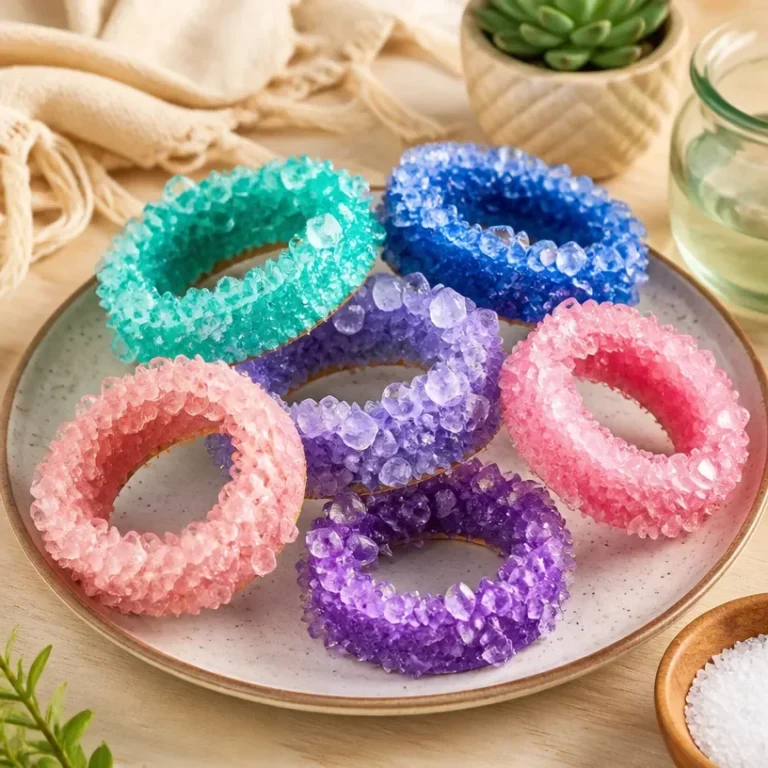
Creating Stunning Salt Crystals: Natural Crystal Beauty is not only an impressive craft project, but it’s also a fun way to explore scientific concepts of crystallization with family. For more detailed guidance on growing crystals, you can view this article on Growing Crystals: How to Make Beautiful Crystals at Home. If you need raw materials to get started, check out this option for Extra Coarse Wild Crystal Sea Salt.
Follow me on social for more recipe ideas & inspiration!
Stunning Salt Crystals
Would you like to save this recipe?
By submitting you agree to receive this recipe and occasional emails. Unsubscribe anytime.
Materials
Crystallization Ingredients
- 3 tablespoons Table salt Use regular table salt for best results.
- 1 cup Warm water Ensure the water is warm to dissolve the salt effectively.
- 2 pieces String or yarn Optional, for hanging crystals.
- 1 piece Pencil or stick Optional, for hanging the string.
- a few drops Food coloring Optional, to create colored crystals.
Instructions
Preparation
- Begin by mixing three tablespoons of salt into one cup of warm water. Stir the mixture until the salt is fully dissolved.
- If you want colored crystals, add a few drops of food coloring and stir gently.
- Pour the solution into a clean container. If making hanging crystals, tie one end of a string to a pencil or stick and lower the other end into the solution.
- Place your setup in a warm, dry location away from disturbances.
- Observe the crystals forming over the next few days, and once happy with their size, remove them from the solution.
- Allow them to dry completely.
Last Step: Don’t forget to leave a rating and comment below! It helps other readers find the best recipes — and it helps us too!
Tips & Notes:
Nutrition Information: Serving: 1 | Calories: | Carbohydrates: | Protein: | Fat: | Sodium: | Fiber: | Sugar:
Nutritional information is provided as a courtesy and calculated automatically. Values can vary depending on the brands and ingredients you use, so if you’re tracking closely, I recommend calculating with your own preferred tool.