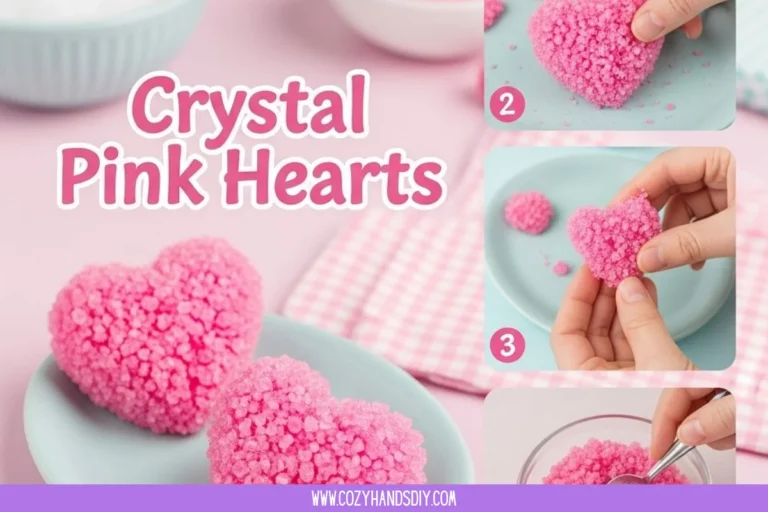
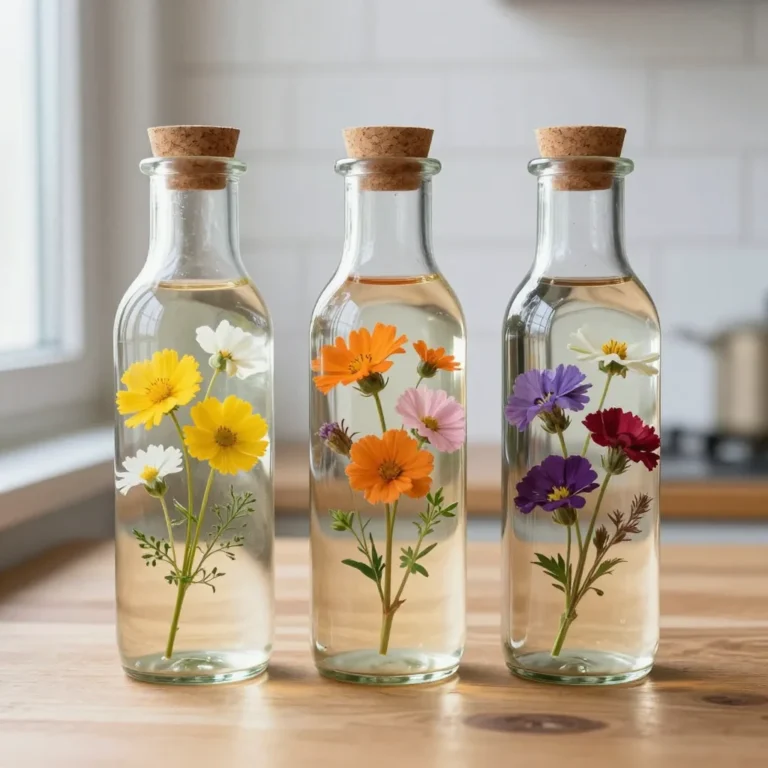
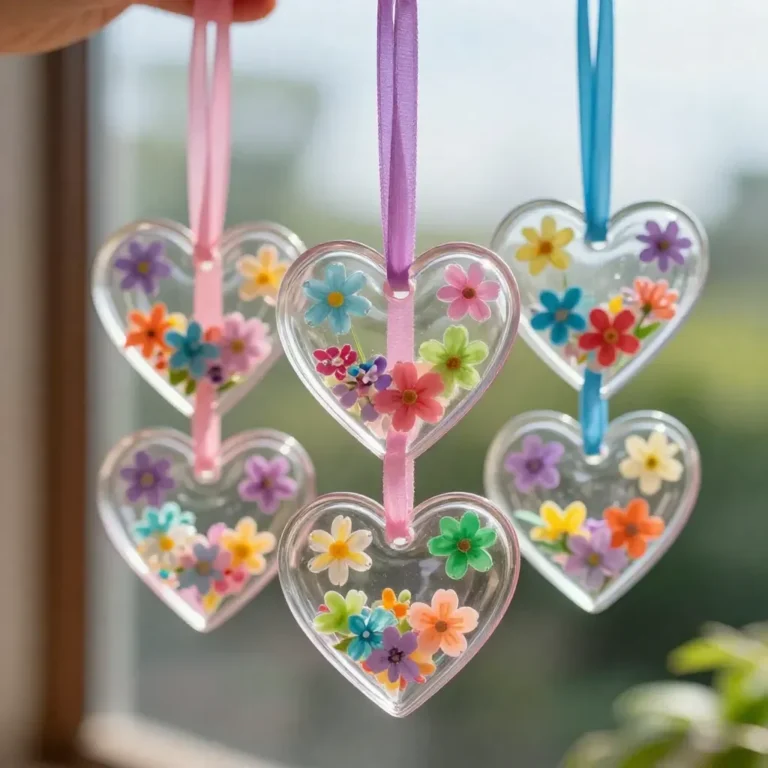
As your DIY Floral Crystal Wind Chime comes together, you will notice it transforming into a vibrant piece that sparkles in the light. The process highlights the interaction between your chosen materials, creating a beautiful centerpiece that dances in the breeze. This craft combines artistic design with simple science, making it perfect for families who want to explore creative projects together. You may also find Easy How To Baking Soda Crystal Heart Growth useful.
What Makes This Work
The magic behind a floral crystal wind chime lies in the combination of borax and water which forms beautiful crystal structures. As the solution cools, crystals form around your chosen objects, giving them a stunning, frosted appearance. The process is simple yet fascinating, appealing to both kids and adults alike. If you’re interested in another project that uses crystals, consider making baking soda crystal hearts for a delightful variety.
Materials
- Borax powder
- Water
- String or fishing line
- Flower-shaped cookie cutters
- Food coloring (optional)
- Small decorative elements (like beads)
- A pot for boiling water
- A container for the solution
Make sure to gather all the materials before starting. This helps streamline the process, ensuring you have everything handy when you need it.

Steps
Prepare the Borax Solution: Boil water in a pot. Use about 3 tablespoons of borax for every cup of boiling water. Stir until the borax completely dissolves.
Add Color: If you’re using food coloring, add a few drops to the solution now. This will enhance the color of your crystals and give a vivid look to the final product.
Set up Your Mold: Place the flower-shaped cookie cutter in the container where the solution will go. You can secure it with some tape if needed.
Attach String: Take a piece of string or fishing line and tie it to your decorative elements. These will be added to your solution later for added beauty.
Pour the Solution: Carefully pour the borax solution into the container, filling it up until the cookie cutter is submerged. Ensure that any attached elements are also submerged.
Wait for Crystals to Form: Let the mixture sit undisturbed for several hours or overnight. You will begin to notice crystals forming on the sides of the container and on your decorative elements.
Remove and Dry: Once the crystals have formed, carefully remove the structure from the container. Rinse it gently in water to remove any excess borax. Then, let it dry completely on a paper towel.
Assemble the Wind Chime: Using the string, carefully tie your crystal creations to a larger frame or hoop from which they will hang. Secure everything tightly to withstand outdoor conditions.
While making this project, be cautious with the hot water and borax. An adult should handle the boiling water to ensure safety.
What Goes Wrong and How to Fix It
Sometimes, crystal formation might not go as planned. If your crystals seem too small, it might be due to not using enough borax. Try increasing the amount next time. Conversely, if the crystals are too rough or not adhering, consider letting them sit longer in the solution. You can also experiment to see how different temperatures affect the growth.
Where to Display It
A floral crystal wind chime looks stunning in various locations. Hang it near a window where sunlight hits, allowing the crystals to catch and reflect light beautifully. You may also enjoy it on a porch or patio where the gentle breeze can make it sing. In a garden, it can attract attention and add a touch of color amid the greenery. If you are interested in more decorative hanging projects, check out this guide for additional ideas.

Variations
You can easily personalize your wind chime by experimenting with different shapes and colors. Choose cookie cutters in various sizes or themes, such as hearts for Valentine’s Day or stars for the summer. You can even combine multiple elements like beads and glass pieces to create a more intricate design. For another fun project, try making DIY crystal seashells which complement this wind chime theme beautifully.
FAQs
How long does it take for the crystals to form?
The crystals generally take a few hours to form, but letting them sit overnight can yield better results.
Why did my wind chime not turn out as expected?
Results can vary based on the amount of borax used or how long the crystals sit in the solution. Small adjustments in technique can lead to different outcomes.
Can children help with this project?
Yes, children can help with certain parts, like mixing the solution or adding elements to the mold, but it’s best for an adult to handle the boiling water.
What happens if the borax solution cools too quickly?
If the solution cools too quickly, the crystals may not form evenly. Keeping the container in a warm area can help.
Can I use other molds besides cookie cutters?
Absolutely! Any shape that can hold the borax solution can serve as a mold. Just ensure it’s secure.
How do I care for my wind chime?
To maintain its beauty, keep it in a sheltered location and clean it gently if it accumulates dust.
Conclusion
Creating a DIY Floral Crystal Wind Chime is a rewarding experience that combines creativity with a bit of science. This project offers not only the joy of crafting but also the beauty of nature reflected in your own home. For more ideas, explore 10 DIY Wind Chime Projects or consider gathering supplies from this selection of decorative elements to enhance your crafts.
Follow us on social for more DIY ideas & inspiration!
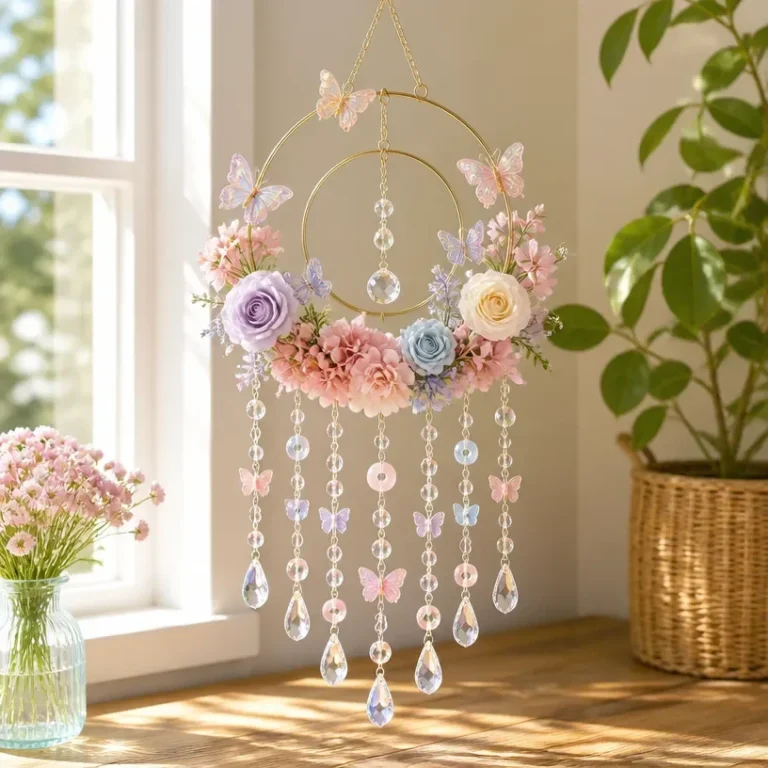
Floral Crystal Wind Chime
Would you like to save this project?
By submitting you agree to receive this project and occasional emails. Unsubscribe anytime.
Materials
Materials
- 3 tablespoons Borax powder To create the crystal solution.
- 1 cup Water Boiling water to mix with borax.
- 1 piece String or fishing line To attach decorative elements.
- 1 piece Flower-shaped cookie cutters Use to shape the crystals.
- optional Food coloring To enhance the color of the crystals.
- various Small decorative elements (like beads) Add beauty to the wind chime.
- 1 pot A pot for boiling water
- 1 container A container for the solution
Directions
Preparation
- Boil water in a pot. Use about 3 tablespoons of borax for every cup of boiling water. Stir until the borax completely dissolves.
- If you're using food coloring, add a few drops to the solution now to enhance the color of your crystals.
- Place the flower-shaped cookie cutter in the container where the solution will go. Secure it with some tape if needed.
- Take a piece of string or fishing line and tie it to your decorative elements.
- Carefully pour the borax solution into the container, filling it up until the cookie cutter is submerged and ensuring any attached elements are submerged.
- Let the mixture sit undisturbed for several hours or overnight. You will begin to notice crystals forming.
- Once the crystals have formed, carefully remove the structure from the container. Rinse it gently in water and let it dry completely on a paper towel.
- Using the string, carefully tie your crystal creations to a larger frame or hoop to hang.
Last Step: Don’t forget to leave a rating and comment below! It helps other readers find the best DIY projects — and it helps us too!