Rainbow Crystal Window Drops: Sparkling Glass Ornaments for Windows
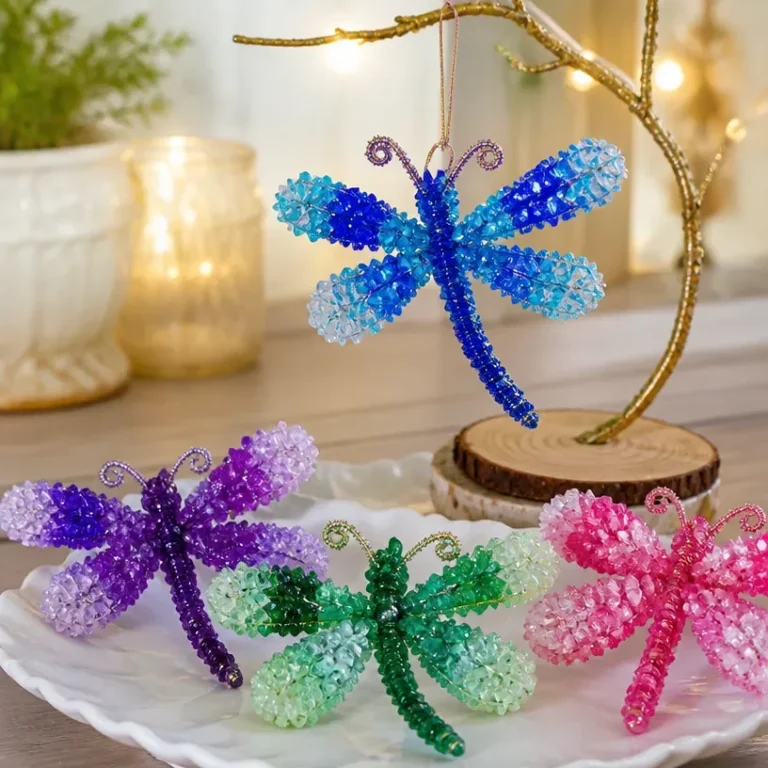
The Rainbow Crystal Window Drops transform light into a colorful display, creating beautiful reflections in any space. When sunlight hits these sparkling glass ornaments, they illuminate your room with a vibrant spectrum. Making these crystals is not only fun; it also results in a stunning decoration you can proudly showcase in your home. You may also find Prismatic Rainbow Crystal Waterfall Sun Catcher For Window Decor useful.
To get started, let’s understand what makes this project work. The process involves mixing specific materials that react with one another, creating lovely crystal formations. For a smooth execution, gather the necessary supplies before you begin. Here are the materials you will need: You may also find Geode Rainbow Crystal Window Ornament Sparkling Home Decor useful.
Materials
- Clear glass jars
- Borax
- Water
- String or fishing line
- A spoon for stirring
- A heat-resistant container
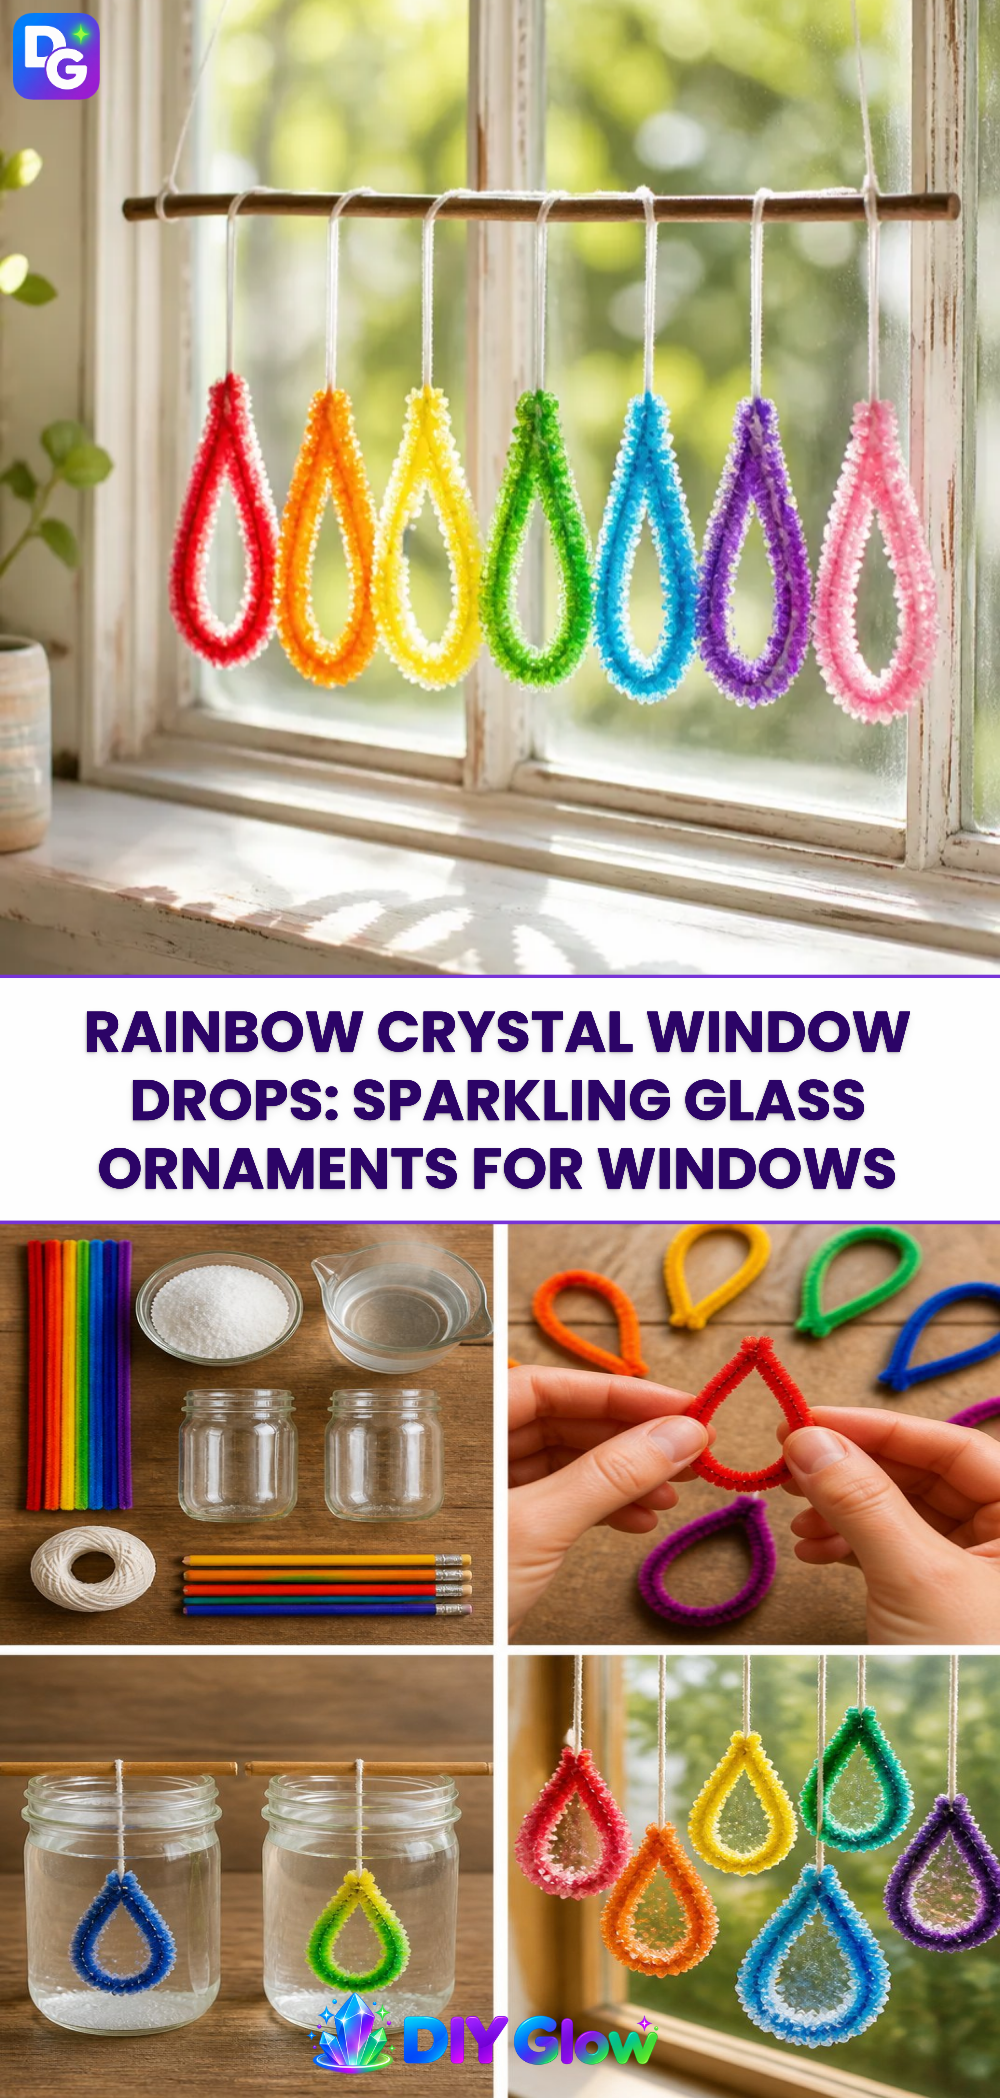
You may also find Baking Soda Rainbow Crystal Forest Rainbow Crystals useful.
Steps
Prepare the Solution: Begin by boiling water in a heat-resistant container. The amount doesn’t need to be exact; just enough to fill your jars. You will know it’s ready when it starts to steam.
Mix Borax into the Water: Once the water is boiling, remove it from the heat. Add borax to the water in a ratio of about three tablespoons per cup of water. Stir well to dissolve it completely. You’ll notice the water starting to cloud slightly as the borax is mixed in.
Set Up the Jars: While the water is still hot, pour the solution into your clear glass jars. Make sure to leave some space at the top so it doesn’t overflow. You can use this time to prepare the string as well, which will hold your decorations.
Submerge the String: Tie a long piece of string or fishing line to a pencil or stick, and lay it across the top of the jar. The string should hang down into the solution, as this is what will catch the crystals as they form.
Let It Cool: Place your jars somewhere quiet and undisturbed. As the solution cools, crystals will begin to form on the string. This process can take a few hours to a few days. You will see the string gradually becoming coated with beautiful crystals, which will be different in size and shape.
Remove the Crystals: Once you’re satisfied with the growth of the crystals, pull the string out gently. This is where you will see your sparkling creations! Rinse them in cool water to stop the crystallization process and let them dry.
Display Your Work: Tie them at the window with the string or fishing line to catch the light. You can also arrange them elegantly on a shelf.
To enhance your project, you can explore different variations. For example, you might want to try making more complex, layered crystals or using a variety of colors in each jar. If you wish to deepen your experience, consider experimenting with this geode rainbow crystal window ornament project for a unique twist on the traditional crystal display.

What Goes Wrong and How to Fix It
Sometimes, the crystals may not turn out as expected. A common issue is crystals forming only at the bottom instead of on the string. This could happen if the solution wasn’t stirred well enough or if it cooled too quickly. If you encounter this, you can try to remix the solution by adding more borax and reheating it.
Another issue may arise if the string is not submerged properly. Make sure it hangs down straight into the solution. If you notice uneven crystal growth, simply remove the string and mix a new batch if needed.
Where to Display It
These sparkling glass ornaments can brighten up any spot in your home. Hang them in a window where the sunlight directly hits, or place them on shelves that catch the light. You can even cluster several together for a more dramatic effect. For inspiration, check out this rainbow crystal bookworm window charm.

FAQs
How long do the crystals last after making them?
If properly displayed away from excessive moisture and heat, your crystals can last a long time.
Can I use food coloring in this project?
Yes, adding food coloring to the solution can create colorful crystals. Just be cautious with the amount so it does not affect the crystallization process.
Why did my crystals not grow?
Not enough borax in the solution or the solution cooling too quickly can prevent crystal formation. Ensure you mix thoroughly and allow adequate time.
How do I clean the crystals?
You can rinse them gently with water to remove any dust, but avoid using harsh chemicals.
Can children help with this craft?
Children can assist with mixing and setting up the jars, but adult supervision is necessary when dealing with hot water or borax.
Is there a way to make this project even more fun?
Consider making multiple batches with different shapes or adding glitter to the solution for an extra sparkle effect.
Conclusion
Rainbow Crystal Window Drops are a delightful addition to any room, adding both color and charm. To enhance your window décor, consider checking out these large suncatchers or browse unique designs on Etsy. Enjoy showcasing your creativity!
Follow us on social for more DIY ideas & inspiration!

Rainbow Crystal Window Drops
Would you like to save this project?
By submitting you agree to receive this project and occasional emails. Unsubscribe anytime.
Materials
Materials
- 1 jar Clear glass jars Use as many jars as desired, depending on the batch size.
- 1 cup Borax Use about three tablespoons per cup of water.
- 1 cup Water Boil water for the solution.
- 1 piece String or fishing line To suspend the crystals in the solution.
- 1 spoon A spoon for stirring For mixing the borax into the water.
- 1 container A heat-resistant container For boiling water.
Directions
Preparation
- Begin by boiling water in a heat-resistant container until it starts to steam.
- Remove the water from heat and add borax to it in a ratio of three tablespoons per cup of water. Stir until dissolved.
- While the solution is hot, pour it into the clear glass jars, leaving some space at the top.
- Tie a long piece of string or fishing line to a pencil or stick and lay it across the top of the jar so that the string hangs into the solution.
- Place your jars somewhere quiet and undisturbed for several hours to a few days to allow crystals to form.
- Once satisfied with the crystal growth, gently pull the string out and rinse the crystals in cool water to stop the process.
- Display the crystals by tying them with string to catch the light or arrange them on a shelf.
Last Step: Don’t forget to leave a rating and comment below! It helps other readers find the best DIY projects — and it helps us too!