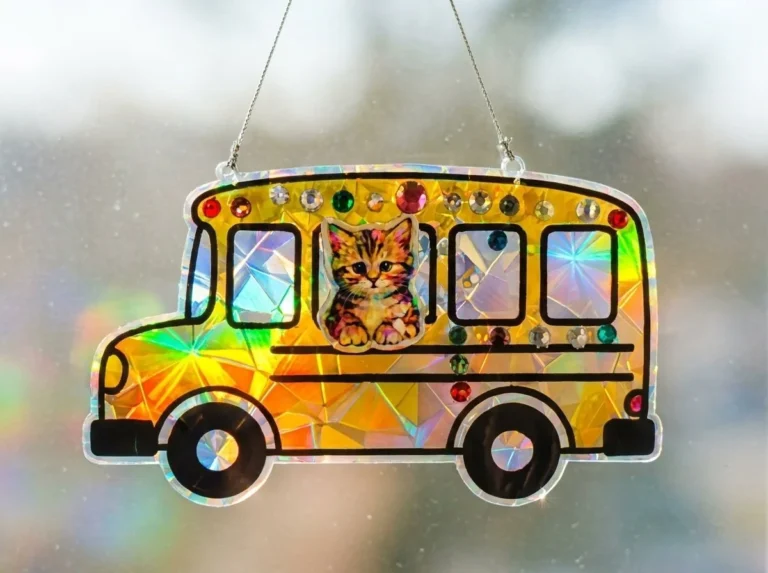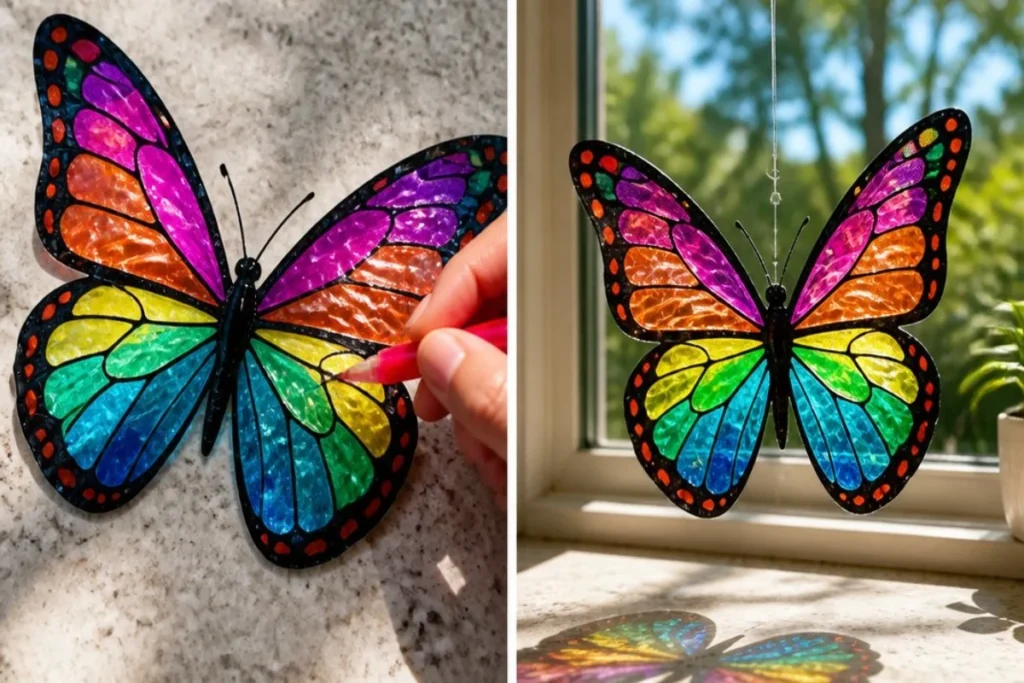
The recycled bottle butterfly suncatcher catches light in beautiful ways. This DIY project transforms a simple plastic bottle into a colorful decoration that can bring joy to any window or shelf. This guide will help you create your own stunning butterfly design that sparkles in the sun. You may also find Rainbow Butterfly Stakes Recycled Bottles useful.
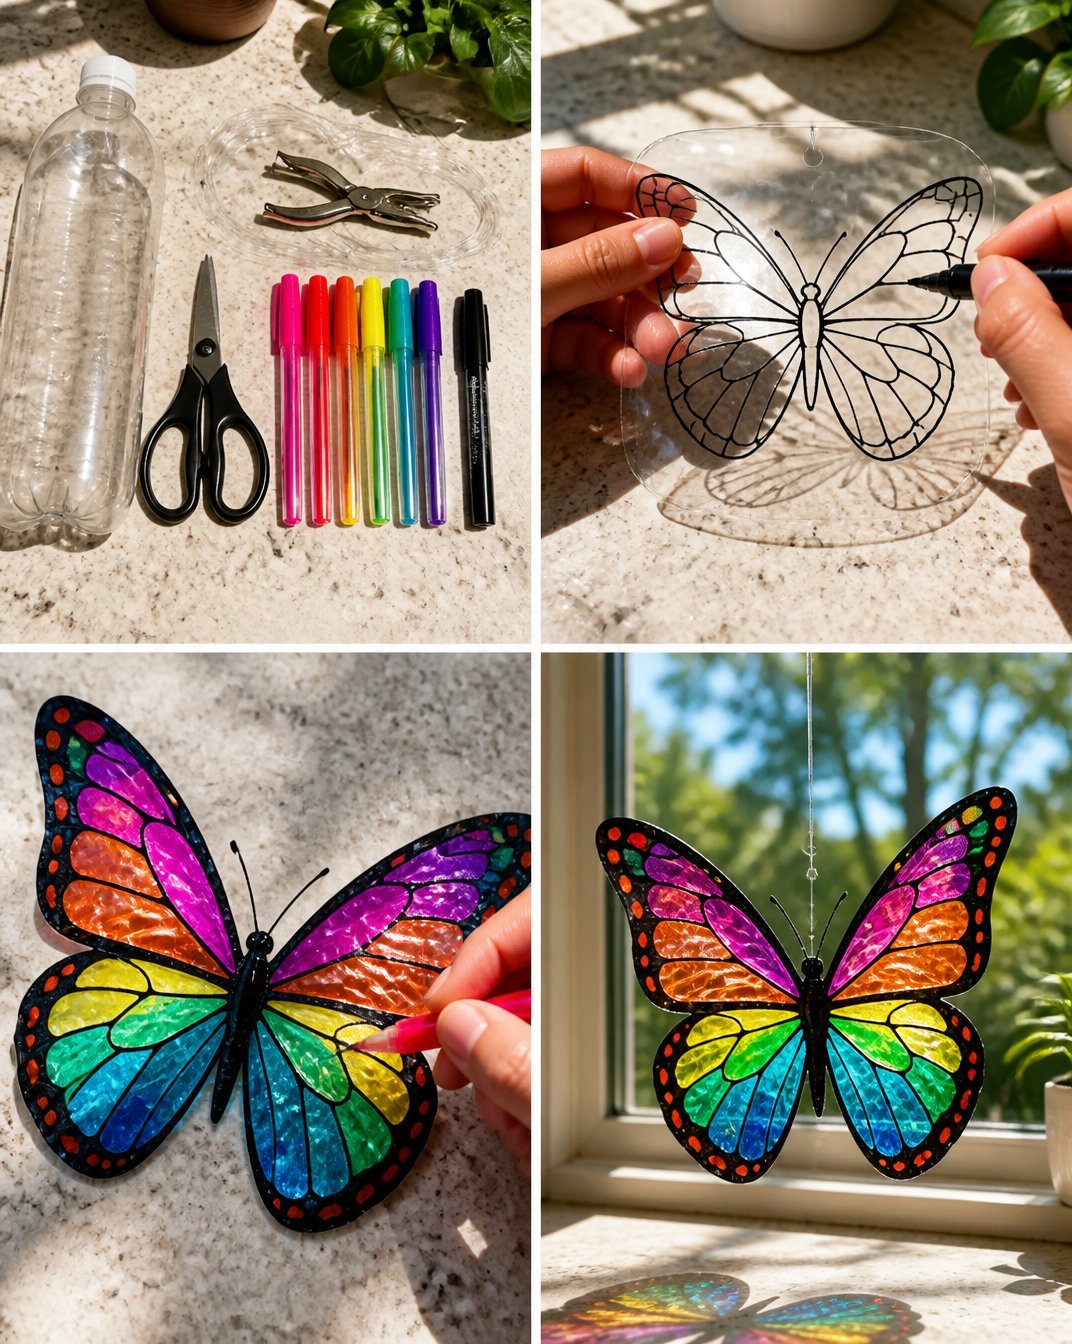
Gather your materials and set up a clean workspace. You will need a clear plastic bottle, scissors, permanent markers, a black marker, a hole punch, and fishing line. Once set up, it’s time to cut, color, and construct your butterfly. You may also find First Day Rainbow Pencil Butterfly Suncatcher useful.
What Makes This Work
The vibrant colors appear stunningly clear when sunlight shines through them. The transparent markers allow light to pass while giving the butterfly its lively look. Each step is essential to ensure the final product stands out beautifully.
Materials
- Clear plastic bottle
- Scissors
- Permanent markers
- Black marker
- Hole punch
- Fishing line
Once you have everything ready, you can move on to the first step of the transformation.
Steps
Cut a flat piece from the bottle. This will serve as the base for your butterfly. Make sure it is large enough to accommodate your butterfly outline.
Draw a butterfly outline on the cut piece. Make sure the wings are wide enough to showcase your artistic talent.
Color the wings with bright transparent markers, and outline them in black. This will help the colors pop even more. Be sure to give yourself plenty of time to get creative!
Carefully cut out the butterfly shape. Once cut, it should look like an elegant creature ready to soar.
Punch a small hole at the top of the butterfly. This will allow you to hang it with fishing line.
Use the fishing line to hang your butterfly in direct sunlight. The light will bring your creation to life, filling the room with colorful reflections.
You might be interested in other amazing projects, such as colorful rainbow crystal butterfly window suncatchers to further decorate your space.
What Goes Wrong and How to Fix It
Sometimes the colors may not be as bright as you hoped. This can happen if you do not use enough ink from the markers while coloring. Make sure to properly saturate the wings for the best results. If your design is uneven, don’t worry! You can always add more color to balance it out.
If your cuts are ragged, take your time while cutting. Use sharp scissors for cleaner edges, or consider using a craft knife if you’re comfortable with it. It is best for an adult to handle cutting tools safely.
Where to Display It
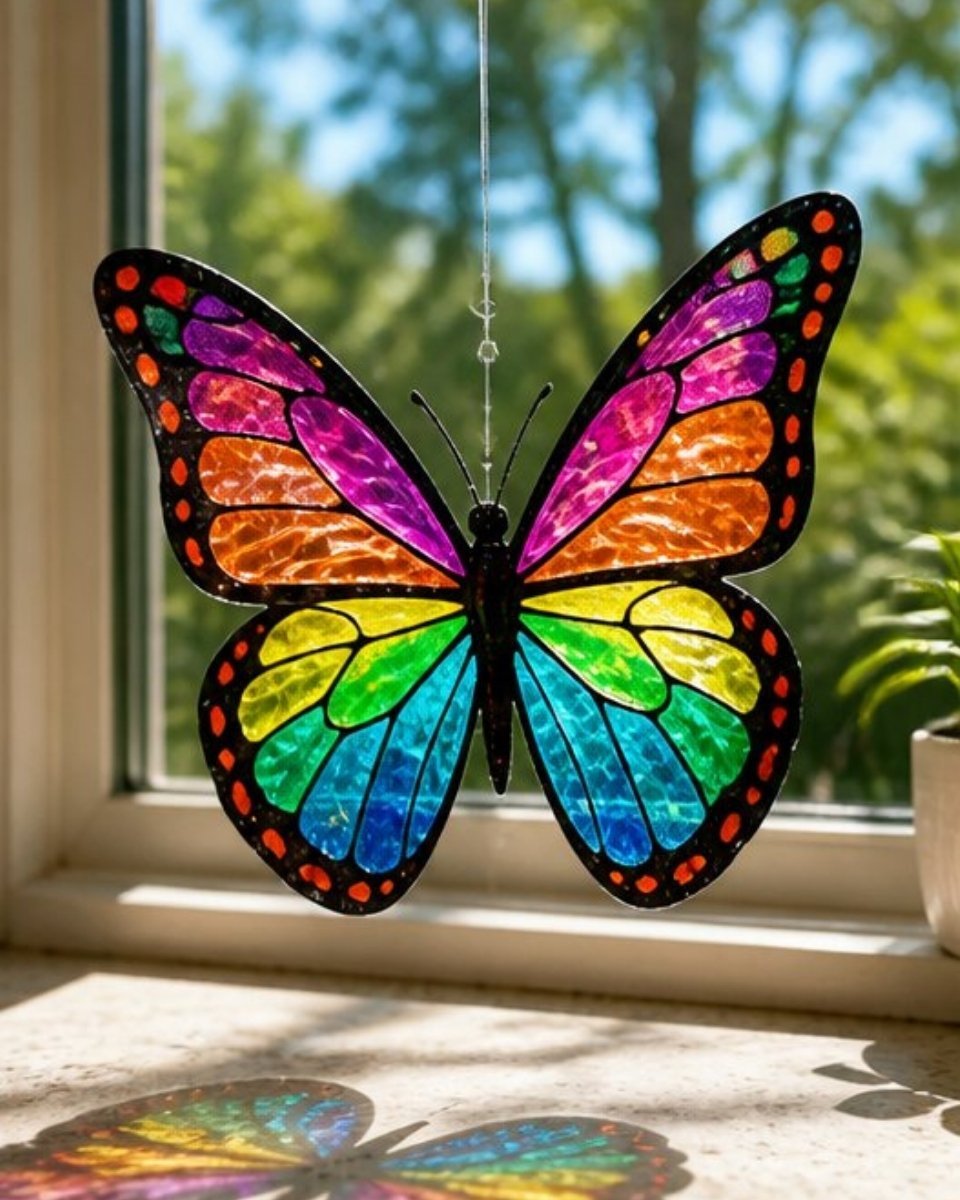
The butterfly suncatcher looks lovely in various settings. Hang it in a window where sunlight hits directly for maximum visual impact. You can also place it on a shelf, where it will catch light from nearby windows. Its colors will brighten up any room.
Consider pairing it with other colorful decorations. For example, you could create plastic bottle flower suncatchers to create an enchanting display.
Variations
Get creative with different colors and patterns! You could even try using multiple colors in a gradient effect for the wings. Each butterfly can have its unique look. Experiment with different shapes and sizes, or try using melted crayon techniques for extra flair. Each design tells a story worthy of admiration.
Try different angles and styles when hanging them to play with shadows and light reflections. This could add depth to your display!
FAQs
How long does it take to make a recycled bottle butterfly suncatcher?
Creating this butterfly typically takes about 30-60 minutes, depending on how detailed you want to be.
Can kids help with this project?
Yes, children can assist with coloring and applying the fishing line, but safety is key. Be sure to supervise when using scissors and the hole punch.
What if my butterfly doesn’t look right?
If you find that your butterfly’s outline is not clean, you can always trace the shape again and adjust as needed. Practice makes perfect!
Is there a best time to display my butterfly?
It’s best to hang your butterfly in direct sunlight for the brightest colors. Early afternoon light tends to create vibrant reflections.
What markers work best for this project?
Permanent markers are recommended, as they provide bright, lasting colors. Try to choose transparent ones for better light effects.
Can I use other materials instead of a plastic bottle?
While the plastic bottle is the main material for this project, other recyclable materials could work. Experiment with what you have, but be mindful of the final appearance.
Conclusion
Making a recycled bottle butterfly suncatcher is a fun and rewarding craft project. Not only does it brighten up your space, but it also allows you to express your creativity. If you’re looking for more creative ideas, consider making the beaded butterfly wine bottle wind chime or explore an easy summer suncatcher craft for kids made from a plastic bottle. Happy crafting!
Follow us on social for more DIY ideas & inspiration!
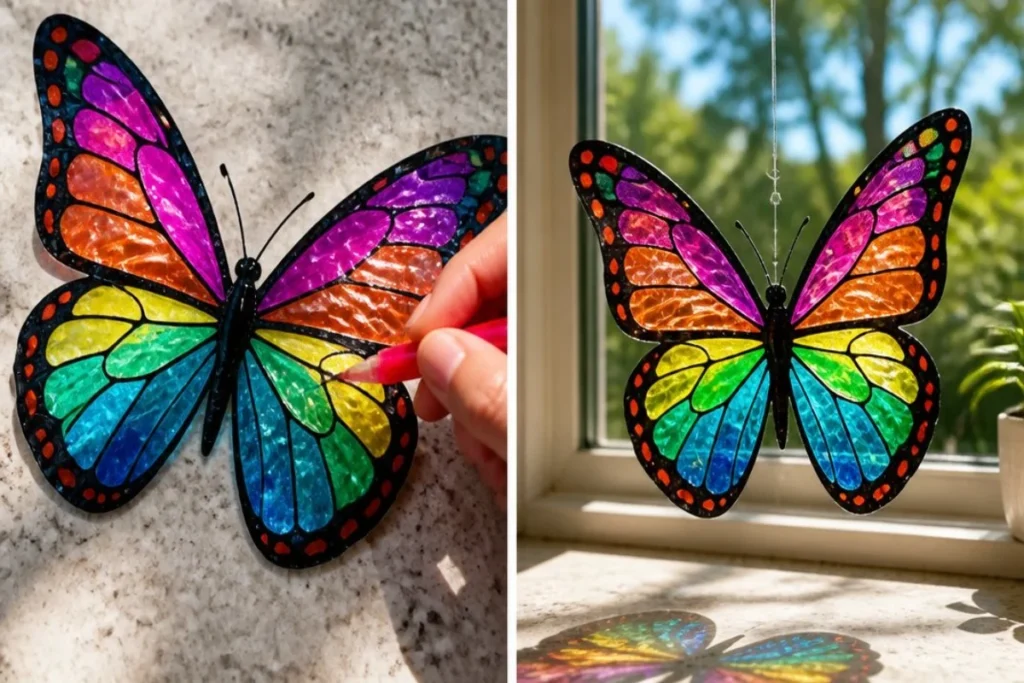
Recycled Bottle Butterfly Suncatcher
Would you like to save this project?
By submitting you agree to receive this project and occasional emails. Unsubscribe anytime.
Materials
Materials
- 1 piece Clear plastic bottle Choose an empty and clean bottle.
- 1 piece Scissors Use sharp scissors for cleaner cuts.
- 3-5 pieces Permanent markers Choose transparent markers for vibrant effects.
- 1 piece Black marker For outlining the butterfly wings.
- 1 piece Hole punch To create a hanging hole in the butterfly.
- 1 piece Fishing line For hanging the suncatcher.
Directions
Preparation Steps
- Gather all your materials and set up a clean workspace.
- Cut a flat piece from the bottle to serve as the base for your butterfly.
- Draw a butterfly outline on the cut piece, ensuring the wings are wide.
- Color the wings with bright transparent markers and outline with black.
- Carefully cut out the butterfly shape.
- Punch a small hole at the top of the butterfly.
- Use the fishing line to hang your butterfly in direct sunlight.
Last Step: Don’t forget to leave a rating and comment below! It helps other readers find the best DIY projects — and it helps us too!