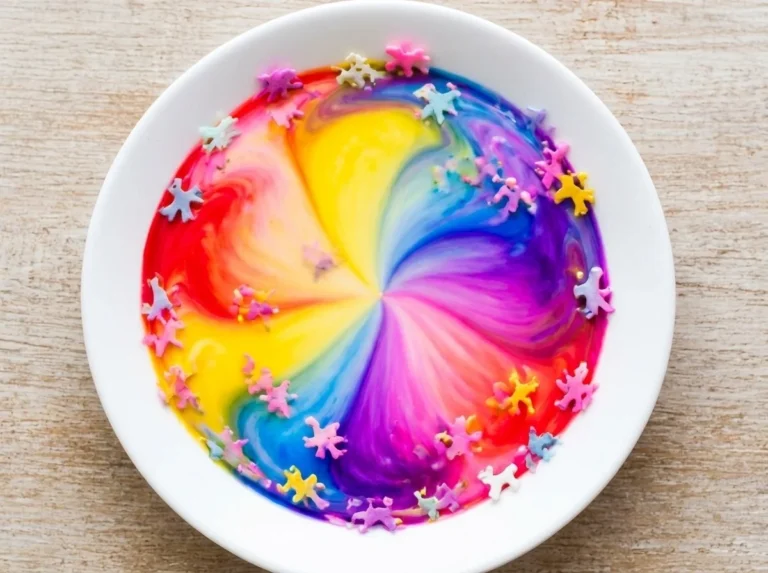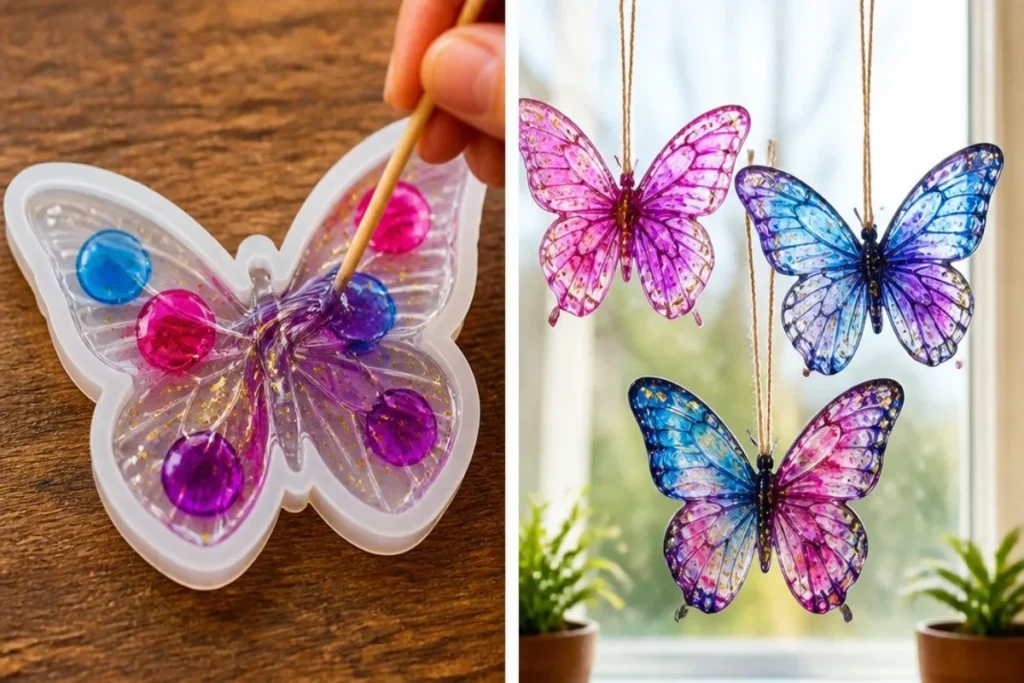
Marbled Glue Butterfly Suncatchers transform ordinary glue into stunning art pieces that shimmer in the sunlight. The key to their beauty lies in how the colors blend, creating vibrant patterns that catch the eye. This craft is not only enjoyable but also provides a wonderful opportunity to observe color mixing and texture changes as you create. You may also find Diy Glue Suncatchers useful.
What Makes This Work
The project’s striking appearance comes from the clear glue acting as the medium for liquid watercolor and glitter. The glue dries clear, allowing the colors to shine through beautifully. As the glue sets, it transitions from a viscous state to a firm, smooth surface; this change is crucial in achieving the final marbled effect. If you’re interested in similar projects, you might check out clear glue suncatchers for additional inspiration.
Materials
To get started on your Marbled Glue Butterfly Suncatchers, you will need: You may also find Swirled Glue Suncatchers 2 useful.
- Clear glue
- Butterfly-shaped silicone mold or outline
- Liquid watercolor
- Glitter
- Toothpick
- String
Prepare your workspace with all materials handy. This will help streamline the process and keep everything organized.
Steps
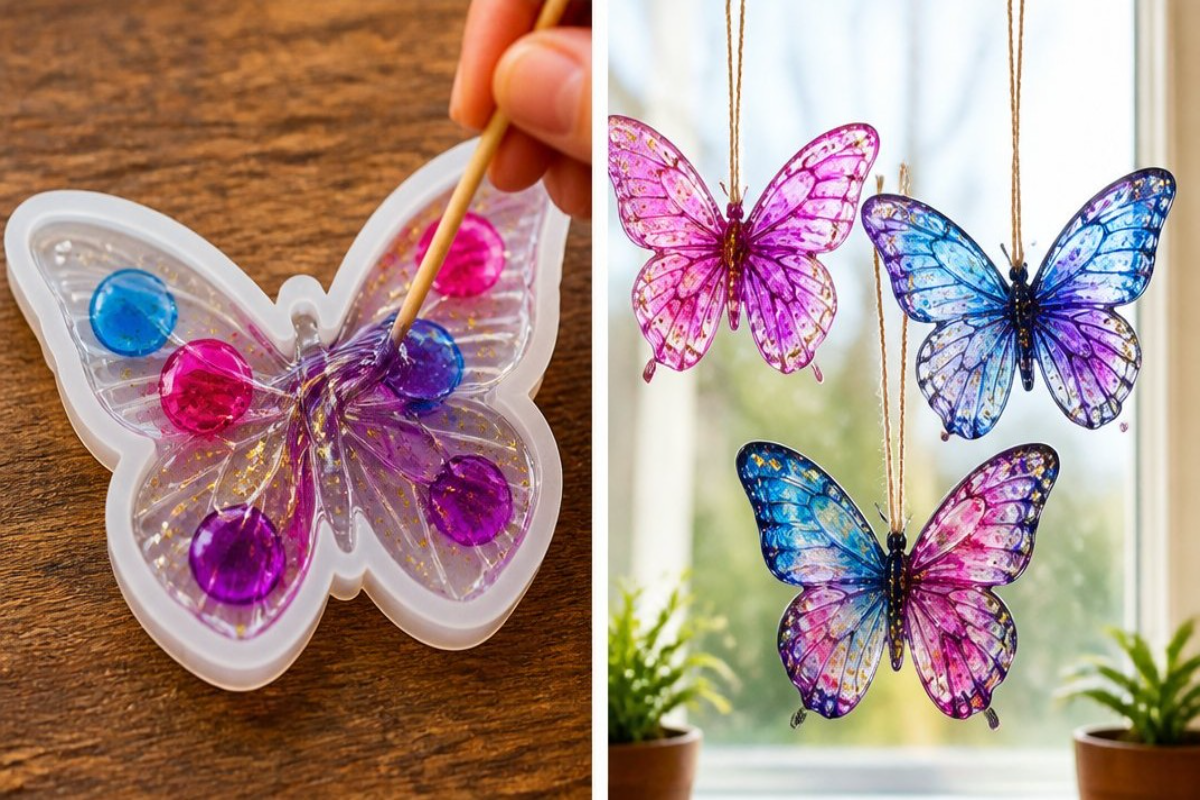
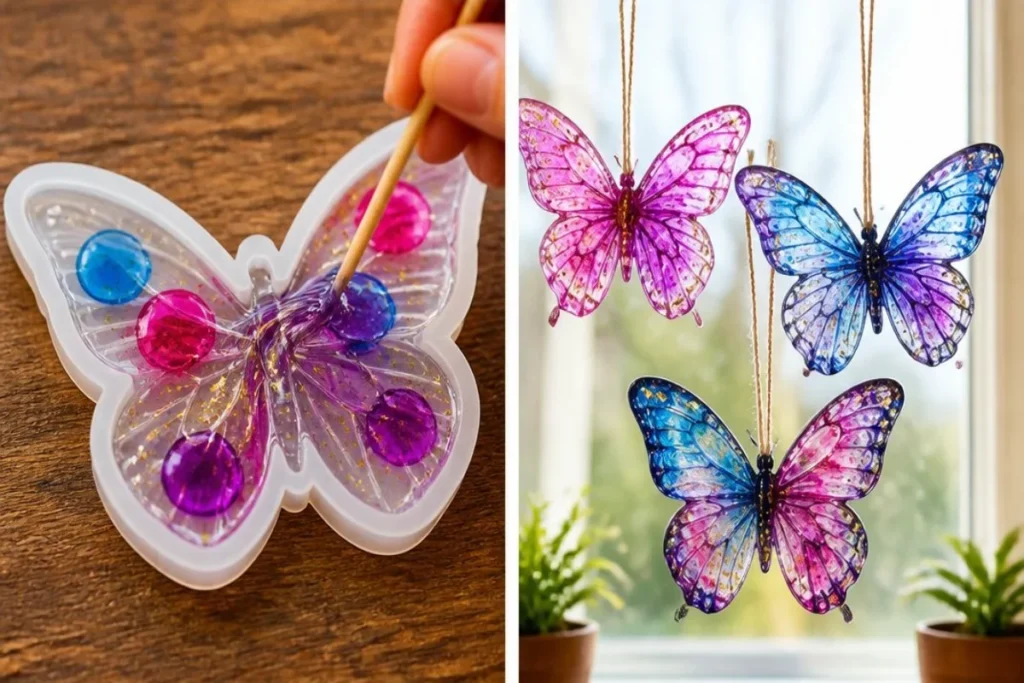
Fill the butterfly shapes with clear glue. Begin by pouring the clear glue into the butterfly mold, ensuring that each shape is filled adequately. Look for air bubbles, as they can disrupt the smooth finish.
Add drops of two or three colors of liquid watercolor and a sprinkle of glitter. As you add color, observe the contrast it creates against the clear glue. Choose colors that will blend well together but retain their individuality.
Lightly swirl the colors together with a toothpick. Insert the toothpick gently into the glue and colors, swirling lightly. This step is essential as it creates the marbled effect but be careful not to over-mix, which can muddy your colors.
Let them dry fully, peel out, and make a hole to hang with string. Once completely dry, carefully remove the suncatchers from the mold. This is where you can appreciate the vibrant marbled colors. Use a hole punch to create a hole at the top for your string.
Observing the transformation from a wet mixture to a dry, glossy finish can be gratifying and visually stunning.
What Goes Wrong and How to Fix It
Sometimes, the glue may not reach certain areas of the mold, resulting in uneven suncatchers. If you notice this during the swirling process, add a bit more clear glue and continue to swirl, but do so gently.
Additionally, if colors mix too much, the vibrancy can diminish. To prevent this, allow the colors to sit on top of the glue for a moment before swirling, allowing them to spread slightly before mixing.
Where to Display It
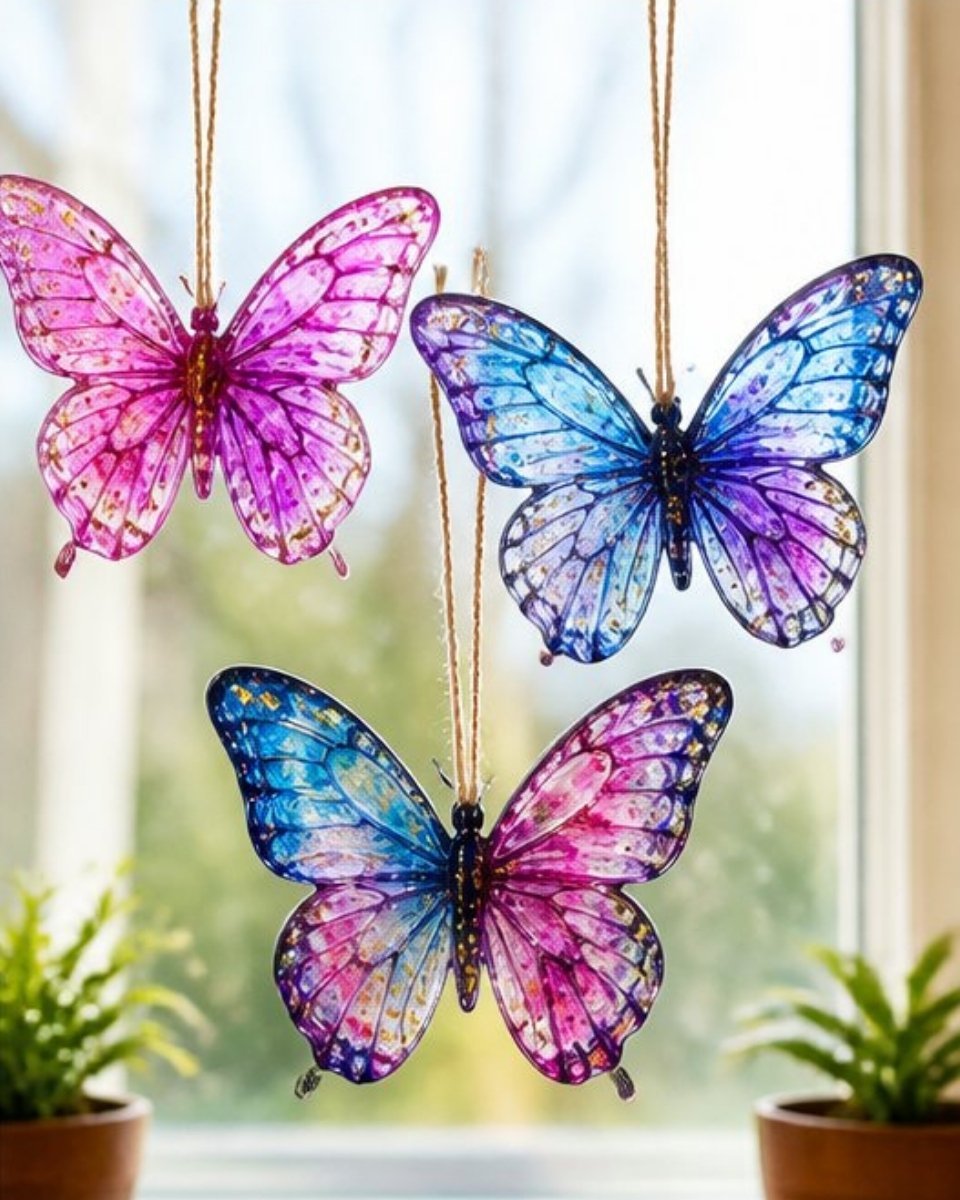
Once completed, these beautiful suncatchers can be hung in windows or on a focal wall. The light will dance through them, creating mesmerizing displays of color that shift with the sun. You might want to explore other projects for varied displays, such as bioplastic suncatchers with natural flowers.
Variations
Experimenting with different shapes and designs can yield exciting results. Try using different silicone molds or adding various types of glitter for unique effects. You can also use shapes that are more seasonal, such as hearts for Valentine’s Day or stars for summer evenings. If you enjoy this creative process, consider making heart suncatchers next.
FAQs
Why did my suncatcher turn out cloudy?
If your suncatcher has a cloudy appearance, it may be due to not allowing the glue to dry completely. Make sure to allow ample drying time before removing it from the mold.
Can I use any other colors instead of liquid watercolor?
While liquid watercolor works best for this project, you can experiment with food coloring, but the results may differ in brightness and clarity.
How long does it take for the suncatchers to dry?
Typically, drying can take anywhere from 4 to 24 hours, depending on humidity and thickness. Always confirm that the glue feels firm before handling.
Are these safe for young children to make?
Yes, but adult supervision is recommended, especially during the swirling step to ensure that they don’t spill or misuse materials.
Can I use glitter that is not craft-grade?
It’s best to use craft-grade glitter as it is less likely to cause irritation. Non-craft glitters can contain chemicals that may not be safe for children.
How do I care for my suncatchers after they are made?
To keep your suncatchers looking their best, gently dust them off with a soft cloth if they become dirty, avoiding any harsh chemicals.
Conclusion
Creating Marbled Glue Butterfly Suncatchers can be a delightful way to spend time crafting and learning about colors. The resulting pieces add beauty to any space and reflect the creative efforts put into them. For more fun craft ideas, you can explore projects like Fall Suncatchers or check out a child’s take on a melted crayon sun catcher at A Girl and a Glue Gun.
Follow us on social for more DIY ideas & inspiration!
Marbled Glue Butterfly Suncatchers
Would you like to save this project?
By submitting you agree to receive this project and occasional emails. Unsubscribe anytime.
Materials
Materials
- 1 bottle Clear glue
- 1 mold Butterfly-shaped silicone mold or outline
- 2-3 drops Liquid watercolor Choose contrasting colors
- as needed sprinkle Glitter Use craft-grade glitter for safety
- 1 piece Toothpick For swirling colors
- 1 piece String For hanging
Directions
Preparation
- Prepare your workspace with all materials handy to streamline the process.
- Fill the butterfly shapes with clear glue, ensuring that each shape is adequately filled.
Color Mixing
- Add drops of two or three colors of liquid watercolor and a sprinkle of glitter into the glue.
- Lightly swirl the colors together with a toothpick, being careful not to over-mix.
Drying and Finishing
- Let the suncatchers dry fully before peeling them out of the mold.
- Use a hole punch to create a hole at the top for hanging with string.
Last Step: Don’t forget to leave a rating and comment below! It helps other readers find the best DIY projects — and it helps us too!