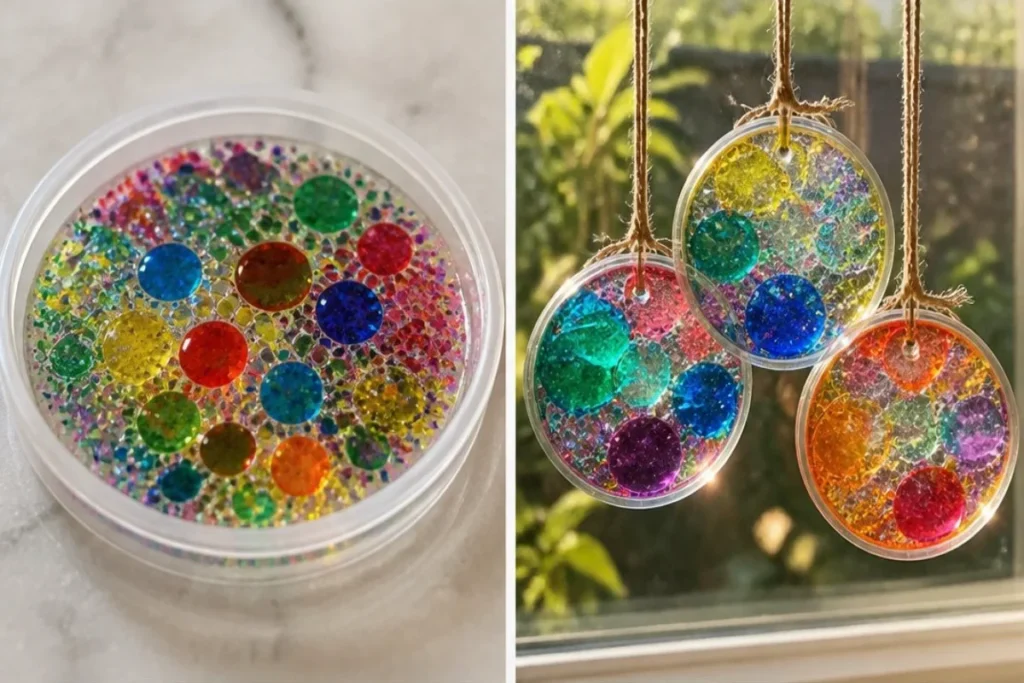
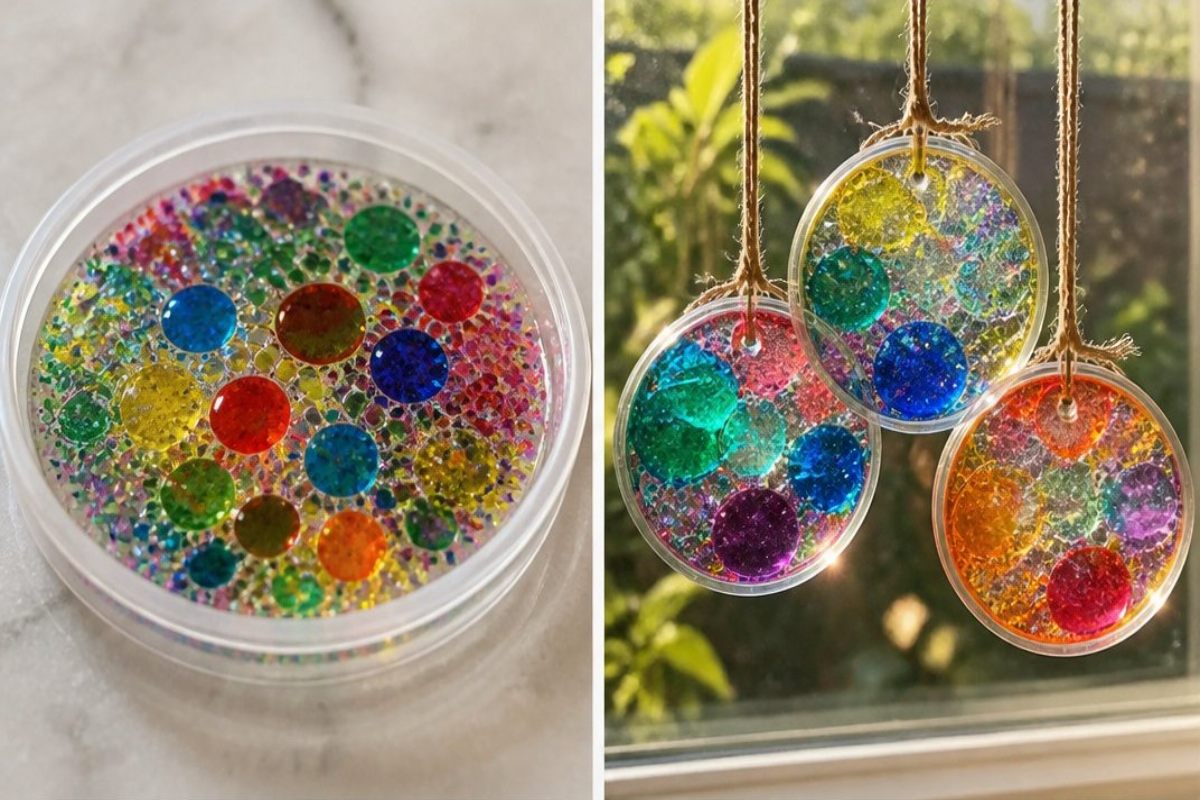
Lava Lamp Suncatchers bring vibrant color and mesmerizing motion to any window. These delightful crafts capture the spirit of a lava lamp while being easy to make. As sunlight hits them, they create a playful dance of colors, making them perfect for brightening up your home. You may also find Lava Lamp Style Suncatchers useful.
To begin, you will only need a few basic materials: clear glue, food coloring, clear plastic lids, cooking oil, glitter, toothpicks, and string. As you gather these supplies, you will be preparing to create a beautiful and dynamic piece of art. As you follow the steps, pay attention to the changes in color and texture that define the experience of making these suncatchers, like the way oil and glitter mix with glue. You may also find Heart Shaped Lava Lamp useful.
What Makes This Work
The combination of clear glue and cooking oil is what creates the lava-lamp effect in your suncatchers. The oil forms bubbles that rise and fall, and when mixed with food coloring, it enhances the visual appeal. The glitter adds a sparkling texture that mimics the glimmering elements found in a real lava lamp. Understanding this science can make the crafting process even more enjoyable.
Materials
Before starting, ensure you have all the materials ready:
- Clear glue
- Food coloring
- Clear plastic lids
- Cooking oil
- Glitter
- Toothpicks
- String
Once you have everything, you can start creating your Lava Lamp Suncatcher!
Steps
Pour a thin layer of clear glue into a plastic lid. This serves as the base for your suncatcher. Look for a smooth surface as you pour to ensure an even layer.
Add tiny drops of oil, food coloring, and glitter. As the oil is added, you will notice the bubbles beginning to form. The food coloring will create a swirling effect when you mix it in later on.
Use a toothpick to gently swirl the mixture, mimicking lava-lamp bubbles. It’s important to keep swirling just enough to mix the colors without completely combining them. This will allow the oil to create bubbles that float and sink.
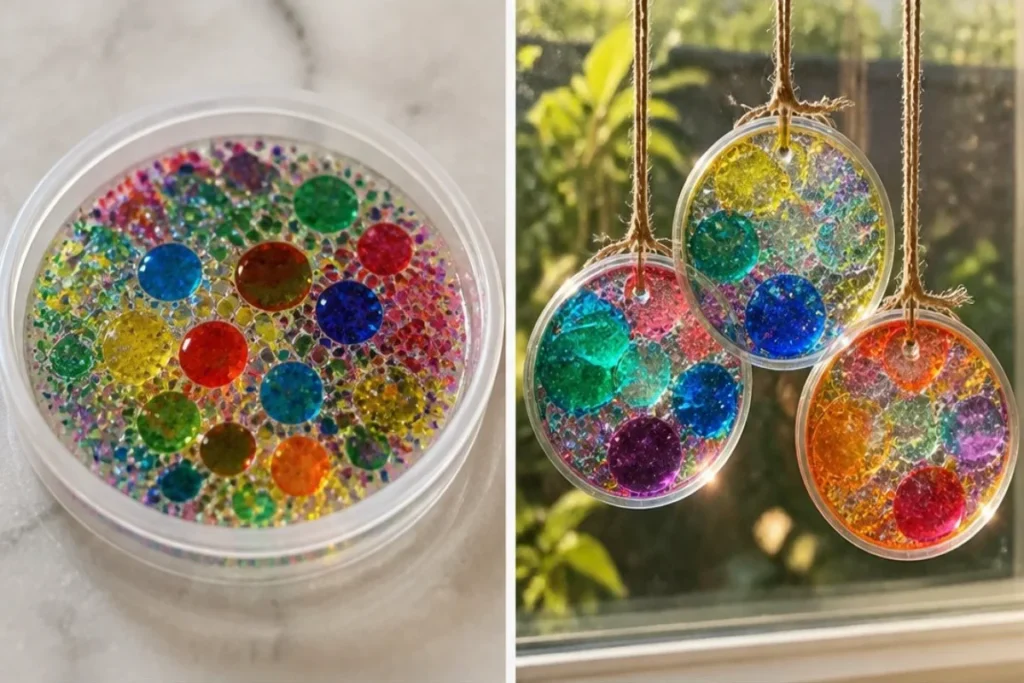
Let your creation dry fully, then peel it out and hang it in sunlight. After drying, the suncatcher is ready to shine. Look for a non-tacky surface to ensure it’s fully dried before removing it from the lid.
What Goes Wrong and How to Fix It
If your suncatcher doesn’t bubble like expected, it might be due to too much glue or oil. Adjust the ratios next time to find what works best. If it appears cloudy instead of clear, ensure the mixture is well blended; excess food coloring can cloud the clarity. If you find it too tricky to peel off, consider letting it dry for a longer time.
Where to Display It
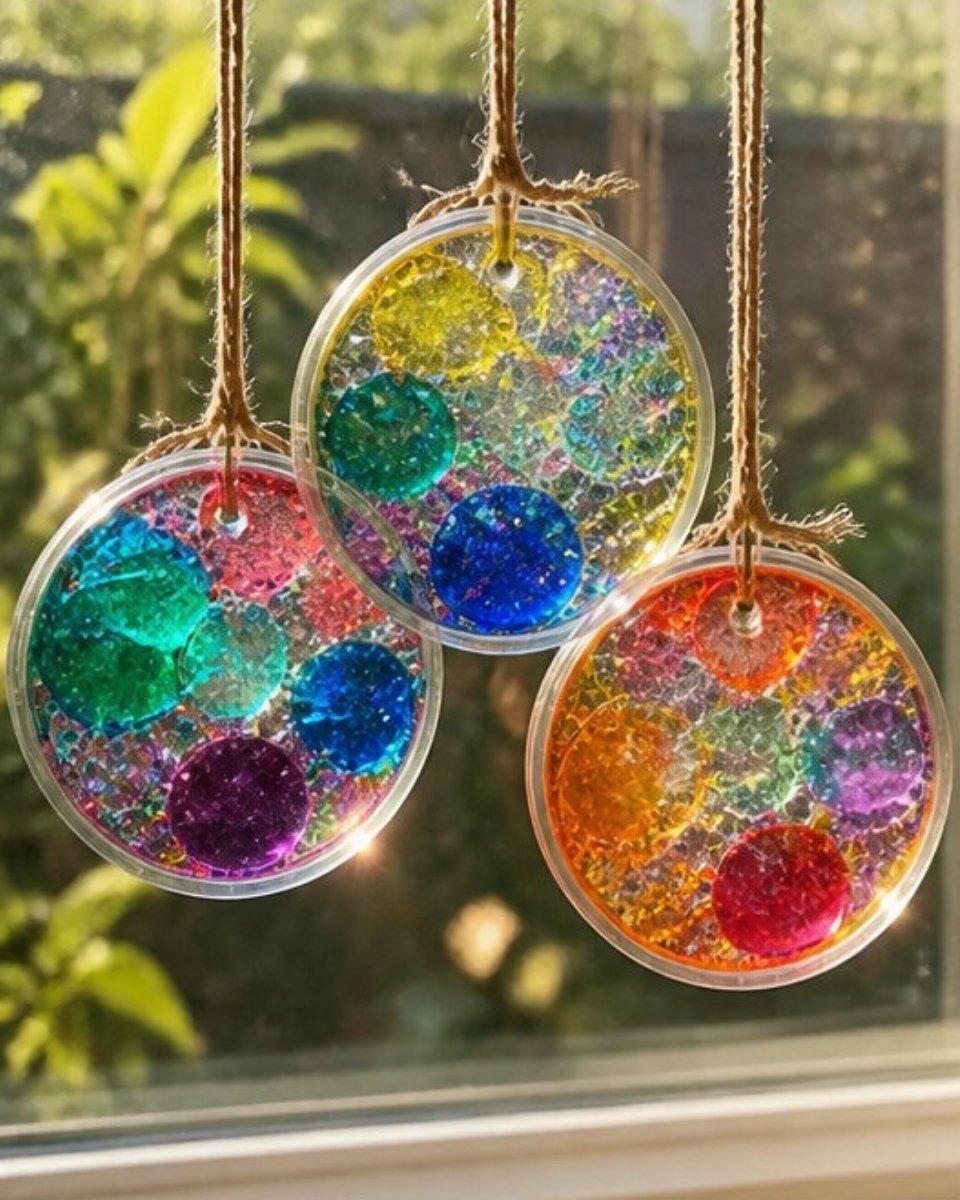
Find a sunny spot to hang your Lava Lamp Suncatcher. Windowsills are ideal as they get sufficient sunlight. When hanging, use string that complements the colors of your suncatcher. The light will enhance the colors and textures, bringing your creation to life.
Variations
You can mix different colors of food coloring to create unique designs. Experiment with various types of glitter, too, such as chunky versus fine glitter, to see how they change the look of your suncatchers. Try creating themed suncatchers for holidays or seasons.
FAQs
How long does it take to make a Lava Lamp Suncatcher?
The whole process can take about 30 minutes, but be sure to wait several hours for it to dry completely.
Can children help make these suncatchers?
Absolutely! Kids can assist with pouring ingredients and swirling the mixture, but adult supervision is needed when handling the toothpick.
What if my suncatcher doesn’t bubble?
If bubbling is lacking, check your mixture ratio. Too much glue can inhibit the oil’s ability to move freely.
How long will my Lava Lamp Suncatcher last?
With proper care, it can last several months before needing to be remade, especially if kept away from extreme sunlight or heat.
Can I use different colors of glue or glitter?
Yes, feel free to get creative! Many colors can bring new aesthetics to your suncatcher.
What else can I make with the same materials?
You can explore projects like light-up lava lamp bottle co-zies, which utilize similar materials for a vibrant glow.
Creating Lava Lamp Suncatchers is a simple, colorful project that amazes both children and adults. Consider trying different designs and encourage creativity as you work with various colors and glitter.
Conclusion
Combining the joy of crafting with the beauty of light and color, Lava Lamp Suncatchers are a delightful project for families. For additional inspiration, check out unique options on Etsy or explore stunning designs from Wide Eyed Designs.
Follow us on social for more DIY ideas & inspiration!
Lava Lamp Suncatchers
Would you like to save this project?
By submitting you agree to receive this project and occasional emails. Unsubscribe anytime.
Materials
Materials
- 1 bottle Clear glue This serves as the base
- various drops Food coloring Use different colors for unique designs
- 1 lid Clear plastic lids Used for pouring and creating the suncatcher
- 1 cup Cooking oil Create bubble effect
- 1 tablespoon Glitter Choose between chunky or fine glitter
- 1 stick Toothpicks Used for swirling the mixture
- 1 length String For hanging the finished suncatcher
Directions
Creating the Suncatcher
- Pour a thin layer of clear glue into a plastic lid. This serves as the base for your suncatcher.
- Add tiny drops of oil, food coloring, and glitter. Observe the bubbles starting to form.
- Use a toothpick to gently swirl the mixture, mixing the colors while allowing bubbles to float and sink.
- Let your creation dry fully, then peel it out and hang it in sunlight.
Last Step: Don’t forget to leave a rating and comment below! It helps other readers find the best DIY projects — and it helps us too!