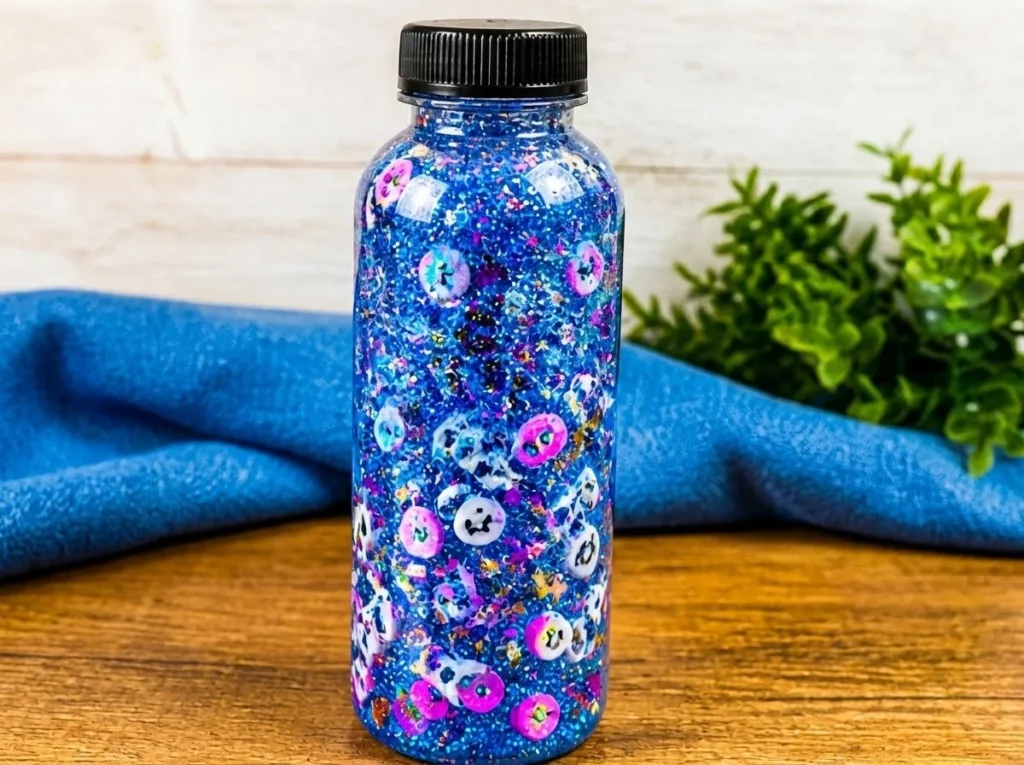
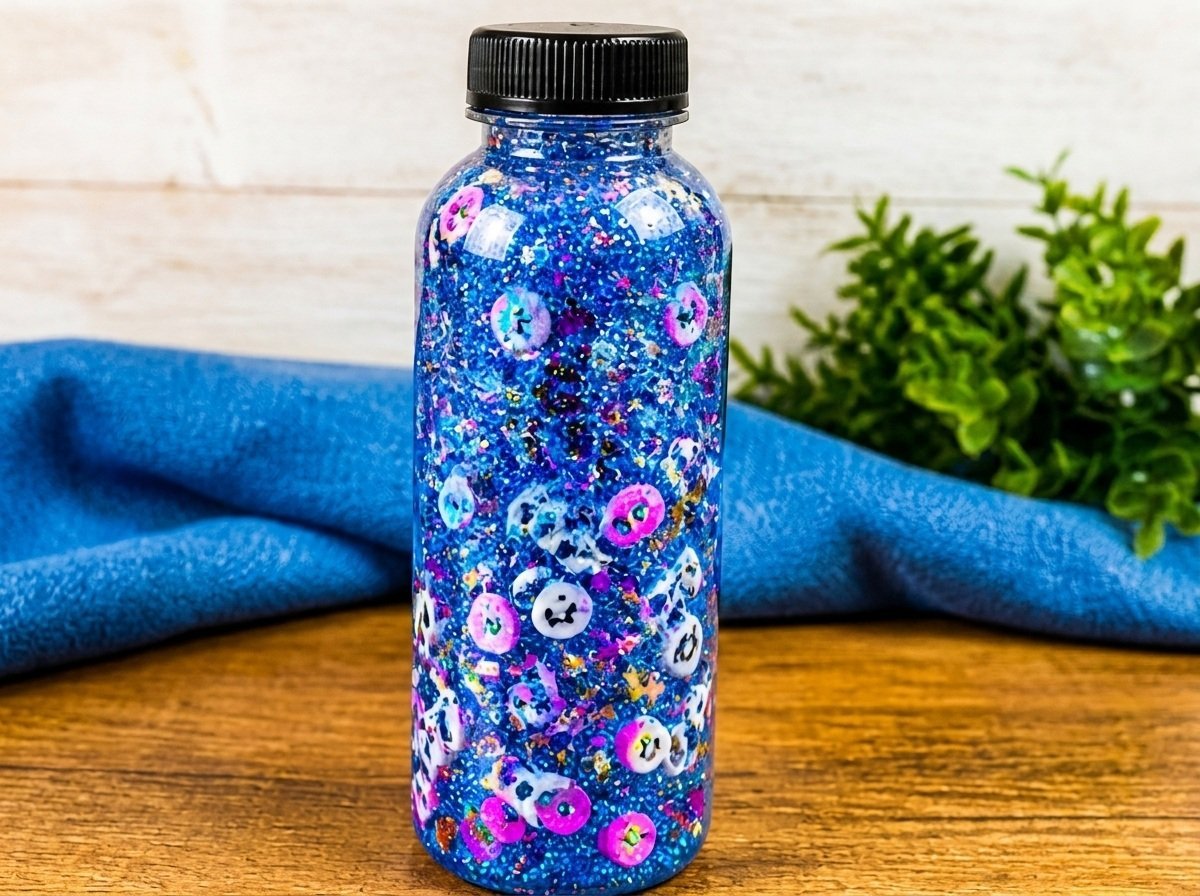
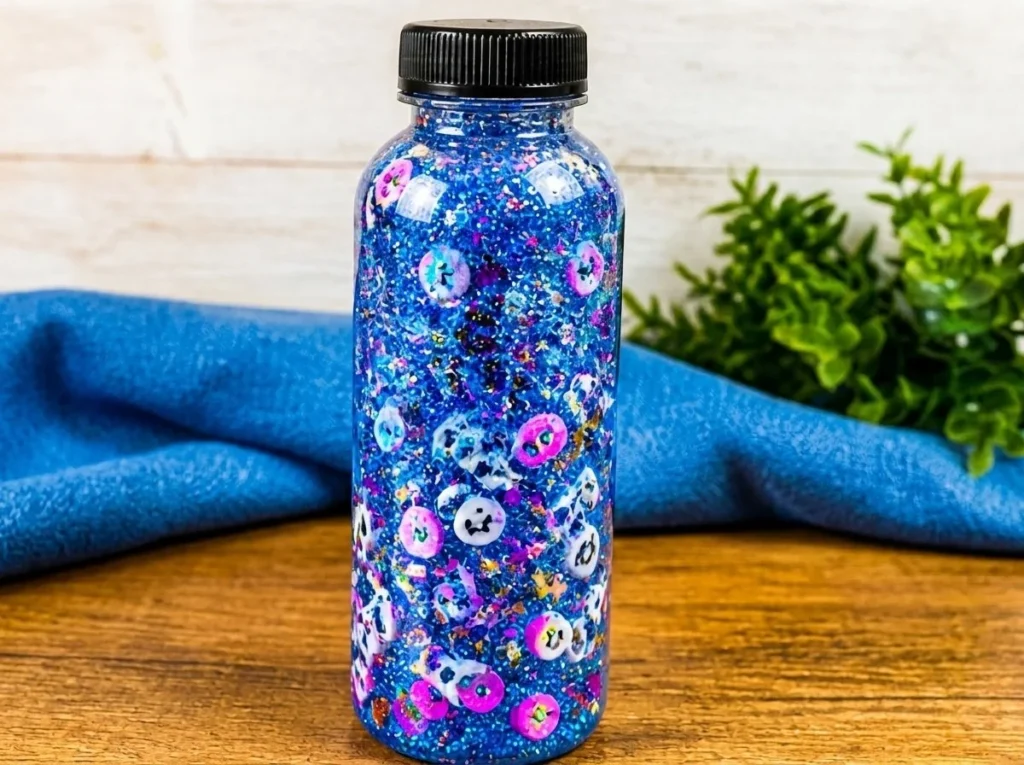
The Clear Blue Panda School Sensory Bottle is an inviting project that captivates attention with its sparkling contents. As you create this sensory experience, watch the tranquility unfold with every shake, revealing a hidden world of color and texture. This project combines beauty with a calming effect, making it perfect for display on a shelf or in a sunny window. You may also find Clear Blue Rainbow Bat Suncatcher Wreath useful.
Understanding how this sensory bottle works can enhance your crafting experience. When you mix clear glue with water, it creates a thicker liquid that slows down the movement of the glitter and sequins. This allows you to enjoy a mesmerizing play on light and color. For a more vibrant addition, incorporating pieces like the black-and-white panda confetti and alphabet beads not only adds visual appeal but also introduces an element of surprise. You may also find Diy Dual Sensory Bottles Calm useful.
Materials
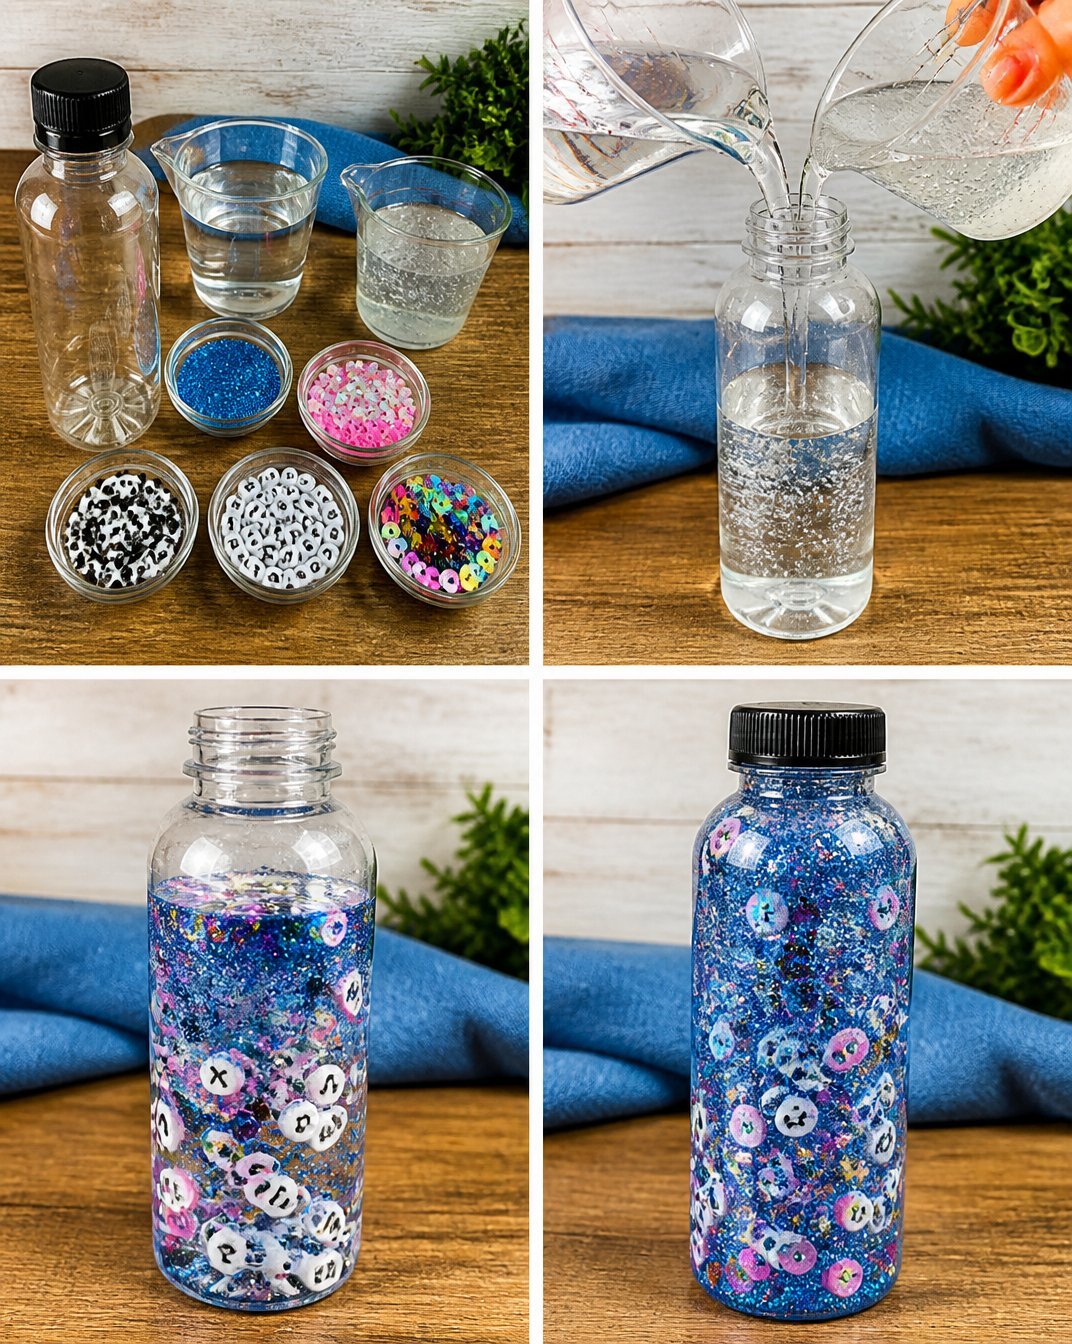
To start making your Clear Blue Panda School Sensory Bottle, gather the following materials: You may also find Diy Dual Sensory Bottles Calming useful.
- 1 clear 16-oz bottle
- 1 cup water
- 1/2 cup clear glue
- Clear blue glitter
- Clear pink sequins
- Black-and-white panda confetti
- Alphabet beads
- Rainbow sequins
Once you have all your materials ready, you can begin the exciting process!
Steps
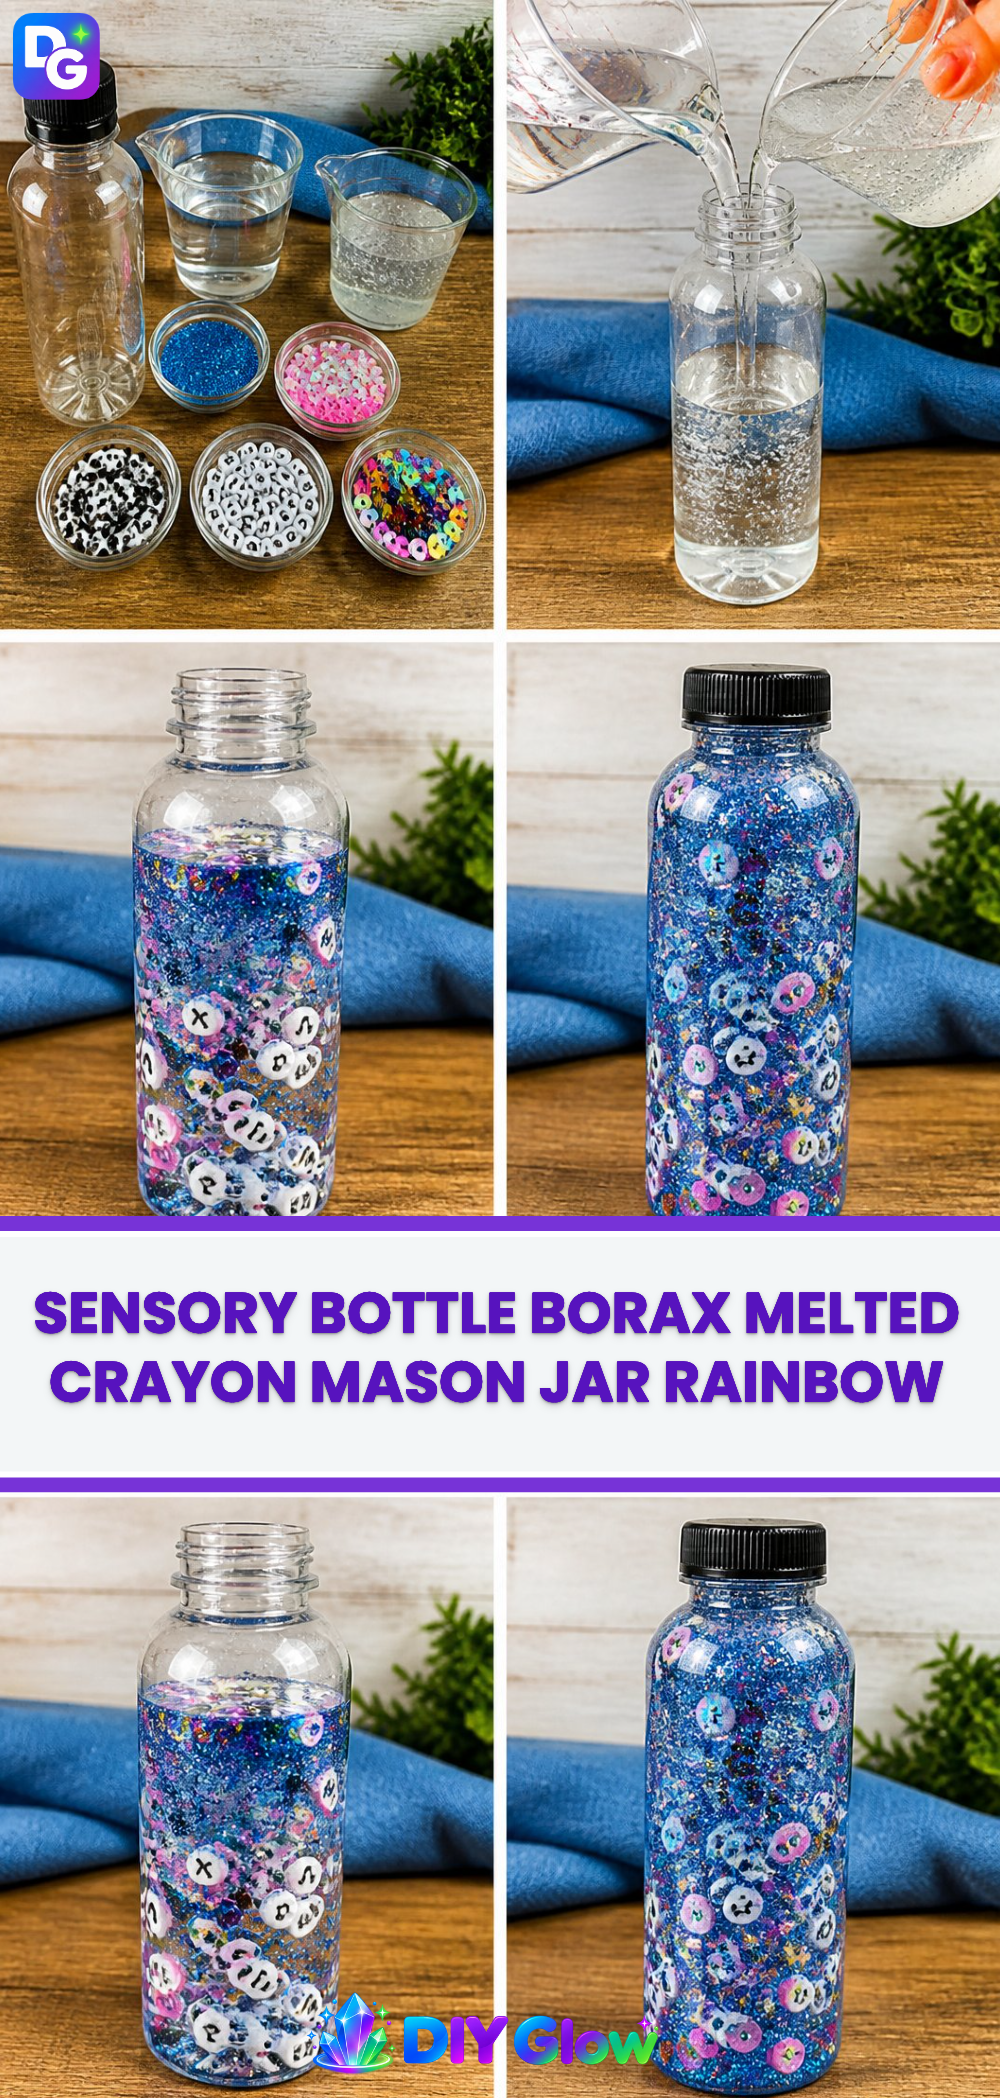
- Pour 1 cup of water into the clear 16-oz bottle. This serves as the base for your sensory bottle.
- Add 1/2 cup of clear glue to the water. The glue will thicken the mixture, enhancing the viscosity and allowing your embellishments to float slowly.
- Sprinkle in some clear blue glitter, pink sequins, and rainbow pieces for a colorful touch. The addition of glitter creates a sparkling effect, making the bottle visually appealing.
- Drop in the alphabet beads and panda confetti for a fun surprise! Each shake will reveal letters and delightful shapes, sparking curiosity and exploration.
- Seal the bottle tightly to prevent any spills. Ensure the lid is secure for safety, especially if this project is for children.
- Shake the bottle and search for the hidden school letters as everything slowly falls. Focus on how the colors mix, creating stunning visuals with each motion.
What Goes Wrong and How to Fix It
Sometimes, the contents might not mix well or the glitter could clump together. This can happen if the glue and water ratio is off. If this occurs, try adjusting the amount of water or glue to achieve the desired consistency. If your glitter is sinking too quickly, consider adding more glue to create a thicker solution.
Where to Display It
The Clear Blue Panda School Sensory Bottle is not only a fun project but also an attractive decorative piece. It looks delightful when placed on a window sill where sunlight can enhance the sparkling effects. Alternatively, it can be a soothing addition to a child’s room, providing a calming visual experience.
Variations
To keep the creative process exciting, feel free to modify your sensory bottle. You could use different colors of glitter or sequins, or even change the theme entirely with seasonal sparkles. Explore other kinds of sensory bottles too; one interesting option is a galaxy sensory bottle that offers a celestial experience.
FAQs
What can I use instead of clear glue?
If you don’t have clear glue, a substitute could be white glue, but this might affect the clarity and richness of colors. You can also experiment with craft gels that create a similar viscosity.
Why did my bottle not turn out?
Bottle issues often arise from incorrect measurements or mixing. Double-check your water and glue ratios and ensure all materials are well-combined before sealing.
How long does it take for the sensory bottle to settle?
The settling time may vary, but generally, it should take a few minutes for the repetitively moving items to come to rest, revealing their beauty.
Can kids help with this project?
Yes, this project is perfect for kids! They can enjoy adding their favorite elements, but an adult should handle the pouring of glue and sealing the bottle for safety.
How do I care for my sensory bottle?
Keep your sensory bottle out of direct sunlight to preserve the colors and prevent fading. If it gets dirty, you can wipe the outside with a damp cloth.
What if I want to change what’s inside?
If you want to change out the contents, simply unscrew the cap and refill with new materials, ensuring to mix colors and textures for a brand-new experience.
Tips for a Cleaner Finish
To ensure a cleaner finish, consider using a funnel while adding materials to the bottle. This will help prevent spillage and keep the inside looking polished.
Getting a Cleaner Finish
There’s something satisfying about ensuring a neat project. After sealing your sensory bottle, check for any visible glue or spills on the outside. If you find any, a damp cloth can help clean it up before it dries.
Making It with Kids
When creating the sensory bottle with kids, focus on the colors and textures to captivate their senses. Encourage them to think creatively about what they want to add to their bottle, making it a unique reflection of their personality.
What Goes Wrong and How to Fix It
If you’ve followed the steps and it seems something’s off, such as clumps of glitter, simply shake the bottle to mix again. You can also adjust and add more liquid as necessary for the desired effect.
Conclusion
Creating a sensory bottle can be an engaging family project that balances creativity and science. It’s a wonderful way to explore textures and colors while crafting together. For additional sensory items, visit this selection of sensory jars to inspire new projects. Additionally, if you’re looking for quality audio gear to listen to your favorite music while crafting, check out the latest from Skullcandy.
Follow us on social for more DIY ideas & inspiration!
Sensory Bottle
Would you like to save this project?
By submitting you agree to receive this project and occasional emails. Unsubscribe anytime.
Materials
Materials
- 1 16-oz bottle 1 clear 16-oz bottle
- 1 cup 1 cup water
- 1/2 cup 1/2 cup clear glue
- Clear blue glitter
- Clear pink sequins
- Black-and-white panda confetti
- Alphabet beads
- Rainbow sequins
Directions
Assembly
- Pour 1 cup of water into the clear 16-oz bottle.
- Add 1/2 cup of clear glue to the water.
- Sprinkle in clear blue glitter, pink sequins, and rainbow pieces.
- Drop in the alphabet beads and panda confetti.
- Seal the bottle tightly to prevent spills.
- Shake the bottle and explore the hidden letters as they fall.
Last Step: Don’t forget to leave a rating and comment below! It helps other readers find the best DIY projects — and it helps us too!