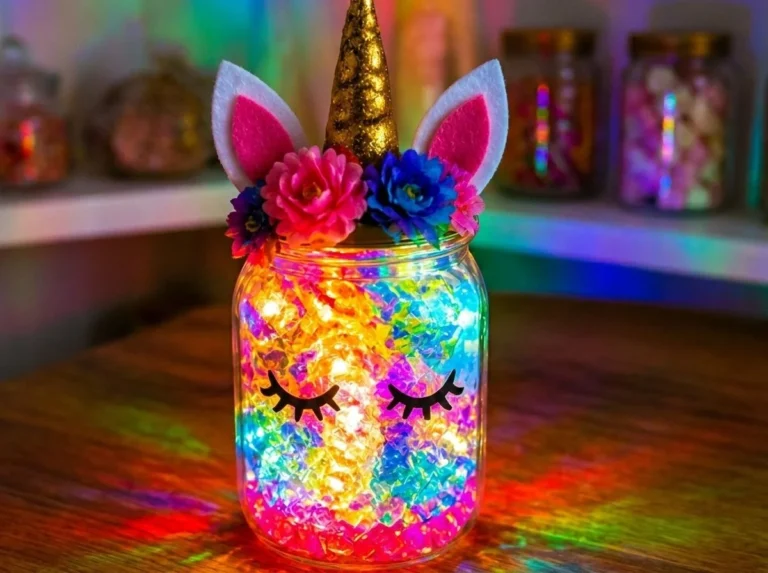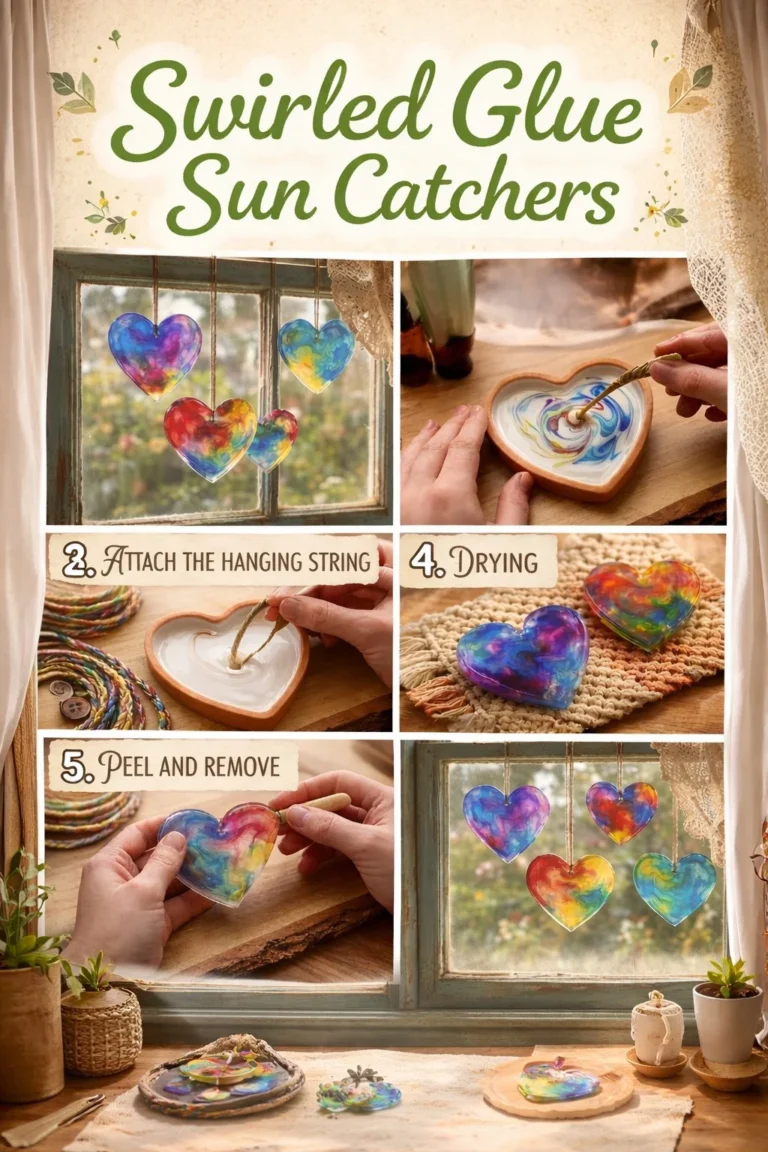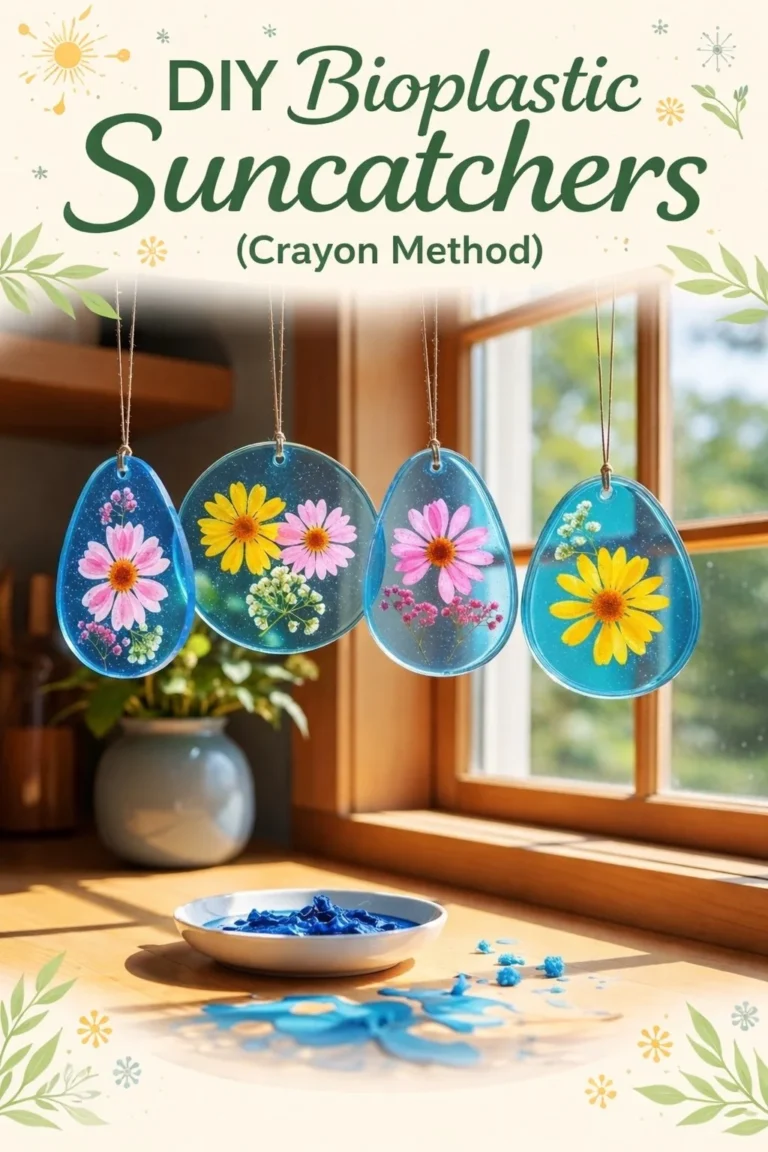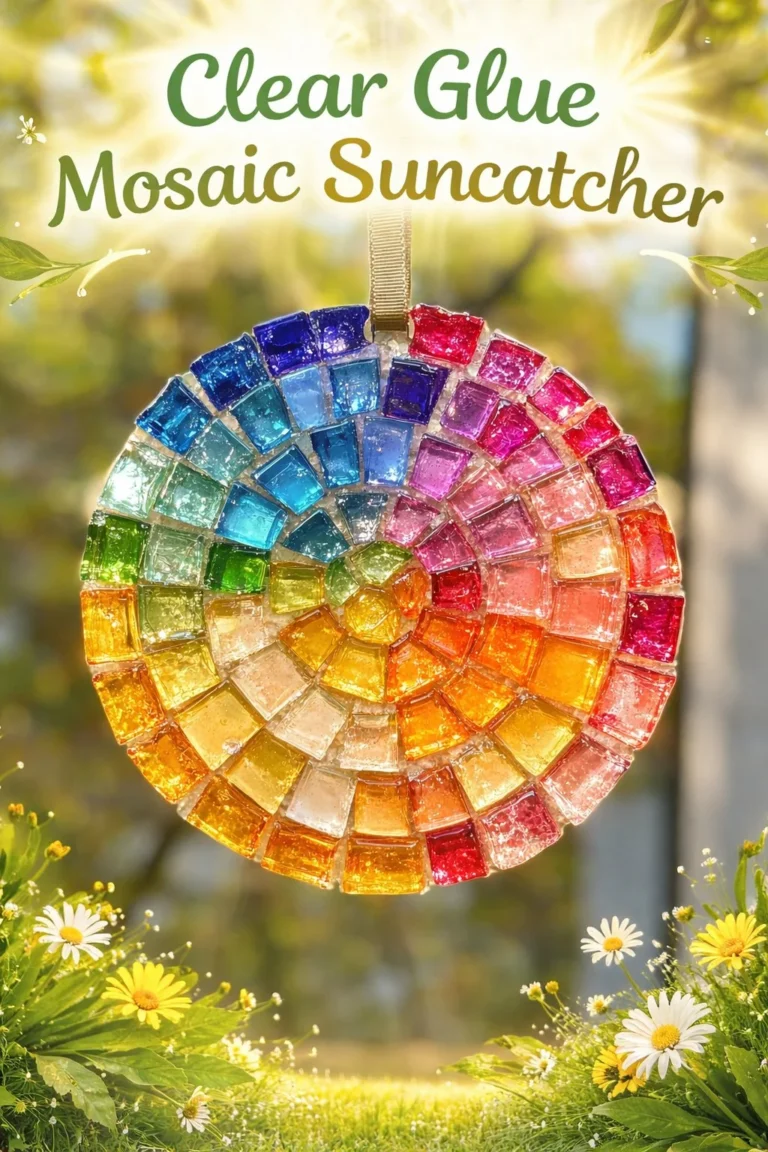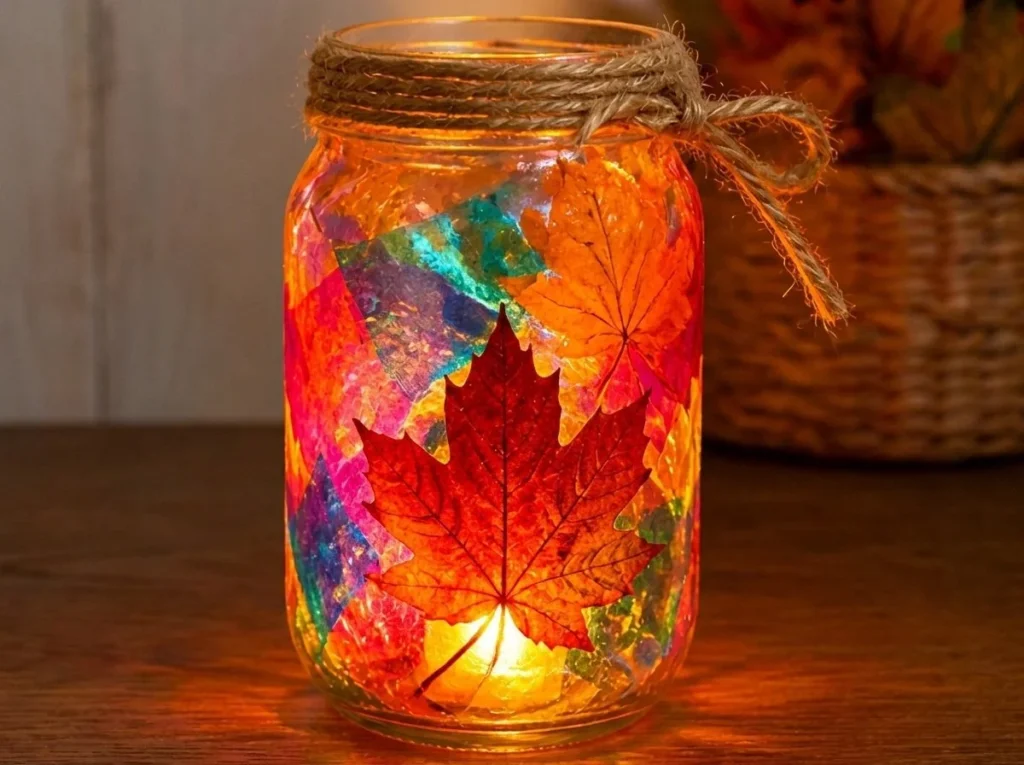
The Glowing Rainbow Fall Leaf Lantern captures attention when illuminated by a LED light, radiating vibrant colors. This project transforms simple materials into a beautiful decoration perfect for any season. Let’s explore how to create this beautiful lantern step by step. You may also find Rainbow Kitten Fall Leaf Suncatcher Garland useful.
What Makes This Work
When light shines through colorful materials, it creates a stunning visual effect. Each layer you add contributes to the overall glow. The combination of leaves, tissue, cellophane, and iridescent film enhances the beauty of the lantern. You will notice how each material interacts with light differently, giving your lantern a magical sparkle. You may also find Rainbow Panda Fall Leaf Craft For Kids useful.
Materials
To create the Glowing Rainbow Fall Leaf Lantern, you will need the following materials: You may also find Aurora Bottle Lantern Glowing Led Decor Light useful.
- Mason jar
- Fall leaves
- Orange tissue
- Yellow tissue
- Pink cellophane
- Blue cellophane
- Iridescent film
- Glue
- LED light
This mix of materials not only adds color but also texture, making your lantern visually appealing. You may also find Broken Crayons Glowing Rainbow Flowers Recycle Art Supplies useful.
Steps
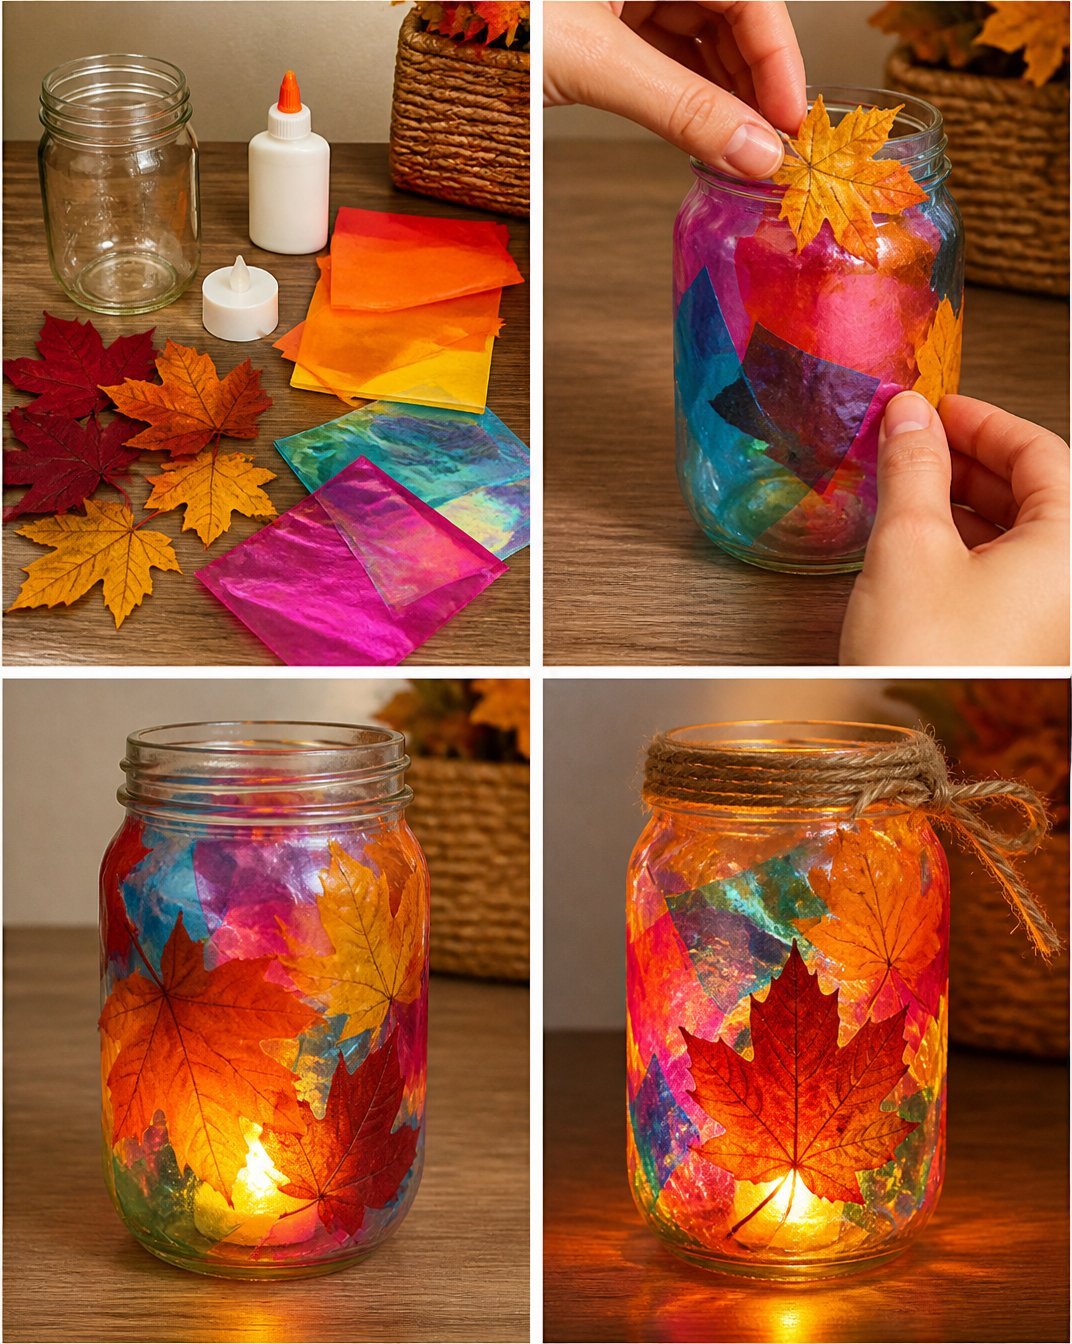
- Start by layering your fall leaves at the bottom of the mason jar. Look for vibrant, intact leaves that will serve as a beautiful base for your lantern. The leaves bring an earthy element that contrasts beautifully with the colorful layers above.
- Add pieces of orange and yellow tissue for a vibrant base. These colors will brighten the overall look of the lantern, creating a warm foundation. Make sure to crumple the tissue slightly to add texture.
- Next, place the pink and blue cellophane on top of the tissue, creating a colorful blend. The translucence of cellophane allows light to filter through, enhancing the colors of the tissue beneath. Watch how the cellophane shines, giving the lantern a lively appearance.
- Cut and add pieces of iridescent film for a magical touch. This film reflects light in interesting ways, making your lantern sparkle even more. Look for spots where the film catches the light to create an enchanting effect.
- Secure everything in place with a little glue if needed. This will help stabilize your layers and prevent them from shifting. Just a small amount goes a long way, ensuring the materials stay put.
- Finally, drop in the LED light to illuminate your beautiful creation. Once the light is on, observe how it interacts with the various colors and materials. The glow will bring your lantern to life, making it a captivating centerpiece.
By following these steps, you can create a lantern that not only lights up a room but also stands out as a piece of art.
What Goes Wrong and How to Fix It
If the layers shift or fall while you are working, adding a few small dabs of glue can help hold each part in place. Sometimes, colors may blend more than desired. In that case, try adjusting the amount of each material you use. Less is often more, allowing each layer to shine.
Where to Display It
The Glowing Rainbow Fall Leaf Lantern makes an excellent decoration for any corner of your home. Consider placing it on a shelf or a windowsill where sunlight or room lighting will enhance its colors. For an evening ambience, set it on your table to brighten family meals or gatherings.
The lantern also makes a lovely gift. It’s perfect for autumn celebrations or as a thoughtful present. Encourage your friends to create their own, perhaps with different colors or shapes, to make every lantern unique.
Variations
You can experiment with different materials and colors. Adding glitter can give your lantern extra sparkle. Consider using different colored tissue or cellophane, or even adding patterned paper for a unique, customized look. For an extra element of fun, try incorporating shapes cut from the leaves into your design.
FAQs
What other materials can I use for this project?
While fall leaves, tissue, and cellophane work well, you can also use dried flowers or colored paper. Just remember to balance colors and textures for the best visual effect.
Why did my lantern not illuminate as expected?
If your lantern doesn’t glow as brightly, check if the LED light is strong enough and that it is properly positioned. You might also need to adjust the thickness of the materials layered over the light.
How long does it take to make this lantern?
This project typically takes about an hour. Take your time with the layers to ensure each one is secure and looking its best.
Can children help with this project?
Yes! Children can assist with layering the materials and gluing. However, if you’re using hot glue or sharp tools, be sure to have adults handle those steps.
What if I don’t have a mason jar?
You can use any clear glass or plastic container. Just ensure it is sturdy enough to hold the materials and light.
How do I care for my lantern?
Keep it away from moisture and direct sunlight to maintain its appearance. If the materials fade over time, consider refreshing the layers.
Conclusion
Creating your own Glowing Rainbow Fall Leaf Lantern is a rewarding craft. It invites creativity and adds warmth to your space. Gather your materials and watch as light transforms simple items into a stunning display. For more inspiration on seasonal crafts, you can explore autumn leaf art and craft activities for kids and learn about another fun project by checking out leaf lantern craft ideas.
Follow us on social for more DIY ideas & inspiration!
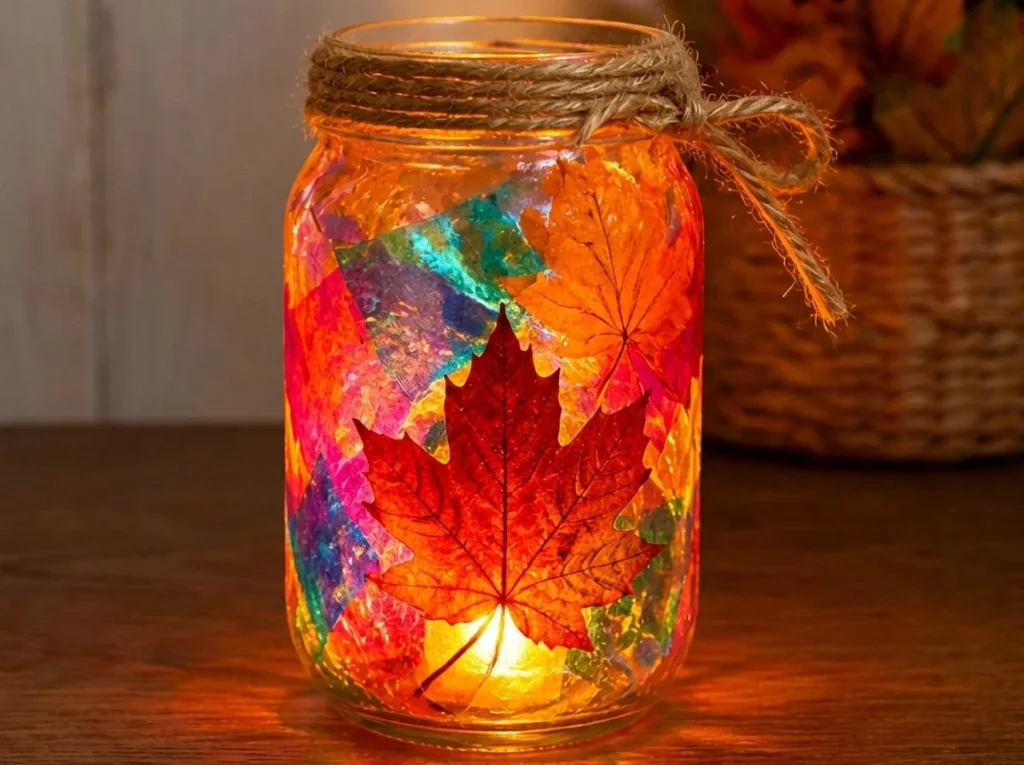
Glowing Rainbow Fall Leaf Lantern
Would you like to save this project?
By submitting you agree to receive this project and occasional emails. Unsubscribe anytime.
Materials
Materials
- 1 jar Mason jar A clear jar to hold the lantern materials
- 5 pieces Fall leaves Choose vibrant, intact leaves
- 1 sheet Orange tissue For a vibrant base layer
- 1 sheet Yellow tissue To brighten the overall look
- 1 sheet Pink cellophane For a colorful top layer
- 1 sheet Blue cellophane To enhance the aesthetic appeal
- 1 sheet Iridescent film For a magical touch
- 1 tube Glue To secure the layers
- 1 light LED light To illuminate the lantern
Directions
Preparation
- Start by layering your fall leaves at the bottom of the mason jar.
- Add pieces of orange and yellow tissue for a vibrant base, crumpling slightly for texture.
- Place pink and blue cellophane on top of the tissue, enhancing the colors beneath.
- Cut and add pieces of iridescent film for a magical sparkle.
- Secure everything in place with a little glue to stabilize the layers.
- Finally, drop in the LED light to illuminate your beautiful creation.
Last Step: Don’t forget to leave a rating and comment below! It helps other readers find the best DIY projects — and it helps us too!