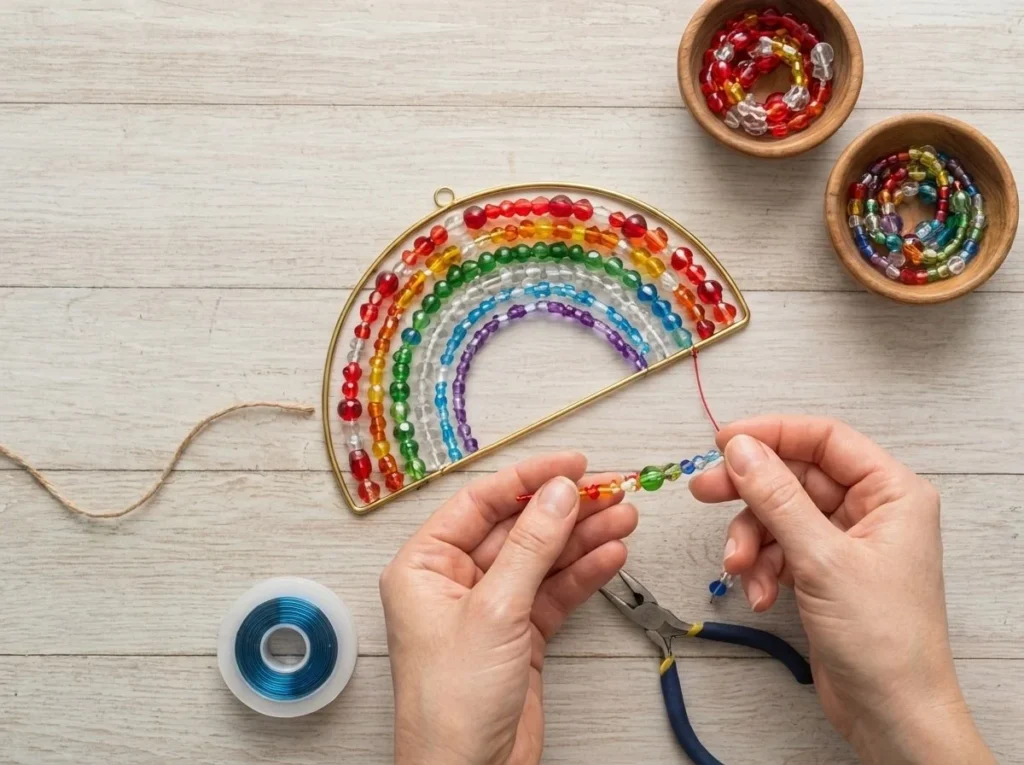
The Clear Blue Rainbow Schoolhouse Suncatcher transforms sunlight into a dazzling display of colors while adding charm to any window. When light shines through this crafted gem, it produces vibrant patterns and enhances the atmosphere in your home. Creating one is a satisfying project that offers an excellent opportunity for expressing your creativity and exploring the beauty of light and color. You may also find Blue Crayon Suncatchers useful.
To start making your own Clear Blue Rainbow Schoolhouse Suncatcher, gather the following materials: clear contact paper, black cardstock, rainbow tissue paper, clear blue cellophane, clear pink cellophane, scissors, a schoolhouse template, and ribbon. These items will help you create a bright and colorful decoration. This project combines simple techniques and striking visual effects, making it perfect for families looking to craft together. To understand other suncatcher ideas, check out this collection of blue suncatchers.
Steps to Create Your Suncatcher
Step 1: Cut the Frame
Begin by cutting out a schoolhouse frame from the black cardstock, leaving the windows open. This creates a striking outline that lets light filter through the colorful materials you will add later.
Step 2: Set the Base
Next, place the frame you just cut on a piece of clear contact paper. The contact paper will serve as the foundation for your colorful additions. Ensure it is laid flat and smooth to avoid any wrinkles.
Step 3: Add Colorful Elements
Now it’s time to fill the windows with bits of rainbow tissue and pieces of clear blue and clear pink cellophane. As you work, notice how the different colors enhance the frame’s contrast. Colorful layers will catch the light differently, creating a unique shimmer that brightens your space. If you want more fun suncatcher ideas, consider looking into this ghost shaker suncatcher craft.
Step 4: Seal the Creation
Seal everything with another layer of contact paper, ensuring all pieces are covered and secure. Carefully trim the edges to create a clean finish. The final look will have a smooth, polished surface reflecting light beautifully.
Step 5: Hang Your Suncatcher
Finally, hang up the suncatcher with a ribbon in your favorite window. This placement allows sunlight to stream in and illuminate your creation, casting colorful shadows into your room. Observe how the changing light throughout the day brings new characteristics to the piece.
What Goes Wrong and How to Fix It
Sometimes, the materials can behave unexpectedly during the crafting process. If you encounter issues with wrinkles in the contact paper, gently peel it back and reposition it. To avoid smudges and fingerprints, make sure to handle the contact paper by its edges. If colors bleed, ensure you use a sufficient amount of contact paper to seal all edges.
Where to Display It
The best spots for displaying your suncatcher are windows that receive plenty of sunlight. South-facing windows often produce the most brilliant effects, especially during various times of the day. Suncatchers can also make great decorations for doorways or as bright accents in children’s rooms. For inspiration on different themes, explore ideas like the Clear Blue Rainbow Bat Suncatcher Wreath to mix it up.
Variations
Feel free to experiment with the materials; you can adjust the color combinations based on your preferences or seasons. For a fall twist, consider using orange and yellow hues. Alternatively, try metallic films to give your suncatcher a special sparkle.
FAQs
How long does it take to make the suncatcher?
Making the Clear Blue Rainbow Schoolhouse Suncatcher usually takes about an hour, depending on your craft speed and attention to detail.
Can kids help with this project?
Absolutely! Children can assist with cutting, choosing colors, and filling the windows. Just supervise them with scissors for safety.
What if my suncatcher doesn’t shine brightly?
If your suncatcher seems dull, check that the colors are layered well and that the contact paper completely seals them. More vibrant hues can enhance its brightness as well.
How long will this suncatcher last?
With proper care, your suncatcher can last for several months. To protect it from dust and withdrawal, hang it in a low-traffic area.
Can I use other types of paper?
Yes, you can use other colored tissue papers or even stickers as long as they allow light to pass through effectively.
What can I do if I run out of a specific color?
If you’re short on any specific color of tissue paper or cellophane, feel free to substitute with a similar shade or pattern. Just remember that the overall effect may change slightly.
Conclusion
Creating a Clear Blue Rainbow Schoolhouse Suncatcher is a delightful way to bring light and color into your home. This craft not only enhances your space but provides a wonderful bonding activity for families. If you wish to expand your collection, you might find delightful options like the Cobalt Sun Catcher on Etsy or explore basic yet stylish items from the COLLECTION: ALL DESK ACCESSORIES at Atelerietheshop. Enjoy your crafting journey!
Follow us on social for more DIY ideas & inspiration!
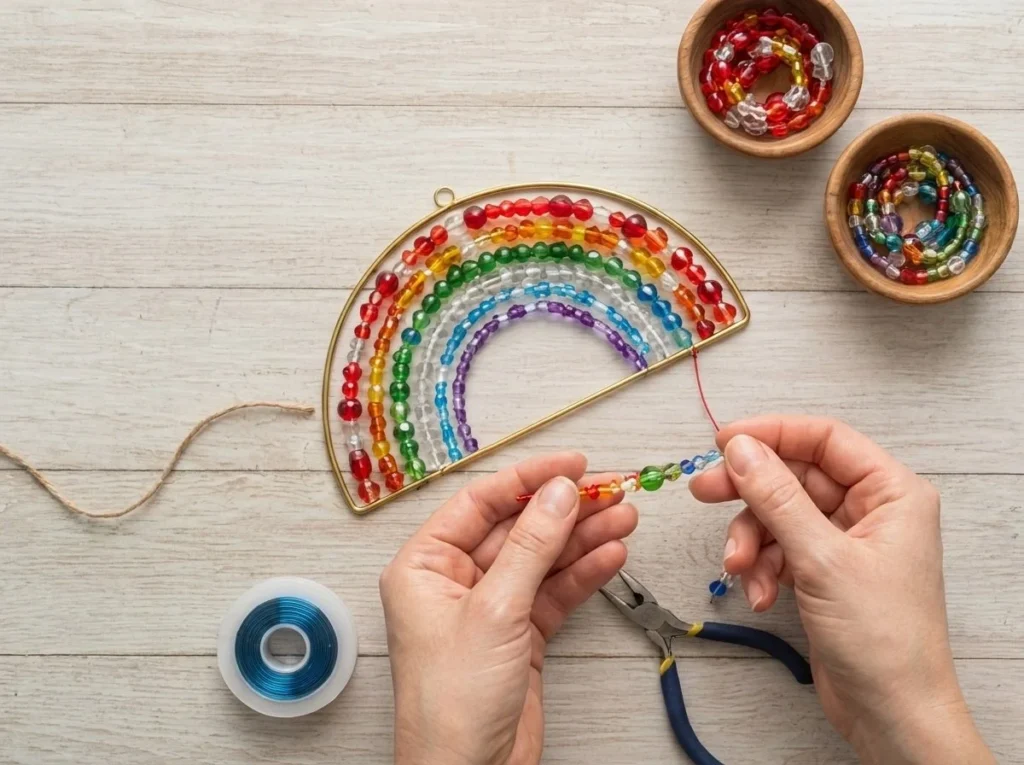
Clear Blue Rainbow Schoolhouse Suncatcher
Would you like to save this project?
By submitting you agree to receive this project and occasional emails. Unsubscribe anytime.
Materials
Materials
- 1 piece Clear contact paper For sealing and supporting the colorful elements.
- 1 piece Black cardstock Used for cutting the schoolhouse frame.
- various pieces Rainbow tissue paper Cut into small bits to fill the windows.
- 1 piece Clear blue cellophane Adds a vibrant blue color to the suncatcher.
- 1 piece Clear pink cellophane Adds a vibrant pink color to the suncatcher.
- 1 piece Ribbon For hanging the completed suncatcher.
- 1 template Schoolhouse template To guide cutting the shape.
- 1 pair Scissors For cutting the cardstock and materials.
Directions
Creating the Suncatcher
- Cut the Frame: Begin by cutting out a schoolhouse frame from the black cardstock, leaving the windows open.
- Set the Base: Place the frame on a piece of clear contact paper, ensuring it is laid flat and smooth.
- Add Colorful Elements: Fill the windows with bits of rainbow tissue and pieces of clear blue and clear pink cellophane.
- Seal the Creation: Seal everything with another layer of contact paper and trim the edges for a clean finish.
- Hang Your Suncatcher: Use a ribbon to hang up the suncatcher in your favorite window.
Last Step: Don’t forget to leave a rating and comment below! It helps other readers find the best DIY projects — and it helps us too!