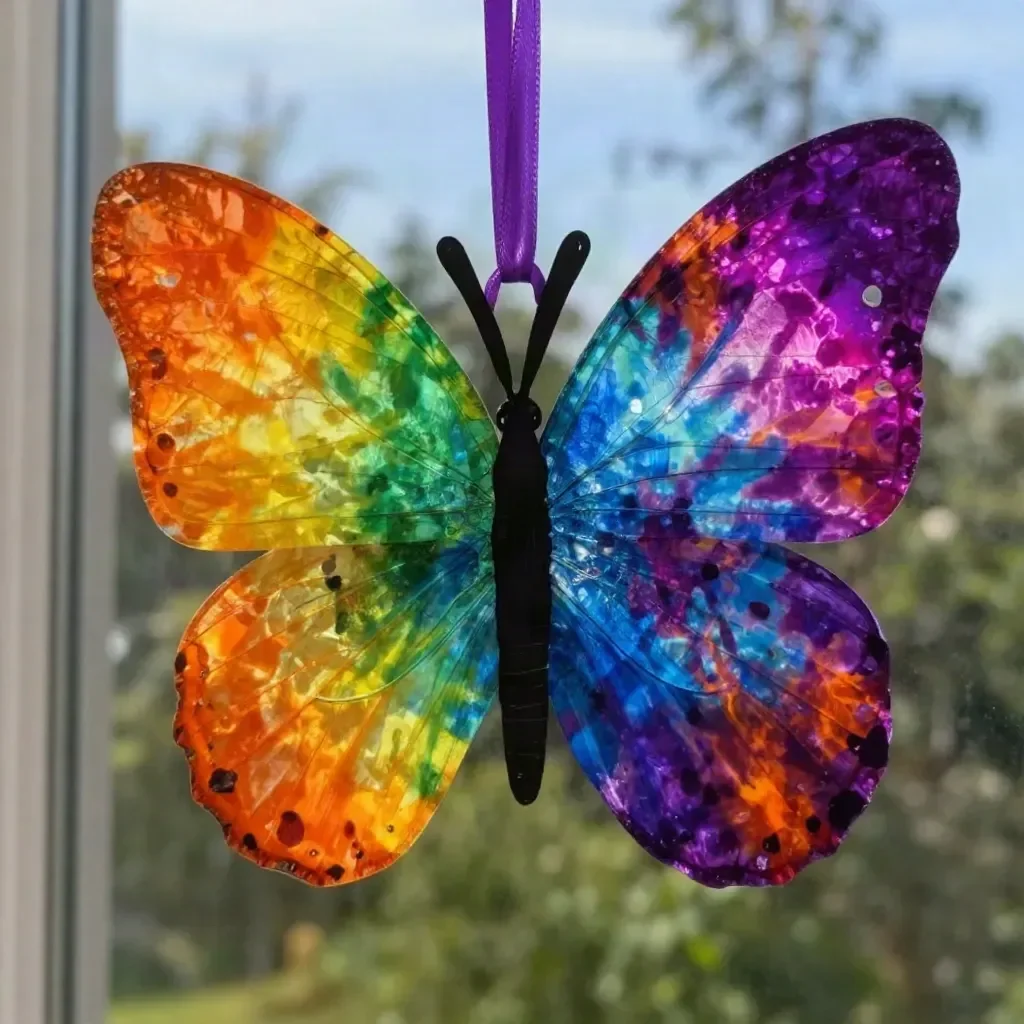
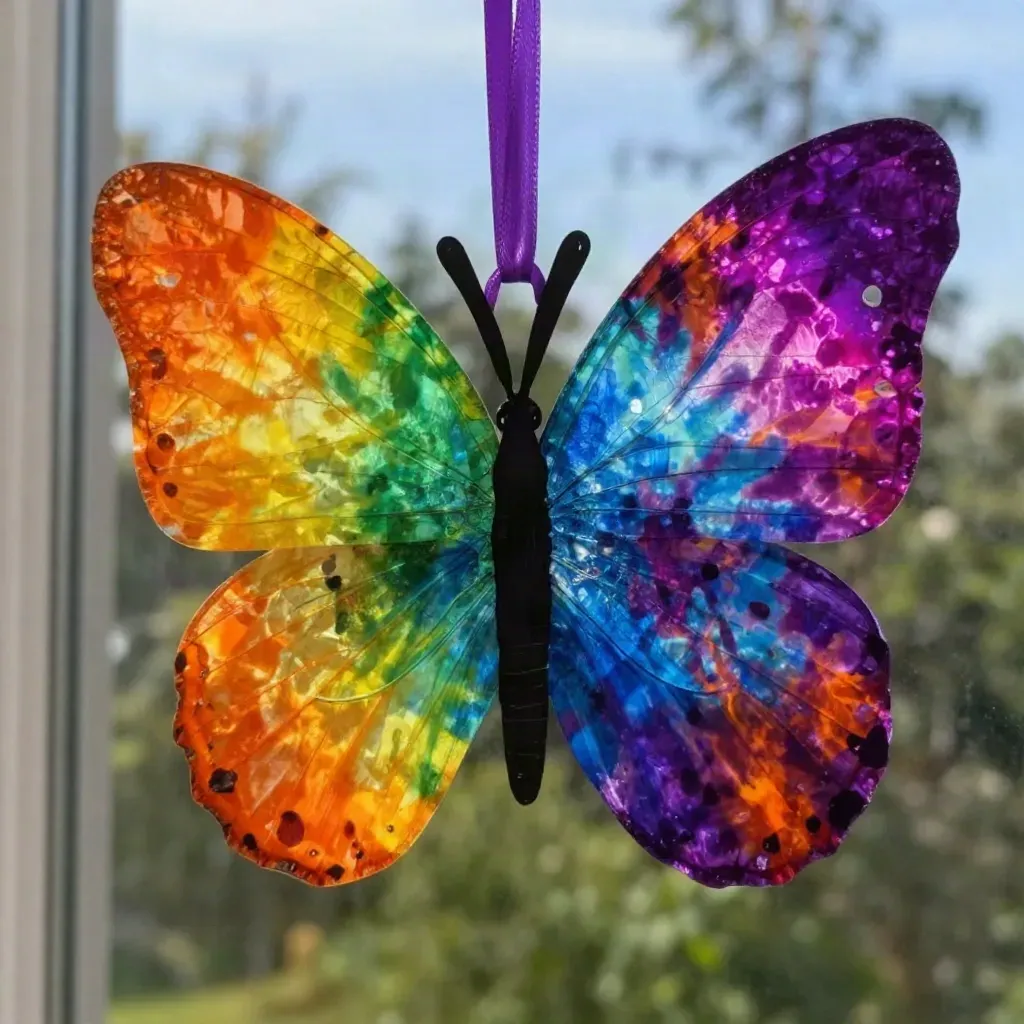
The Melted Crayon Rainbow Butterfly Suncatcher transforms your space into a vibrant display of color that dances in the light. This project not only showcases beautiful hues but also offers a great opportunity to engage kids in a fun and creative activity. As the crayon shavings melt, you’ll see the colors blend and swirl together, creating a stunning effect that will brighten any window or shelf. You may also find Cozy Melted Crayon Flower Suncatchers Transform useful.
What Makes This Work
The science behind this project revolves around the melting point of crayons, which allows them to fuse and form brilliant patterns when heated. When the shavings melt between the wax paper, they create a stained glass-like appearance that catches light beautifully. The end result is both decorative and educational, making it a perfect project for families. If you’re interested in other craft ideas involving melted crayons, check out the glowing rainbow flowers that also utilize leftover crayons.
Materials
To make your Melted Crayon Rainbow Butterfly Suncatcher, you will need the following materials: You may also find Blue Crayon Suncatchers useful.
- Wax paper
- Rainbow crayon shavings
- Butterfly template
- Parchment paper
- Iron (with adult help)
- Black cardstock
- Ribbon
Steps
Peel the wrappers off the crayons and create shavings with a sharpener or cheese grater. Look for vibrant colors that will mix well together. You can collect shavings from multiple colors to create a rainbow effect.
Place one sheet of wax paper on a flat surface and sprinkle the crayon shavings evenly over it. This allows for an even melting and better results.
Layer a second sheet of wax paper on top, then add a piece of parchment paper over that. The parchment paper acts as a barrier to protect your iron while allowing heat to pass through.
With adult help, iron on a low setting for a few seconds to melt the shavings. Keep an eye on the melting process; the shavings will begin to spread out and blend, creating a beautiful color mixture.
Allow to cool, then remove the top layer of wax paper. At this point, you should see a fascinating blend of colors that are now adhered together.
Use a butterfly template to trace and cut out shapes. This can be a fun way to introduce kids to different forms in art.
Cut small bodies from black cardstock, glue them to the center, and tie a ribbon for hanging. The contrast of the dark body against the vibrant colors makes the butterfly really pop.
What Goes Wrong and How to Fix It
Sometimes, melting the crayon shavings can be tricky. If the crayons don’t melt properly, you might need to adjust the heat of the iron or the time you’re applying heat. A gentle approach is best; otherwise, you risk burning the wax paper. Ensure you press the iron down evenly to avoid sticking.
If the shavings are uneven, simply rearranging the crayon bits can help. Always take care when handling hot materials adult supervision is crucial during the ironing step.
Where to Display It
Once you’ve finished, your Melted Crayon Rainbow Butterfly Suncatcher can be hung in a window where sunlight can stream through it. This will cast colorful shadows into your room. For additional inspiration, you may enjoy making cozy glow flower suncatchers to enhance your decor even further.
Variations
Feel free to try different shapes or sizes! You could use other templates, such as flowers or stars, to create a diverse set of suncatchers. Experimenting with color combinations can yield unique results. You might even consider using calm color palettes for a more serene look.
FAQs
How long does this take to make?
The entire process can take about an hour, from preparation to completion. Melting the crayons takes just a few moments, but you will need to allow the piece to cool before completing it.
Can children help with this project?
Yes, children can definitely help, especially with tasks like sprinkling crayons and tracing templates. However, any ironing should be done by an adult.
What should I do if the colors fade?
While the colors may not fade significantly, hanging the suncatcher in indirect sunlight may help preserve the vibrancy over time.
Can I use other types of paper?
Wax paper is recommended because it allows the melted crayon to adhere without sticking too much. Avoid using regular paper, which could burn.
What if I don’t have a butterfly template?
Any shape will work for this project. Simply draw or print out another design that you like.
How do I store these suncatchers?
Keep them in a cool, dry place, ideally away from direct sunlight when not on display. This will help maintain their colors.
Conclusion
Creating a Melted Crayon Rainbow Butterfly Suncatcher is a delightful craft that brings color and light into your home. For more captivating projects, you can explore 10 cool craft projects for kids for even more inspiration. If you’re looking for detailed guidance on making a melted crayon sun catcher, you can find valuable insights at Melted crayon sun catcher. Enjoy your crafting!
Follow us on social for more DIY ideas & inspiration!

Melted Crayon Rainbow Butterfly Suncatcher
Would you like to save this project?
By submitting you agree to receive this project and occasional emails. Unsubscribe anytime.
Materials
Materials
- 1 sheet Wax paper Ensure it is suitable for heat.
- assorted colors Rainbow crayon shavings Use vibrant colors that blend well.
- 1 template Butterfly template For tracing shapes.
- 1 sheet Parchment paper To protect the iron.
- 1 unit Iron (with adult help) Ensure adult supervision is present.
- 1 piece Black cardstock For making butterfly bodies.
- 1 piece Ribbon For hanging the suncatcher.
Directions
Preparation
- Peel the wrappers off the crayons and create shavings with a sharpener or cheese grater.
- Place one sheet of wax paper on a flat surface and sprinkle the crayon shavings evenly over it.
- Layer a second sheet of wax paper on top, then add a piece of parchment paper over that.
Melting
- With adult help, iron on a low setting for a few seconds to melt the shavings.
- Allow to cool, then remove the top layer of wax paper.
Assembly
- Use a butterfly template to trace and cut out shapes.
- Cut small bodies from black cardstock, glue them to the center, and tie a ribbon for hanging.
Last Step: Don’t forget to leave a rating and comment below! It helps other readers find the best DIY projects — and it helps us too!