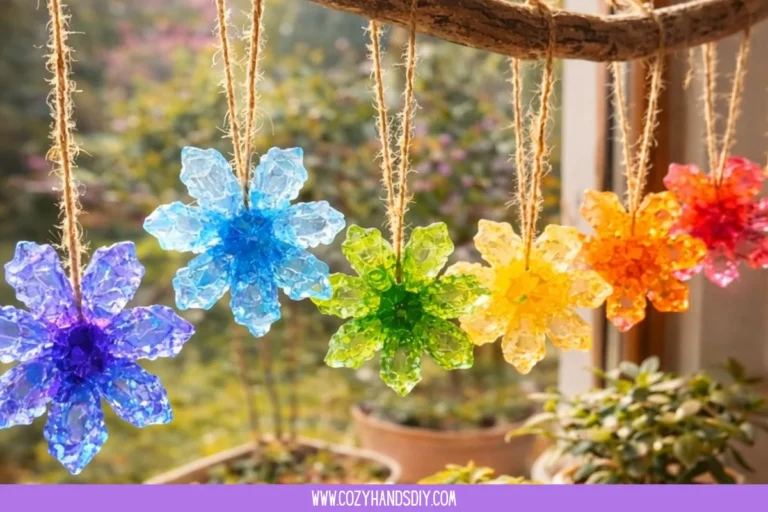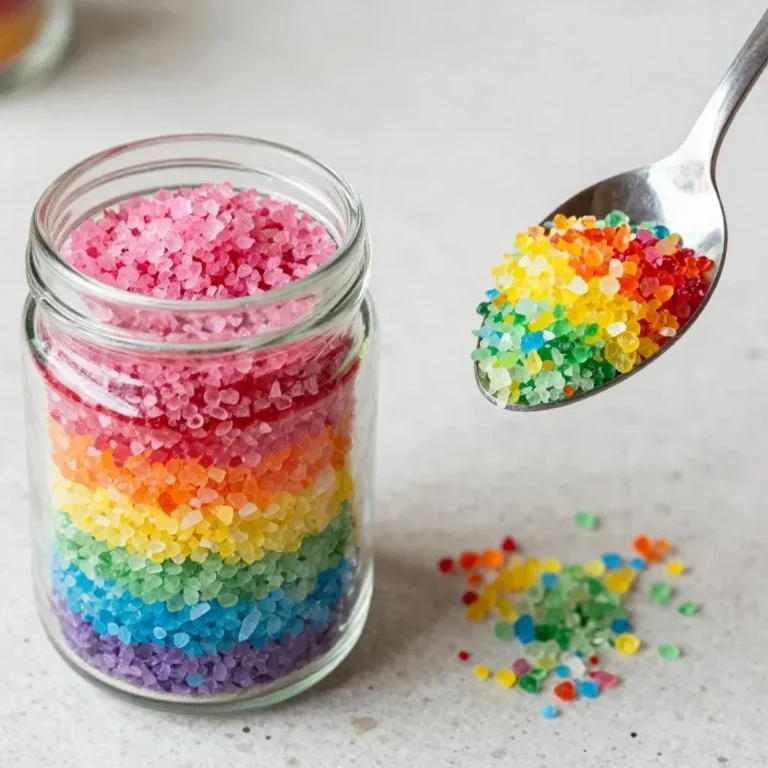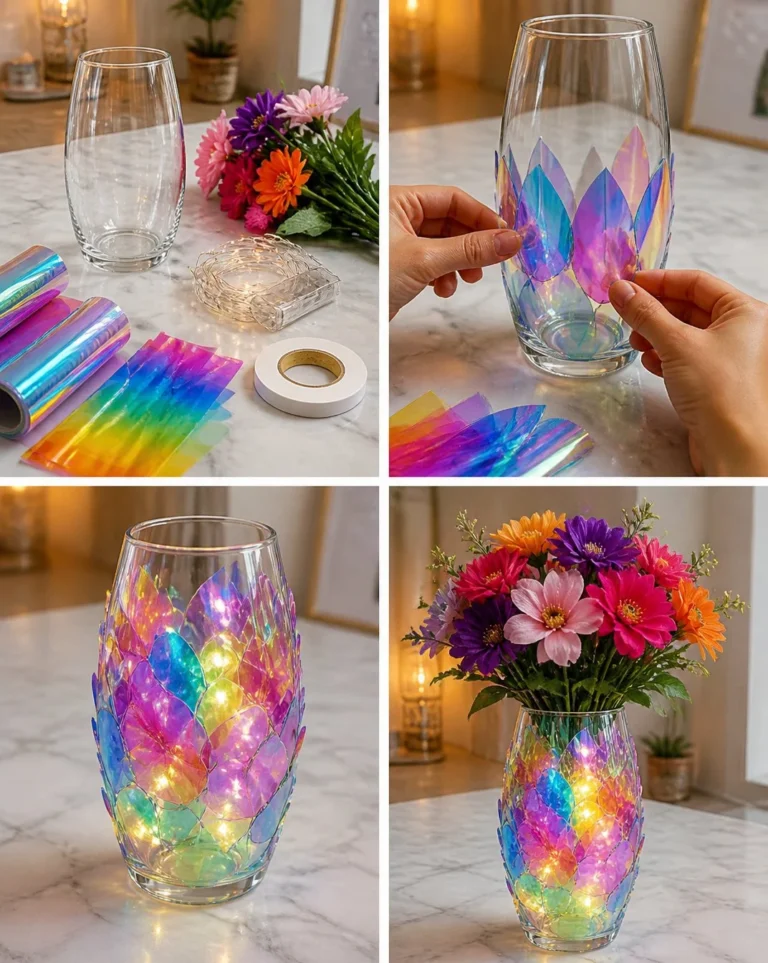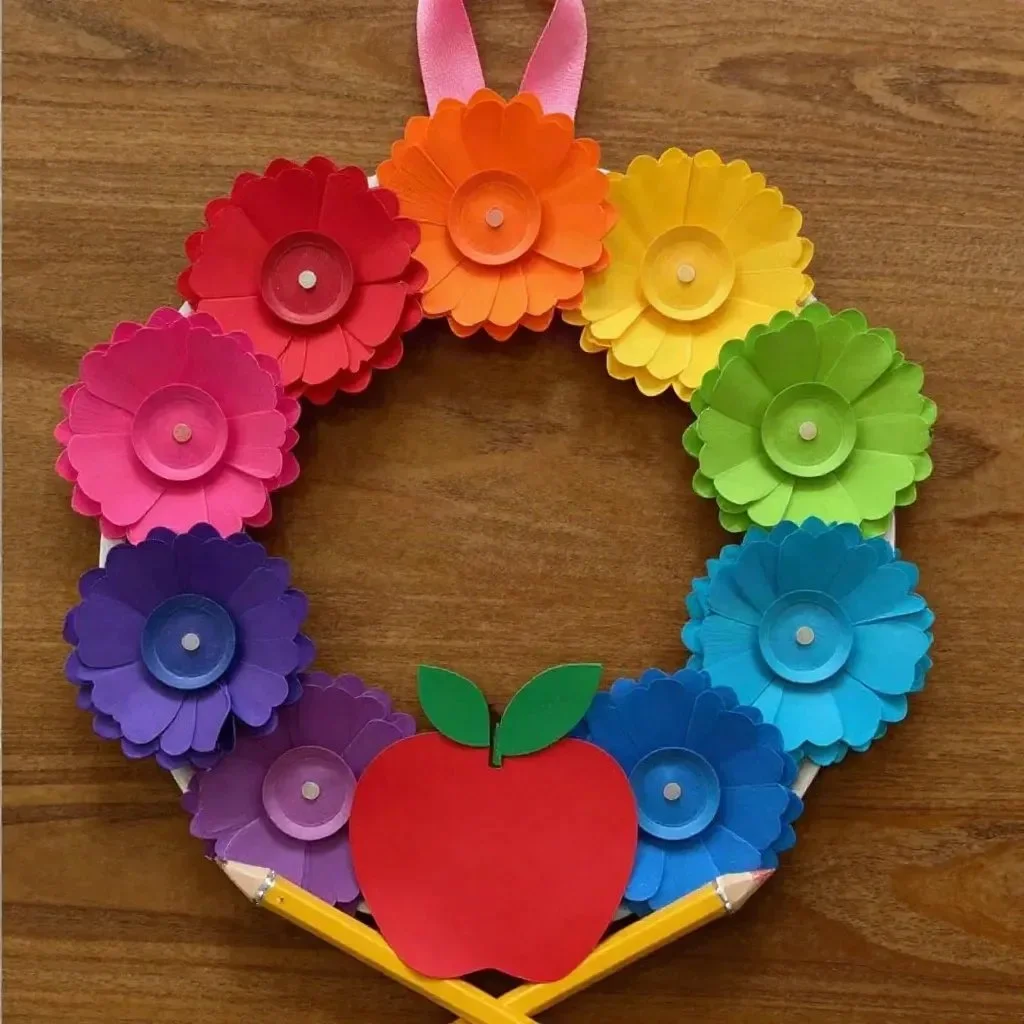
The Rainbow Apple Cupcake-Liner Flower Wreath For Kids transforms a simple paper plate into a whimsical decoration that brings color and charm to any space. When finished, it resembles a delightful bouquet of flowers, making it perfect for brightening a classroom or home. You may also find Baking Soda Rainbow Crystal Forest Rainbow Crystals useful.
Creating this wreath is not just fun; it allows for engaging moments as you explore colors and textures. The smooth surface of the paper plate paired with the crinkly cupcake liners creates an exciting contrast that adds depth to your decoration. Now, let’s gather the necessary materials.
Materials
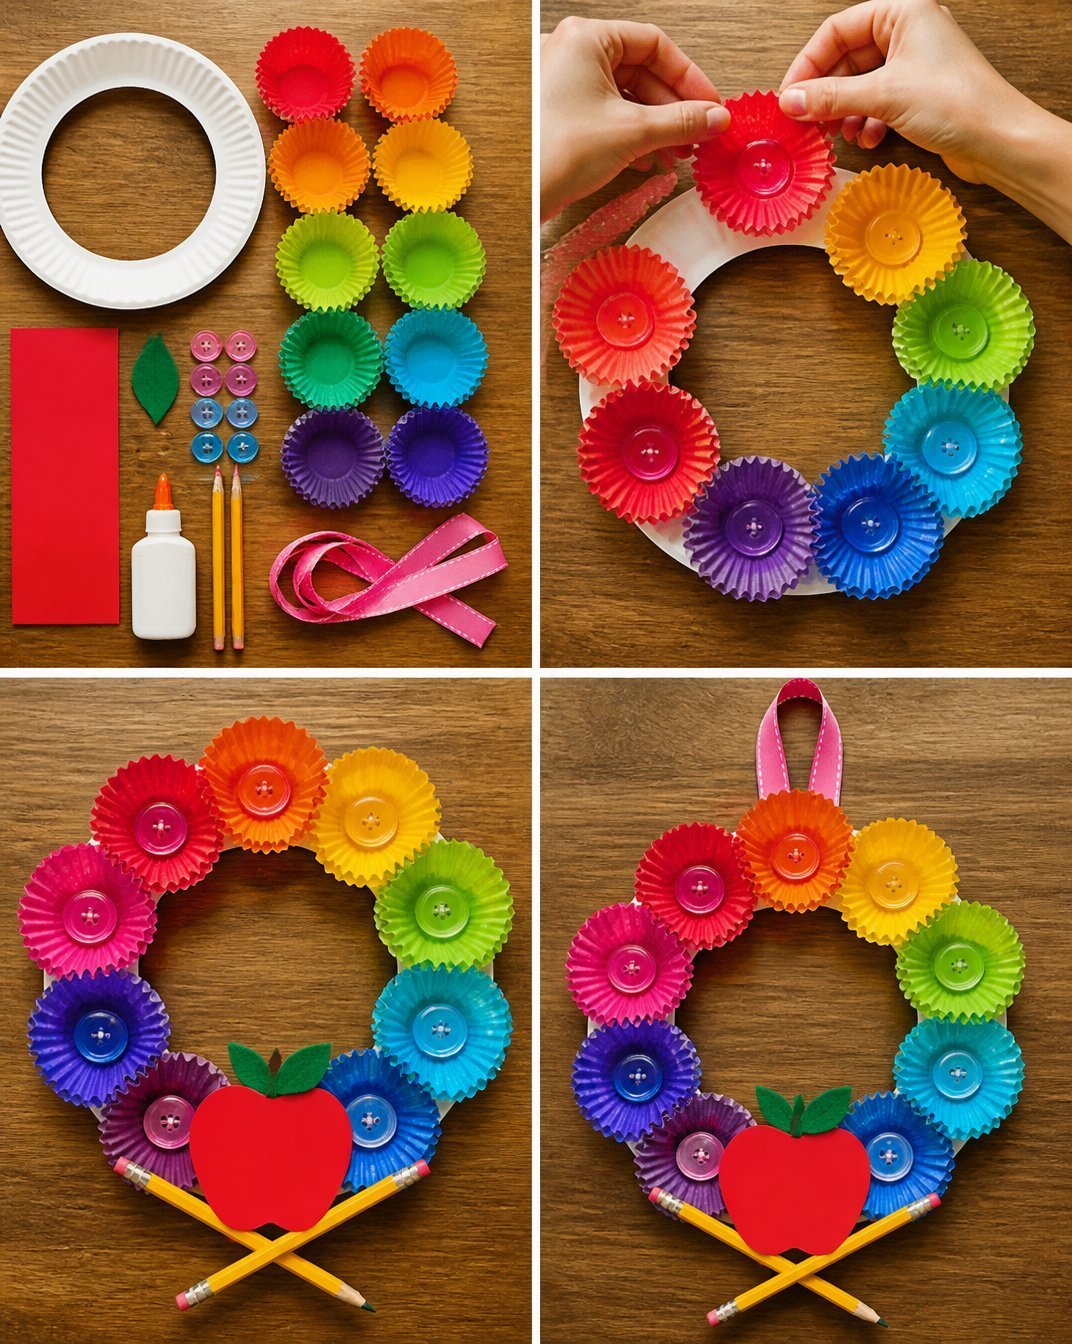
To make the Rainbow Apple Cupcake-Liner Flower Wreath, you will need:
- Paper plate
- 16 rainbow cupcake liners
- Red cardstock
- Green felt
- Clear pink buttons
- Clear blue buttons
- Pencils
- Glue
- Ribbon
Before starting, ensure you have everything ready. The bright colors of the cupcake liners, alongside the contrasting textures of felt and cardstock, will enhance your crafting experience. You may also want to explore other colorful DIY projects, such as salt painting for kids, to expand your crafting skills.
Steps
Step 1: Cut the Plate
Begin by cutting out the middle of a paper plate. You’ll create a ring that will serve as the base for your flowers. As you cut, be cautious with the scissors. The ring will create a sturdy support for your cupcake liners.
Step 2: Flower Construction
Next, take your rainbow cupcake liners and turn them into flowers. You can do this by gently flattening out the liners and then arranging them around the ring. Use glue to secure the liners in place. Watch how the colors burst forth as you add each one, covering the ring with vibrancy.
Step 3: Adding Buttons
Now, it’s time to add some flair to your flowers. Choose clear pink and blue buttons, and glue them into the center of each flower. These buttons create a lovely focal point, contrasting with the bright colors of the liners. The shininess of the buttons also introduces a fun texture.
Step 4: Decorating the Base
Once the flowers are in place, focus on the bottom part of the wreath. Take the red cardstock and cut it into an apple shape, then glue it onto the ring along with two crossed pencils. This adds a sweet detail that ties the whole project together; the colors will pop against the background.
Step 5: Finishing Touches
Finally, attach a ribbon to the top for hanging. This will turn your craft into a cheerful decoration suitable for any teacher door or wall. As you tie the ribbon, you’ll admire the layers of colors and textures that have come together to form your beautiful wreath.
Throughout this project, aim for an even placement of the cupcake liners to achieve a clean look. If parts of the craft feel tacky during assembly, allow them to dry before proceeding. For those interested in other craft ideas, consider trying your hand at recycling crayons into art supplies.
What Goes Wrong and How to Fix It
Sometimes, the glue might not hold as expected. If the liners seem to fall off, try using a stronger adhesive or allowing the glue to dry longer before moving on to the next step. Additionally, if the colors appear too dull, consider adding more cupcake liners for a livelier effect.
Where to Display It
You can display your finished Rainbow Apple Cupcake-Liner Flower Wreath in various places. Hang it on a classroom door for a welcoming touch or place it in a spot at home where sunlight highlights its colors. The bright hues can cheer up any area, making it enjoyable to see.
Variations
To personalize your wreath, experiment with different colors or types of cupcake liners. You might also include stickers or other embellishments in the centers of the flowers, making each wreath unique. Explore new designs like those found in a baking soda rainbow crystal project for added inspiration.
FAQs
1. How long does this project take?
The entire project may take around an hour, depending on your familiarity with the steps. A fun way to speed up the process is to work together with family or friends.
2. Can I use different materials?
Yes! If you want to change up the texture or color, feel free to use other types of containers or felt pieces. Just ensure they fit well with the overall design.
3. Why didn’t my wreath stay together?
If pieces of your wreath come off easily, the glue may not have dried properly or you might need a stronger adhesive. Ensure you allow ample time for everything to set.
4. Can my children help with the cutting?
It’s best that an adult handles the cutting of the paper plate to ensure safety. However, kids can definitely assist with gluing the cupcake liners and decorating.
5. How do I store it once it’s finished?
If you want to keep your wreath in good shape, store it in a flat box or on a shelf where it won’t be squished or damaged. This will help preserve its vibrant colors and structure.
6. Can I add more decorations?
Absolutely! This project is a great opportunity for creativity. Consider adding beads, glitter, or even natural elements to personalize your wreath further.
Conclusion
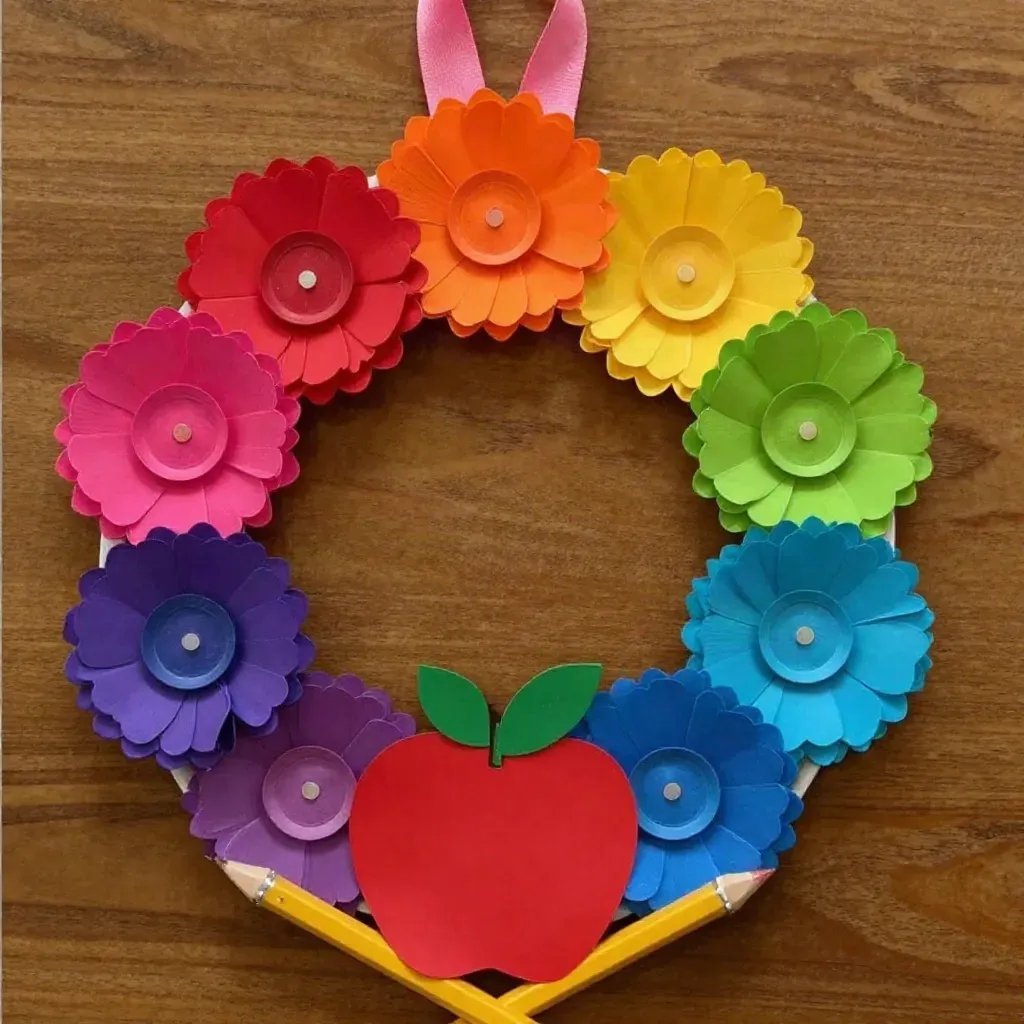
Creating a Rainbow Apple Cupcake-Liner Flower Wreath is a colorful and fun endeavor for kids and families alike. This delightful decoration can brighten up any space, and you can further explore your crafting journey by making an Easy Rainbow Cupcake Flower Bouquet or a DIY Rainbow Rag Wreath. Happy crafting!
Follow us on social for more DIY ideas & inspiration!

Rainbow Apple Cupcake-Liner Flower Wreath
Would you like to save this project?
By submitting you agree to receive this project and occasional emails. Unsubscribe anytime.
Materials
Materials Needed
- 1 piece Paper plate Base for the wreath.
- 16 pieces Rainbow cupcake liners For creating flowers on the wreath.
- 1 piece Red cardstock To create an apple shape for decoration.
- 1 piece Green felt To add texture and color.
- 2 pieces Clear pink buttons To use as centers for the flowers.
- 2 pieces Clear blue buttons To use as centers for the flowers.
- 2 pieces Pencils To add crossed detail on the wreath.
- 1 bottle Glue For assembling the wreath.
- 1 piece Ribbon For hanging the wreath.
Directions
Preparation
- Cut out the middle of a paper plate to create a ring for the base of the flowers.
- Flatten out the rainbow cupcake liners and arrange them around the ring, gluing them in place.
- Glue clear pink and blue buttons into the center of each flower for added detail.
- Cut red cardstock into an apple shape and glue it onto the ring along with two crossed pencils.
- Attach a ribbon to the top of the wreath for hanging.
Last Step: Don’t forget to leave a rating and comment below! It helps other readers find the best DIY projects — and it helps us too!