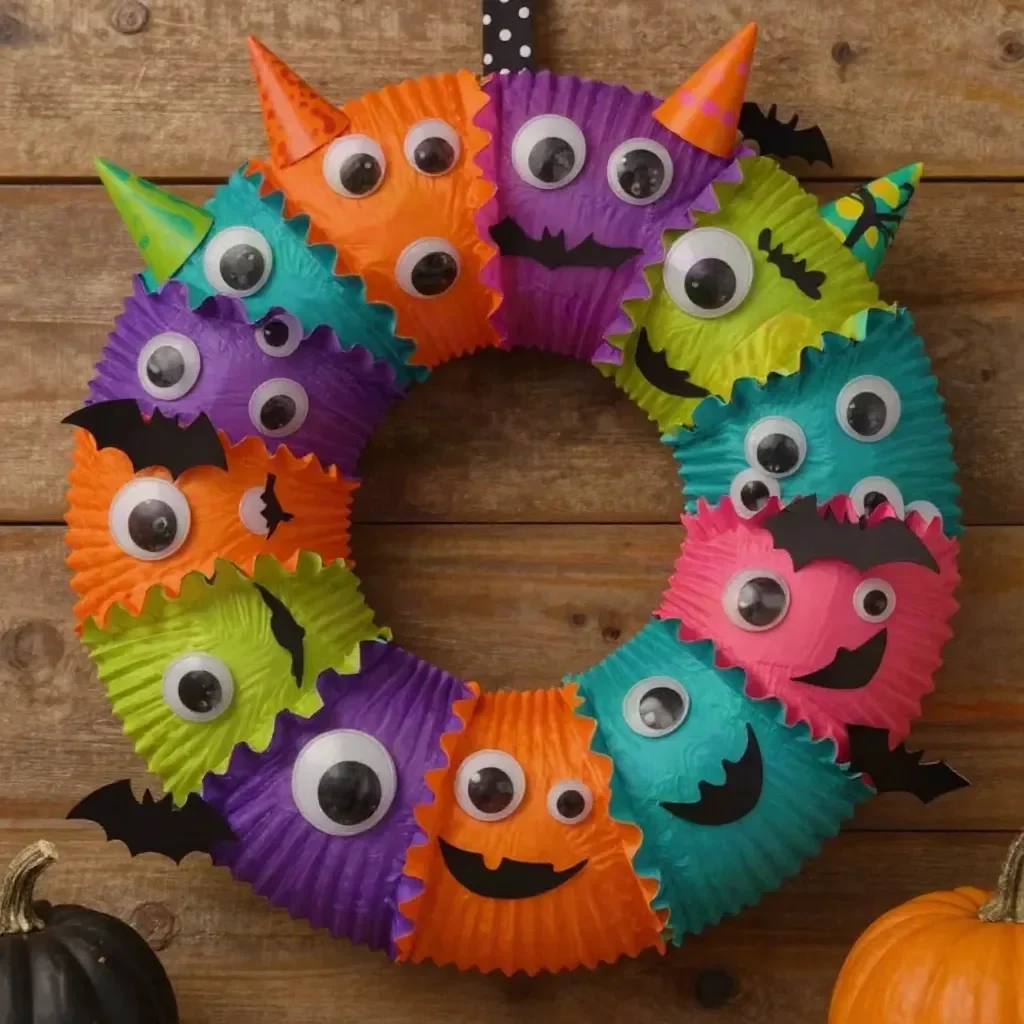
The Rainbow Cupcake-Liner Halloween Monster Wreath is a vibrant decoration that will catch everyone’s eye as it hangs. The moment you start assembling it, you’ll notice how the colorful cupcake liners transform a simple cardboard ring into a stunning piece of art. This cheerful wreath not only adds a festive touch to your home but also allows for creative expression through craft. You may also find Baking Soda Rainbow Crystal Forest Rainbow Crystals useful.
The key to this project is layering. As you layer the cupcake liners, you can see the colors blending beautifully. The bright hues of orange, purple, lime, pink, and turquoise create a lively spectrum. This easy and fun craft project is perfect for families looking to engage in some creative, hands-on fun. You may further explore how colors play together by checking out other projects like the baking soda rainbow crystal forest.
Materials
For this project, you will need the following supplies: You may also find Crystal Rainbow Butterfly Tree Vibrant Garden Decor useful.
- 30 cupcake liners in orange
- 30 cupcake liners in purple
- 30 cupcake liners in lime
- 30 cupcake liners in pink
- 30 cupcake liners in turquoise
- Cardboard ring
- Googly eyes
- Black cardstock
- Glue
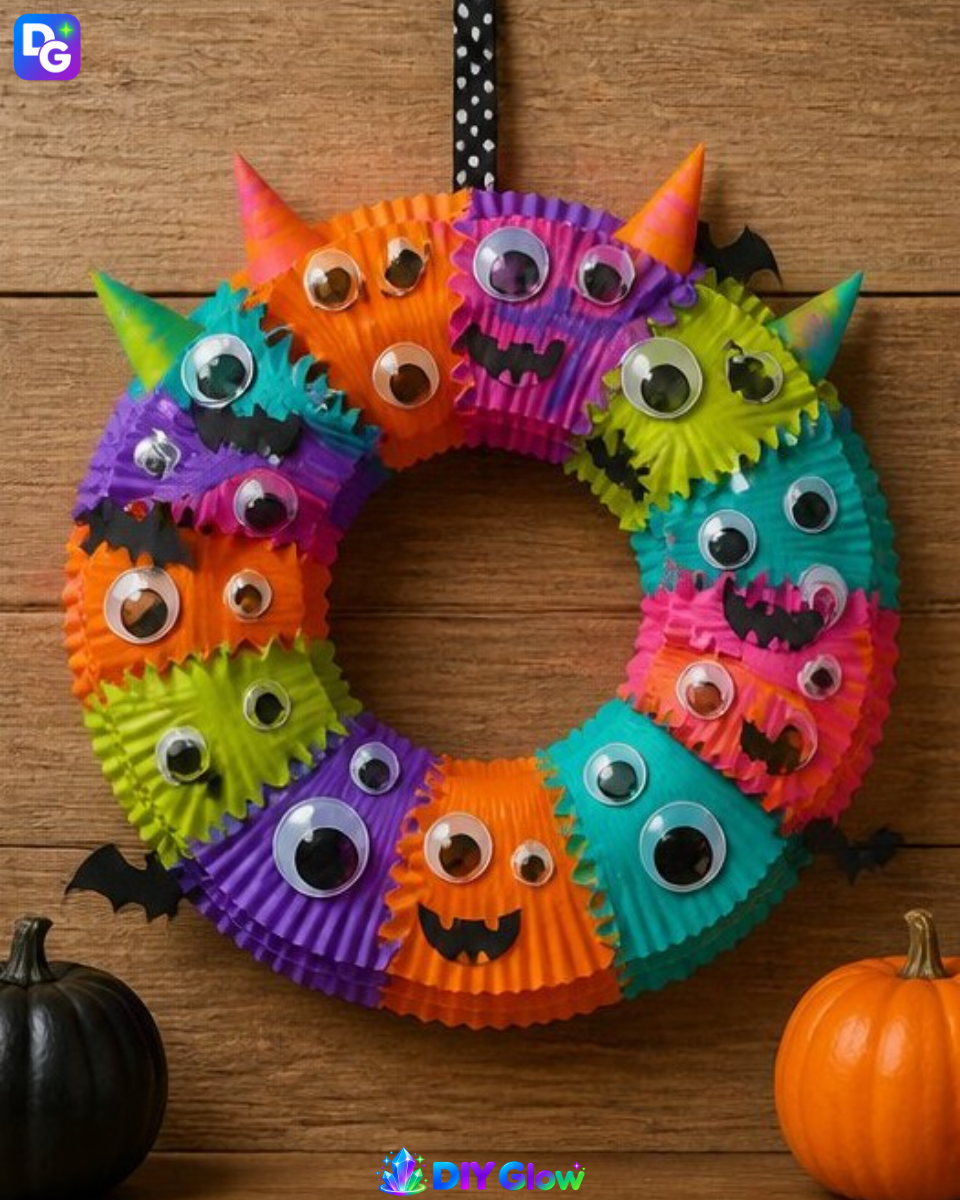
Each item serves its purpose, and together, they make crafting the wreath a joyful experience. The cupcake liners will provide the color, the cardboard ring forms the base, and the googly eyes give character to your monster wreath.
Steps
Fold each cupcake liner in half and layer them around the cardboard wreath, tucking the edges under. As you work, pay attention to how the colors stack, creating a fuller appearance.
Add googly eyes randomly throughout the wreath for a fun look. The eyes will give your wreath personality and will truly stand out against the colorful liners.
Cut monster features from black cardstock and glue them onto the wreath among the cupcake liners. These features could include fangs or horns, contributing to the monster theme.
For added volume, use more than one liner at a time. This technique enhances the texture, making your wreath look more dynamic and interesting.
Hang the completed wreath prominently using a sticky hook or ribbon. Make sure it’s in a spot where everyone can admire your hard work.
As you assemble each layer, notice how the colors and textures come to life. The full and vibrant look of the wreath will bring joy to your space. For more colorful and vibrant DIY projects, consider creating crystal rainbow butterfly decorations.
What Goes Wrong and How to Fix It
Sometimes, things might not turn out as expected. If your cupcake liners aren’t sticking well, ensure you are applying enough glue. For a cleaner finish, use a small brush to apply glue to the cardboard ring. If some cupcake liners seem to be too loose, you can remove them and re-attach them more securely.
Where to Display It
This wreath is perfect for your front door, inviting a playful spirit to guests. It can also be displayed in a hallway or above a fireplace. Its cheerful appearance will brighten any area. For another creative way to add whimsy to your decor, check out how to make glowing rainbow flowers.
Variations
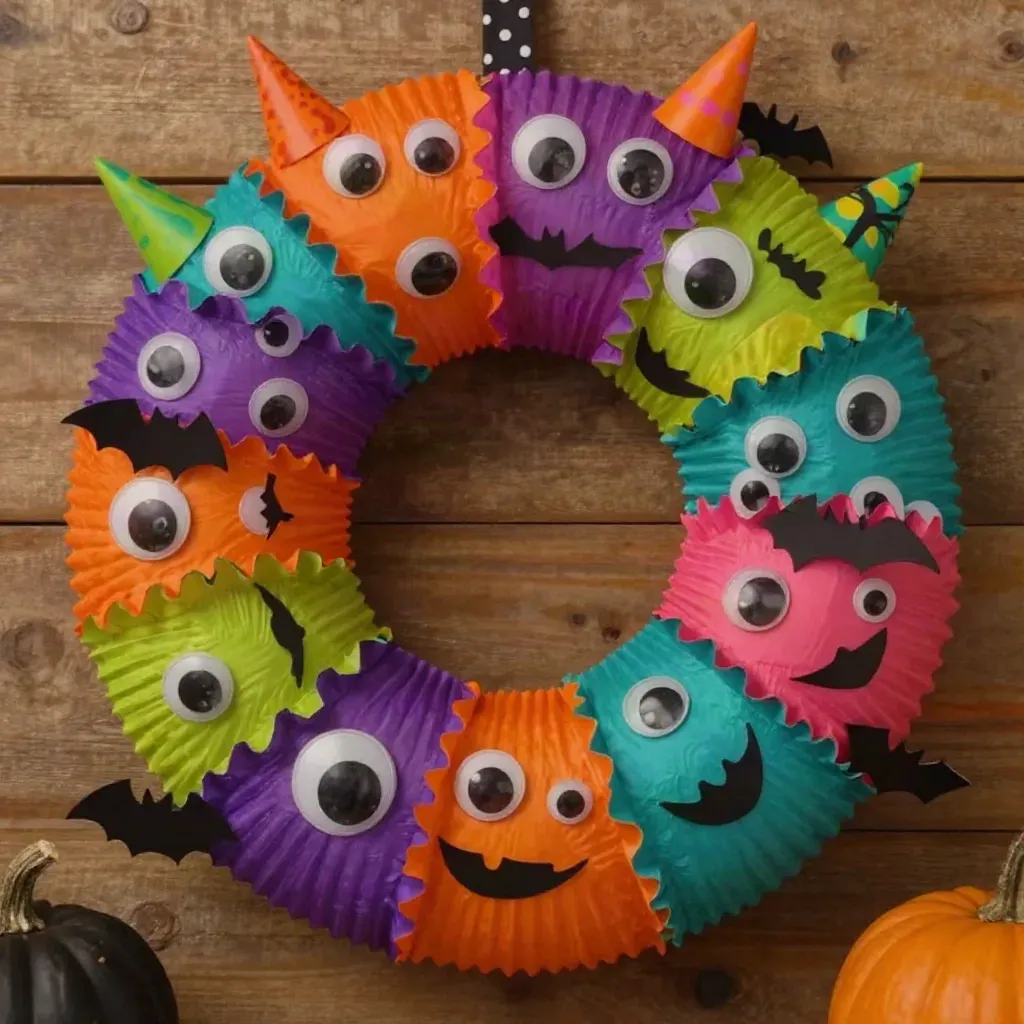
You might want to change it up a bit! Consider using different colors or patterns of cupcake liners to suit your style. Adding additional features like glitter or sequins can enhance the sparkle and visual impact. Experimenting with different materials can also lead to exciting results.
FAQs
How long does it take to make the wreath?
The creation of the wreath can be done in about an hour. However, if you decide to take your time and really enjoy the crafting process, it could take longer.
Can children help with this project?
Yes, children can participate in folding the liners and gluing on the googly eyes, as well as applying the monster features. Supervising them closely while working with glue is essential.
What if my liner colors are too similar?
You can remedy this by choosing more contrasting colors or by mixing in some liners with bright patterns.
How should I store the wreath after Halloween?
Store it in a dry place, ideally in a box, to prevent the cupcake liners from getting crushed or damaged.
Can I make this wreath with different sizes of cupcake liners?
Yes, using different sizes can add depth and variety to the visual appeal of your wreath.
Why didn’t mine turn out as expected?
If your wreath lacks fullness, check how many liners you used. Adding more liners can significantly enhance the look of your wreath.
Conclusion
Creating the Rainbow Cupcake-Liner Halloween Monster Wreath is a delightful project that combines crafting and creativity in a colorful way. Your finished piece will surely stand out, whether it’s on your door or a wall. For more crafting ideas, you may find inspiration from this list of Halloween wreaths or try your hand at making monster cakes for a spooky treat.
Follow us on social for more DIY ideas & inspiration!
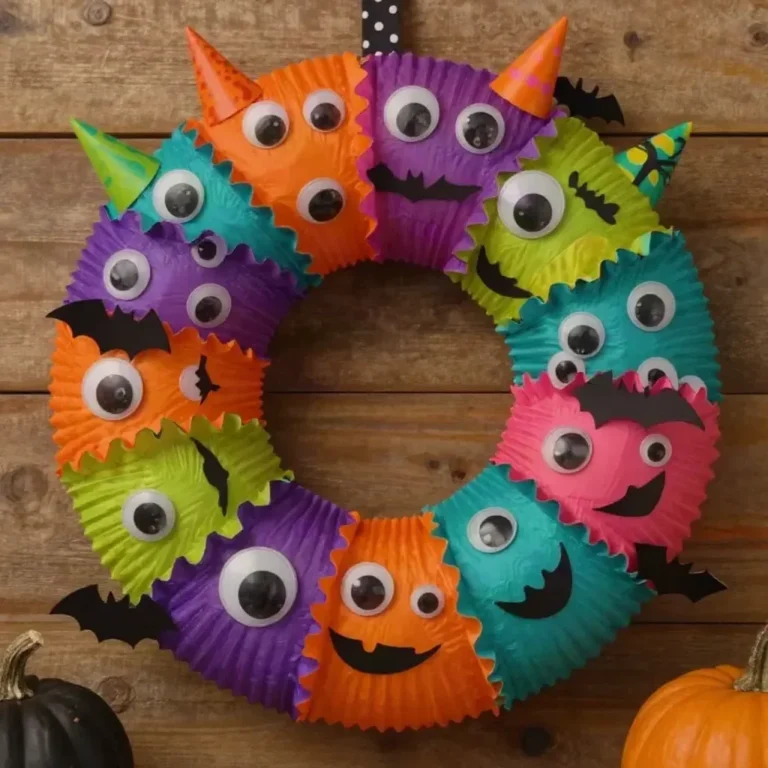
Rainbow Cupcake-Liner Halloween Monster Wreath
Would you like to save this project?
By submitting you agree to receive this project and occasional emails. Unsubscribe anytime.
Materials
Craft Supplies
- 30 pieces cupcake liners in orange
- 30 pieces cupcake liners in purple
- 30 pieces cupcake liners in lime
- 30 pieces cupcake liners in pink
- 30 pieces cupcake liners in turquoise
- 1 piece cardboard ring
- 1 package googly eyes
- 1 sheet black cardstock
- 1 bottle glue
Directions
Assembly
- Fold each cupcake liner in half and layer them around the cardboard wreath, tucking the edges under.
- Add googly eyes randomly throughout the wreath for a fun look.
- Cut monster features from black cardstock and glue them onto the wreath among the cupcake liners.
- For added volume, use more than one liner at a time.
- Hang the completed wreath prominently using a sticky hook or ribbon.
- As you assemble each layer, notice how the colors and textures come to life.
Last Step: Don’t forget to leave a rating and comment below! It helps other readers find the best DIY projects — and it helps us too!